07740 877 544
This guide explains why and how to thin paint for sign painting and brush lettering. Using widely available thinners, ideal for oil and water based paints for brush and roller application.
Why should paint be thinned?
Paints differ in consistency. Heavy paints such as oil based wood primer often have a higher solids content. As such, less viscosity in the paint will make the brush or roller application tougher.
Knowing how much of which thinner to add is necessary to improve flow and finish. Therefore, understanding paints’ coverage and opacity will save you time and expense, as well as provide a cleaner, drag-free appearance.
Thinners can affect paint drying time too. Depending on temperatures and environments, thinners can increase or decrease drying time. They can also harden the coating faster.
Painting with oil based primers and undercoats
Primers are essential for painting opaque surfaces of untreated wood, MDF, plastic, and alloys. Primers adhere and begin to seal the surface, providing a base coat for further layers of paint. Your topcoat will be denser with a base coat below it.
Undercoats are middle layers. They’re not always essential but help solidify the layers and decrease visible brush strokes.
Stirring oil based primers and undercoats
Off the shelf, oil based primers and undercoats are often thick and heavy. Ensure the lid on the tin is secure, then shake the tin vigorously like a maraca. Allow the tin to sit for up to a minute whilst the paint drips off of the underside of the lid.
Shaking the tin of paint moves the heavy solids from the bottom. As well as mixing the oils inside the paint. It’ll also save you some arm strain before stirring the paint.
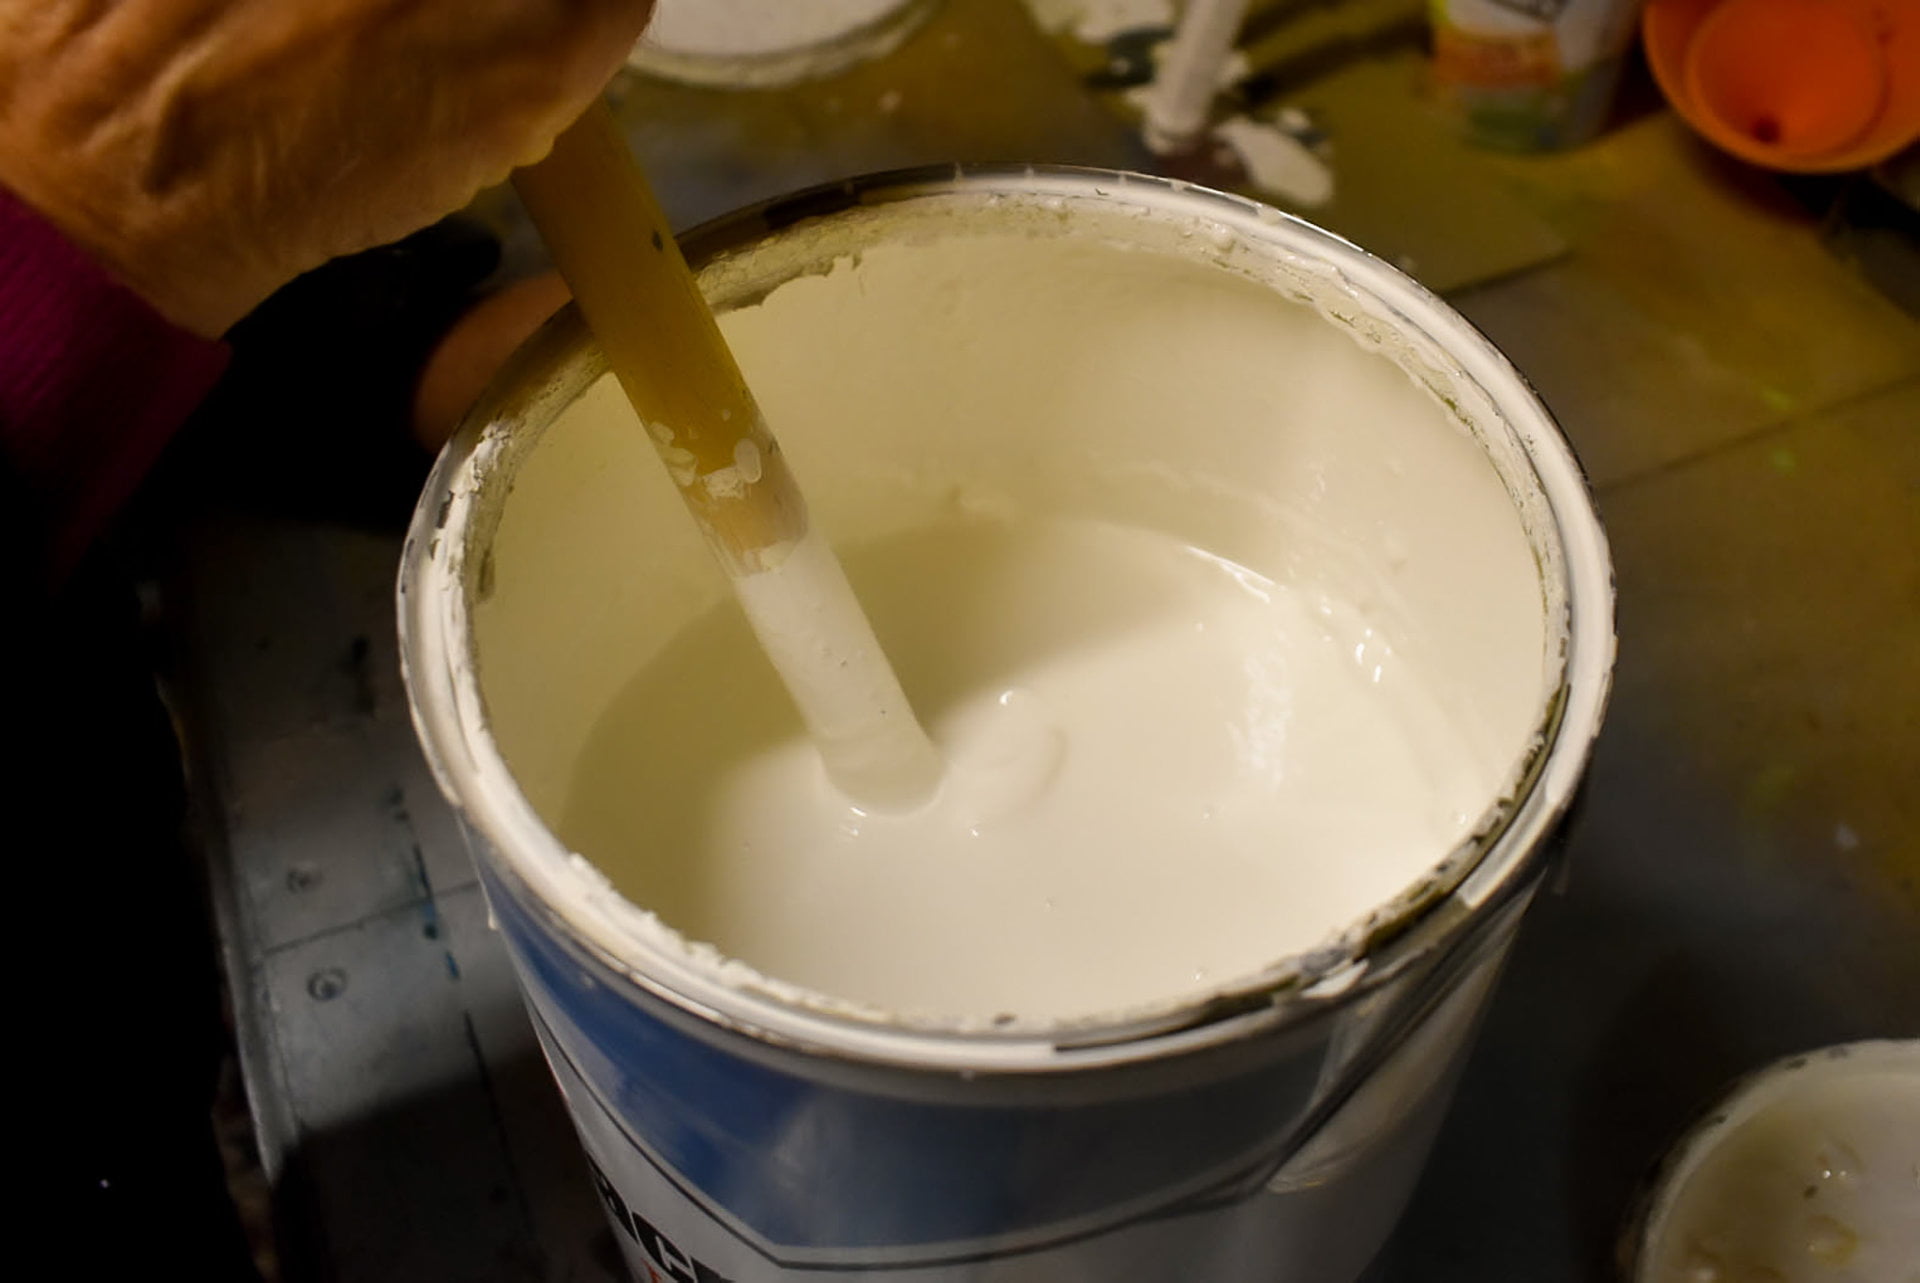
Remove the lid and stir the paint. Use a length of hardwood or wooden dowling plunged to the base of the tin. Stir gently, moving clockwise and then anti-clockwise. As you stir, you’ll feel the contents flow more freely. Ensure equal consistency throughout, and make sure that any oils or heavy solids are mixed thoroughly into the paint.
Thinning oil based primers and undercoats
You’ll feel the fluidity of the paint when stirring. Once you’re satisfied the paint is stirred and no oils are visible, you can assess whether it requires thinning. If the paint’s consistency is like single cream, it should be good to use without thinning.
Use white spirits, mineral spirits, turps, or specific oil based paint thinner for thinning oil based paints.
Thin the paint if it strains your wrist when stirring. Thin it if you feel the paint dragging when you begin painting on your surface. Or when working in temperatures higher than room temperature and direct sunlight. You may also have to thin the paint whilst painting larger areas, as the paint can become thicker when working with it. You may also have to wash your brush every so often too.
As always, read the paint manufacturer’s directions and ask advice from your paint merchant whenever possible.
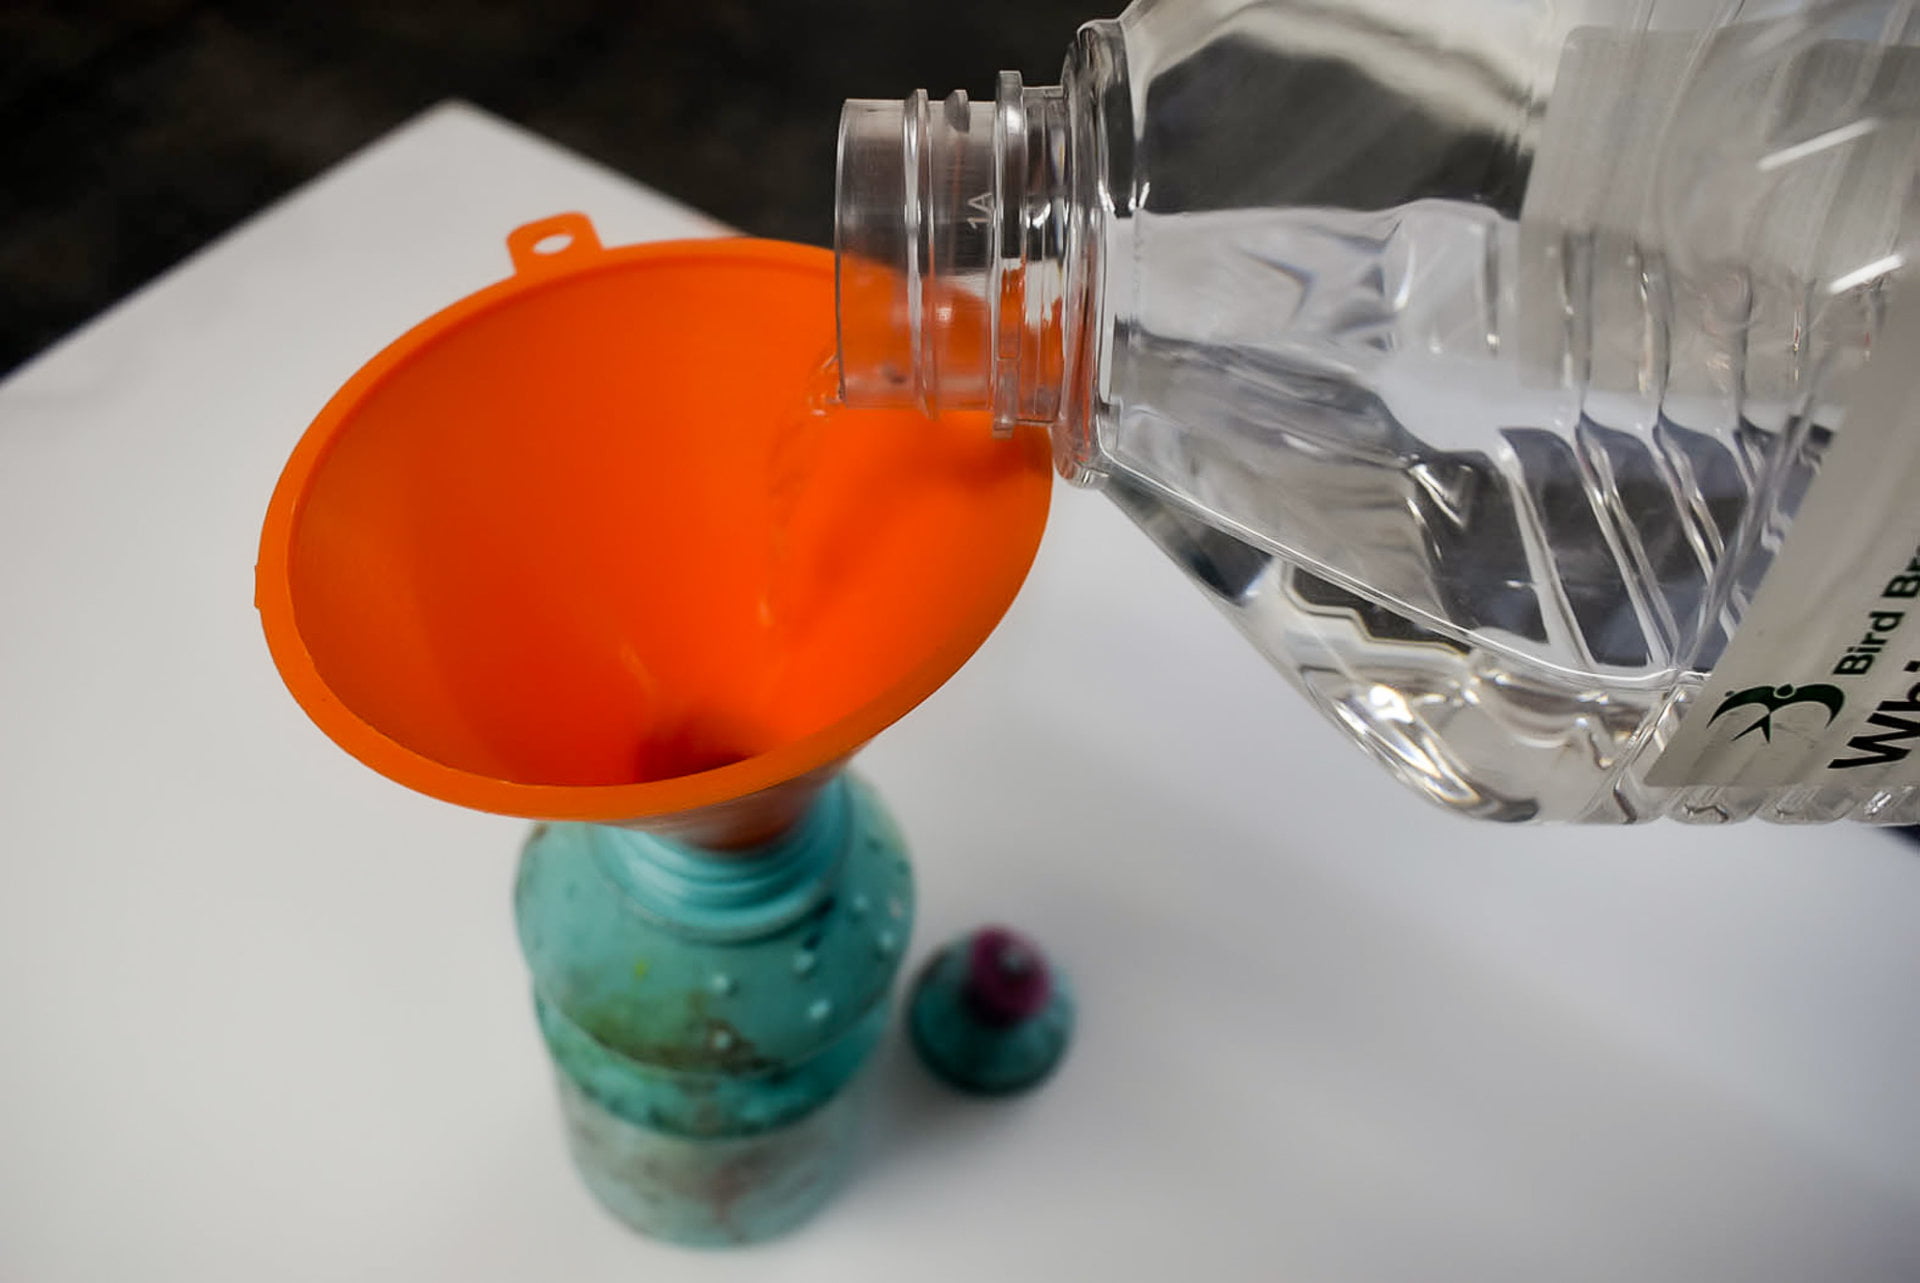
Pour the thinner through a funnel into a clean sports drink bottle. A rinsed out washing detergent bottle is ideal too. The drip lids on these types of bottles help drip small amounts of thinners.
There isn’t a sure ratio for thinners to paint, as some paints are thicker than others.
Add thinners sparingly
Start with a small amount of thinner and stir gently. The thinner will sit on top of the paint until it’s stirred in. Be careful not to stir vigorously as the thinner can splash out of your paint pot.
Judge each added increment whilst stirring. When you feel the consistency is right, you’ve hit the sweet spot. If you’ve added too much thinner, add a small amount of clean paint and continue to stir.
Be cautious when using autobody paints thinners with oil based paints. Cellulose thinners, reducers, and accelerators can all have adverse effects with standard oil based paints. Test paint a sample to assess how long the paint dries and if it leaves an orange peel finish. If the paint sags with autobody paints thinners added, wash off and start again with fresh paint.
Straining oil based paints
Oil based paints are prone to skinning inside the tin. Especially with loose fitting lids. Try to keep the rim of the paint tin intact and avoid damaging the rim when opening or replacing the lid.
When the paint is exposed to air, a skin of paint will form on top of the liquid. Sometimes, congealed paint attaches to the underside of the skin. If the exposed paint is left for weeks or months, it’s liable to become winded. Winded paint is when the liquid turns rubbery and will not stir freely. Winded paint is useless and should be disposed of sensibly.
Straining paints for sign painting

Often when paint forms a skin, small amounts of skin or other debris will have to be strained from your paint. Straining cleans the debris from the paint.
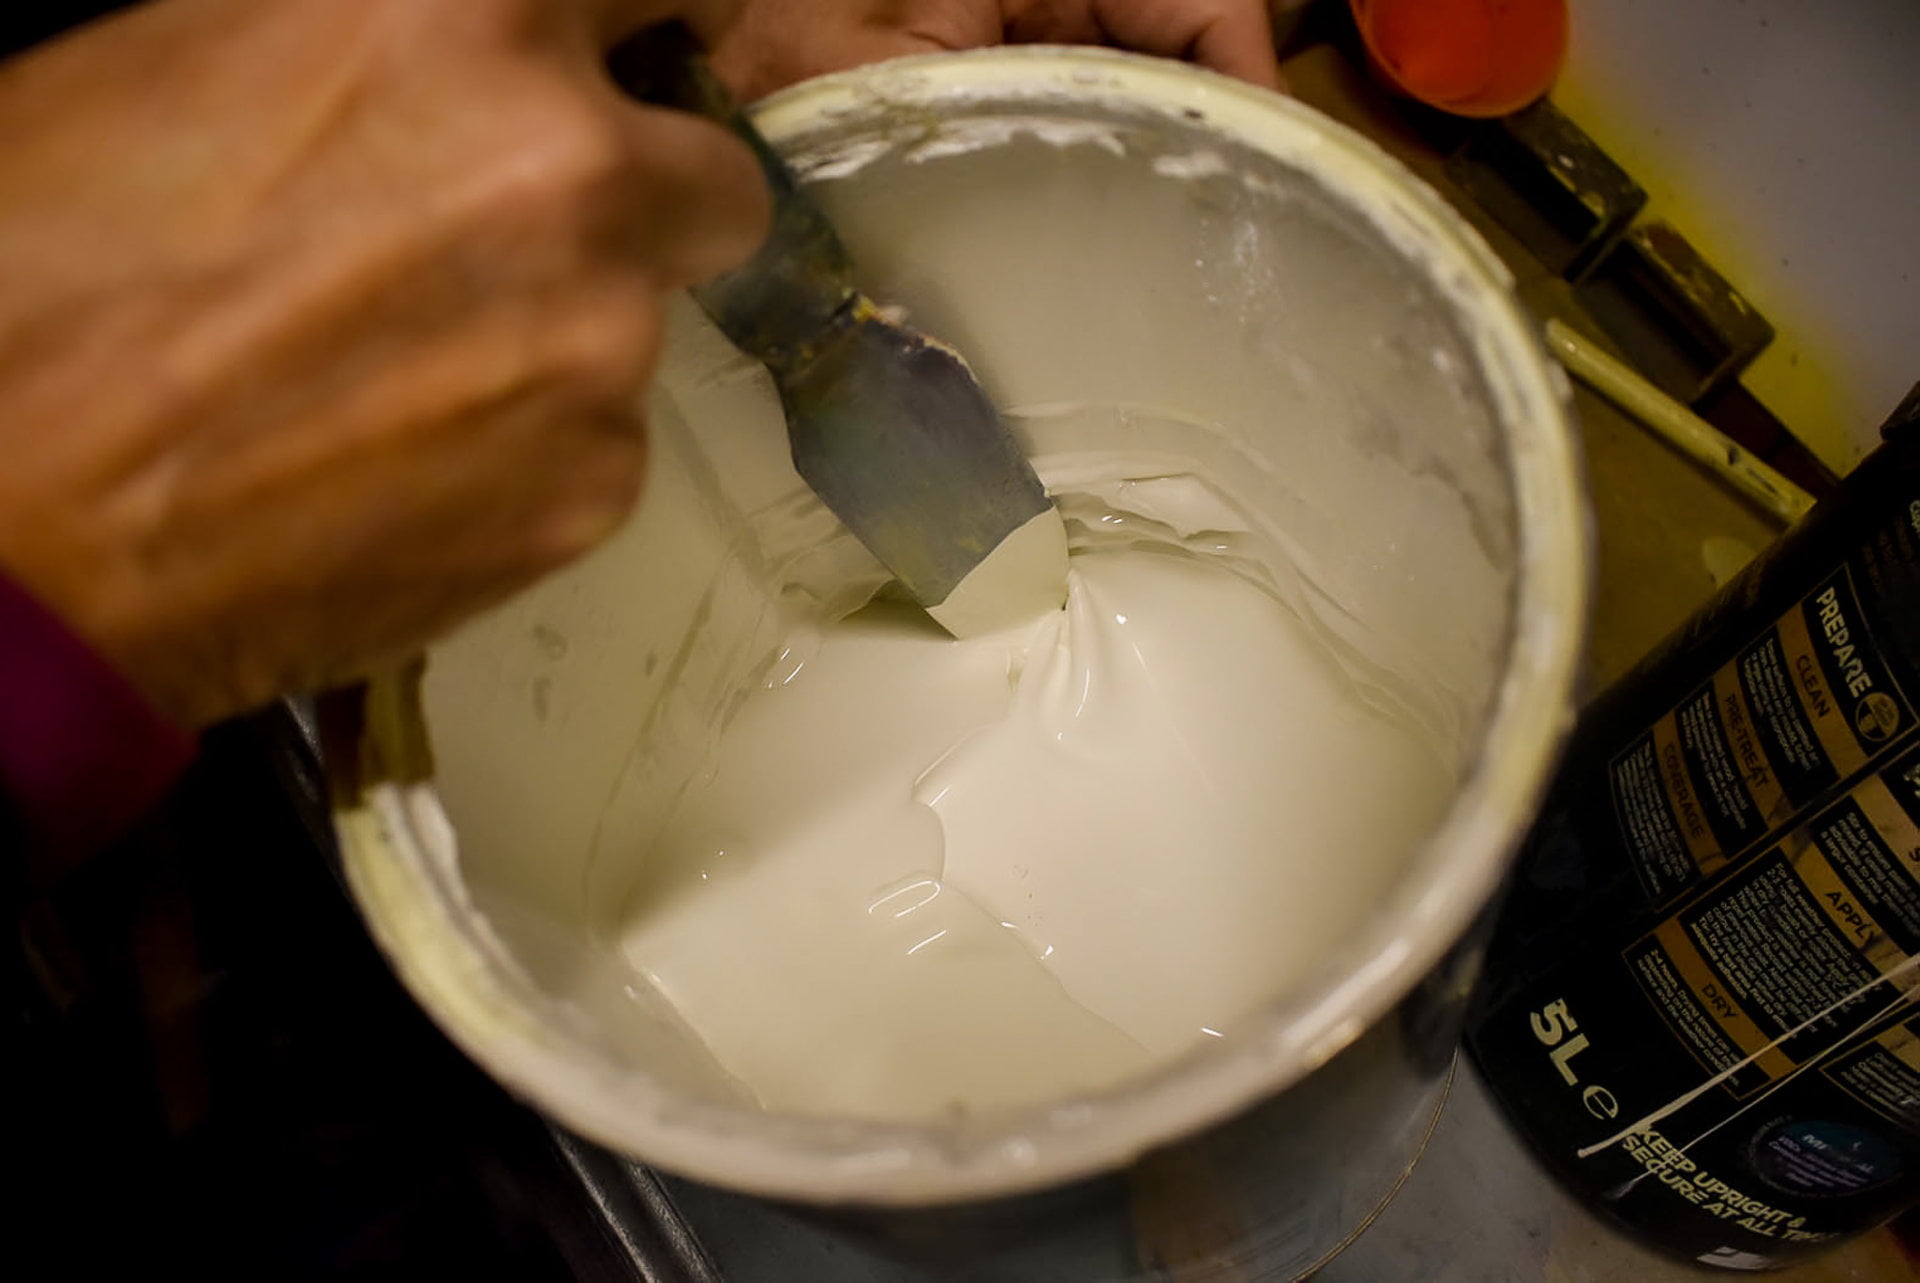
Using a thin palette knife or wall scraper, slice around the skin on the inside of the tin. Try to remove the skin in one circular portion. I keep an empty five litre tin on my workbench to dispose of paint skins.
Stir the paint. Thin if necessary.
Using conical paper strainers or fabric strainers (available from painters merchants and auto body supply stores), pour the paint through the strainer and into your paint pot. Use elastic bands or string to support your paper strainers. Or make small brackets to hold the strainer over the pot.
Nylon tights are ready made paint strainers. The tights’ feet work best by stretching over the rim of the paint pot. Make sure the nylon isn’t too tight and then pour your paint into the middle of the tights.
Thinning water based paints
In my experience, water based paints have less (painted surface) opacity than oil based paints. Adding small amounts of water will make the paint thinner. However, this can dilute the opacity of the paint. Due to wide variables in the coverage of water based paints, thinning may increase the number of coats required to leave an opaque finish.
Water based paints can appear to have thick viscosity. When brushing or rolling, the paint may appear ‘see-through’. Be aware that thinning the paint for easier application can result in several more coats. You’ll make this decision when you begin painting.
Thinners for lettering enamel
There is more than one way to thin enamel for lettering with a brush. Ideally, we don’t want to thin the enamel as the opacity will be reduced. However, thick enamel drags and will leave your lettering saggy. It’ll also clog the bristles on your writing brushes which will increase the amounts of times you’ll have to clean your brushes.
Some enamels will be thicker than others. Therefore, some may have to be thinned for smoother, fluid brush control. And some will flow straight from the tin.
Adding thinners to lettering enamel
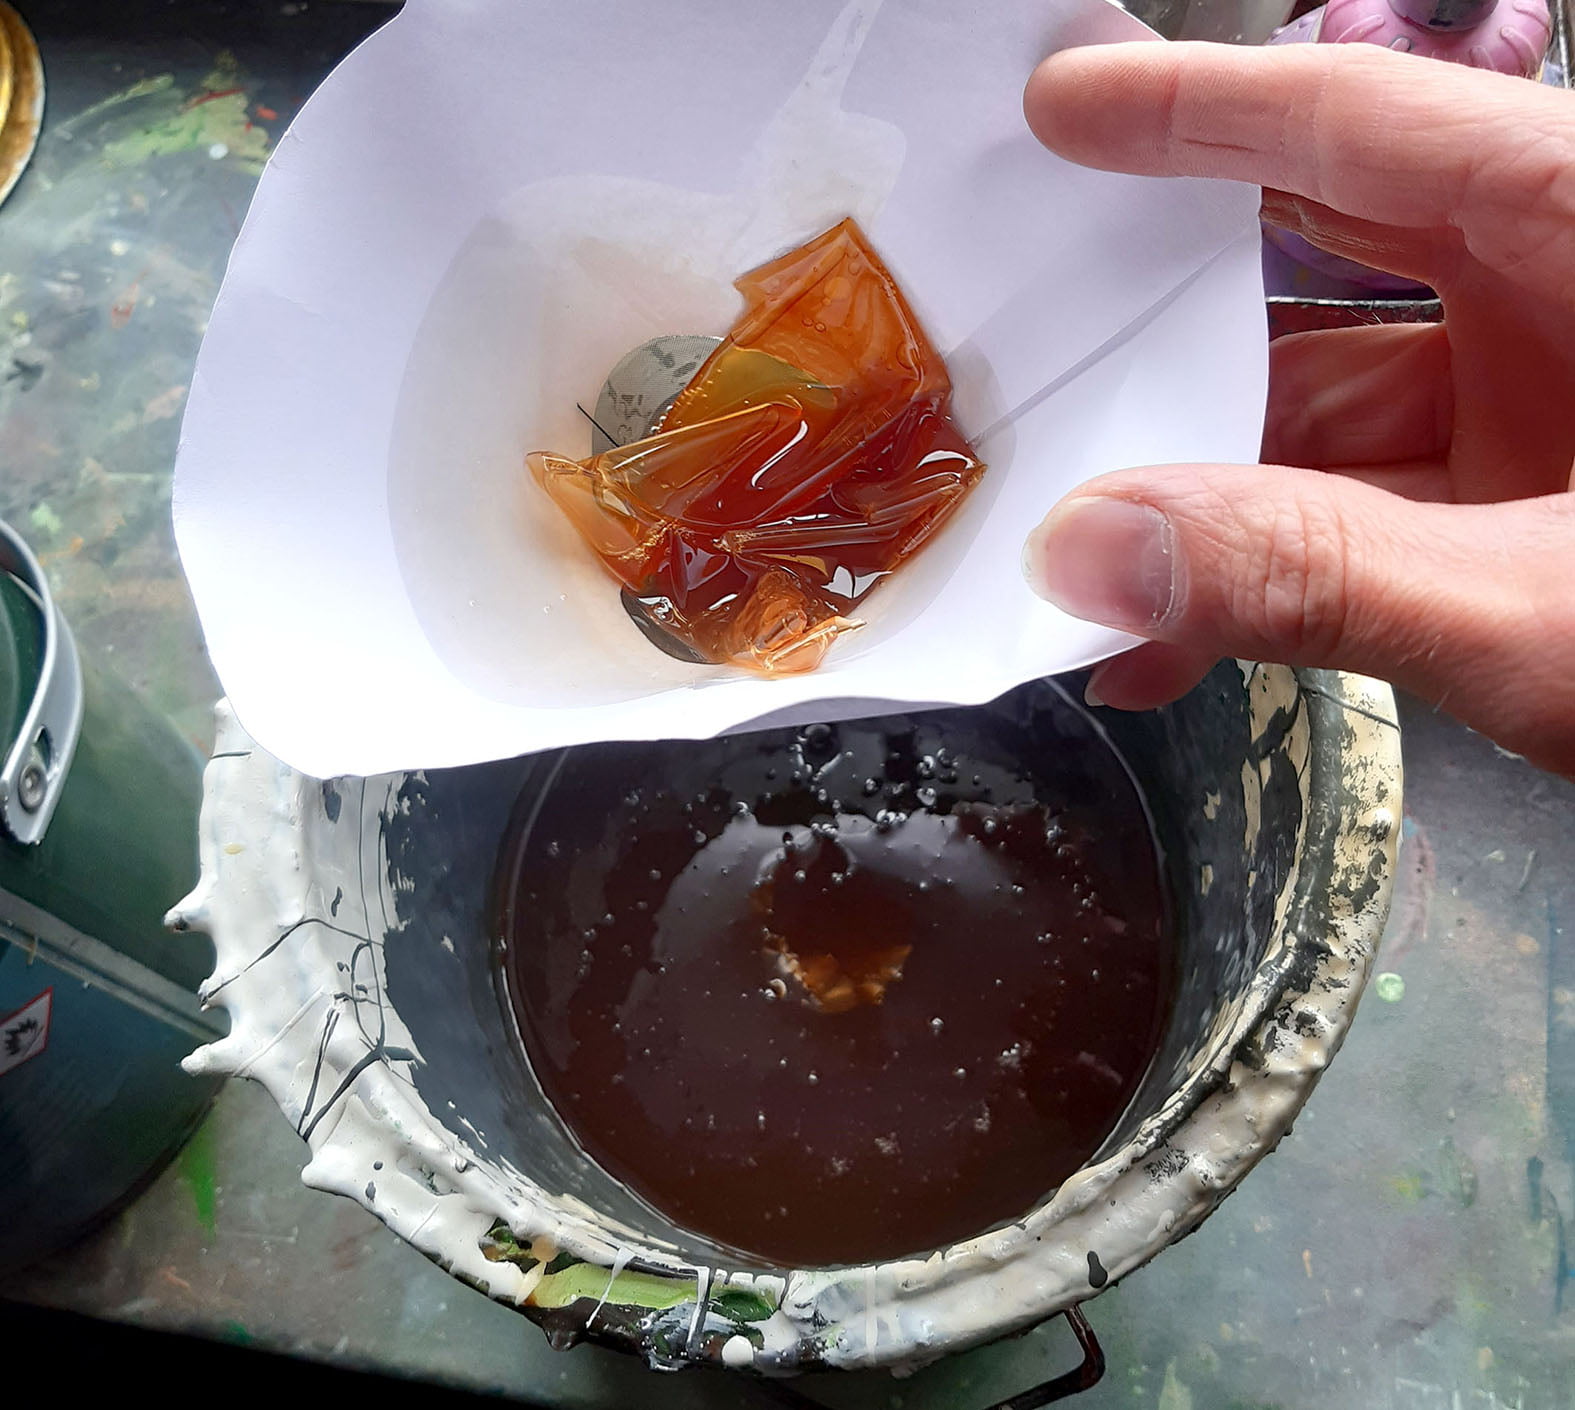
Stir the enamel and strain if necessary. From your drip lid bottle or a pipette, add minimal drops of turps or white spirits to your enamel. These drops will thin and reduce the opacity of your enamel. They may also dull the finish if you’re using gloss enamels.
I add turps or white spirits to both gloss enamels and oil based matt enamels. The turps or white spirits increase fluidity when lettering with a brush. However, I also evaluate how much to add depending on the environment (direct sun or breezy conditions) and temperature, in addition to the surface, I’m working on.
Another option is to add thinner to your lettering brush. Pour a small amount into a pot which you can dab your brush into, rather than adding to your paint. Mix the thinner with your brush into the paint on your palette.
I find the separate thinners pot method easier for longer lettering projects. It means I don’t have to constantly thin the enamel in my pot. However, working outside or at height may limit space. You can consider investing in a palette with holes for separate pots. Or attach magnets if your alloy palette and pots are magnetic.
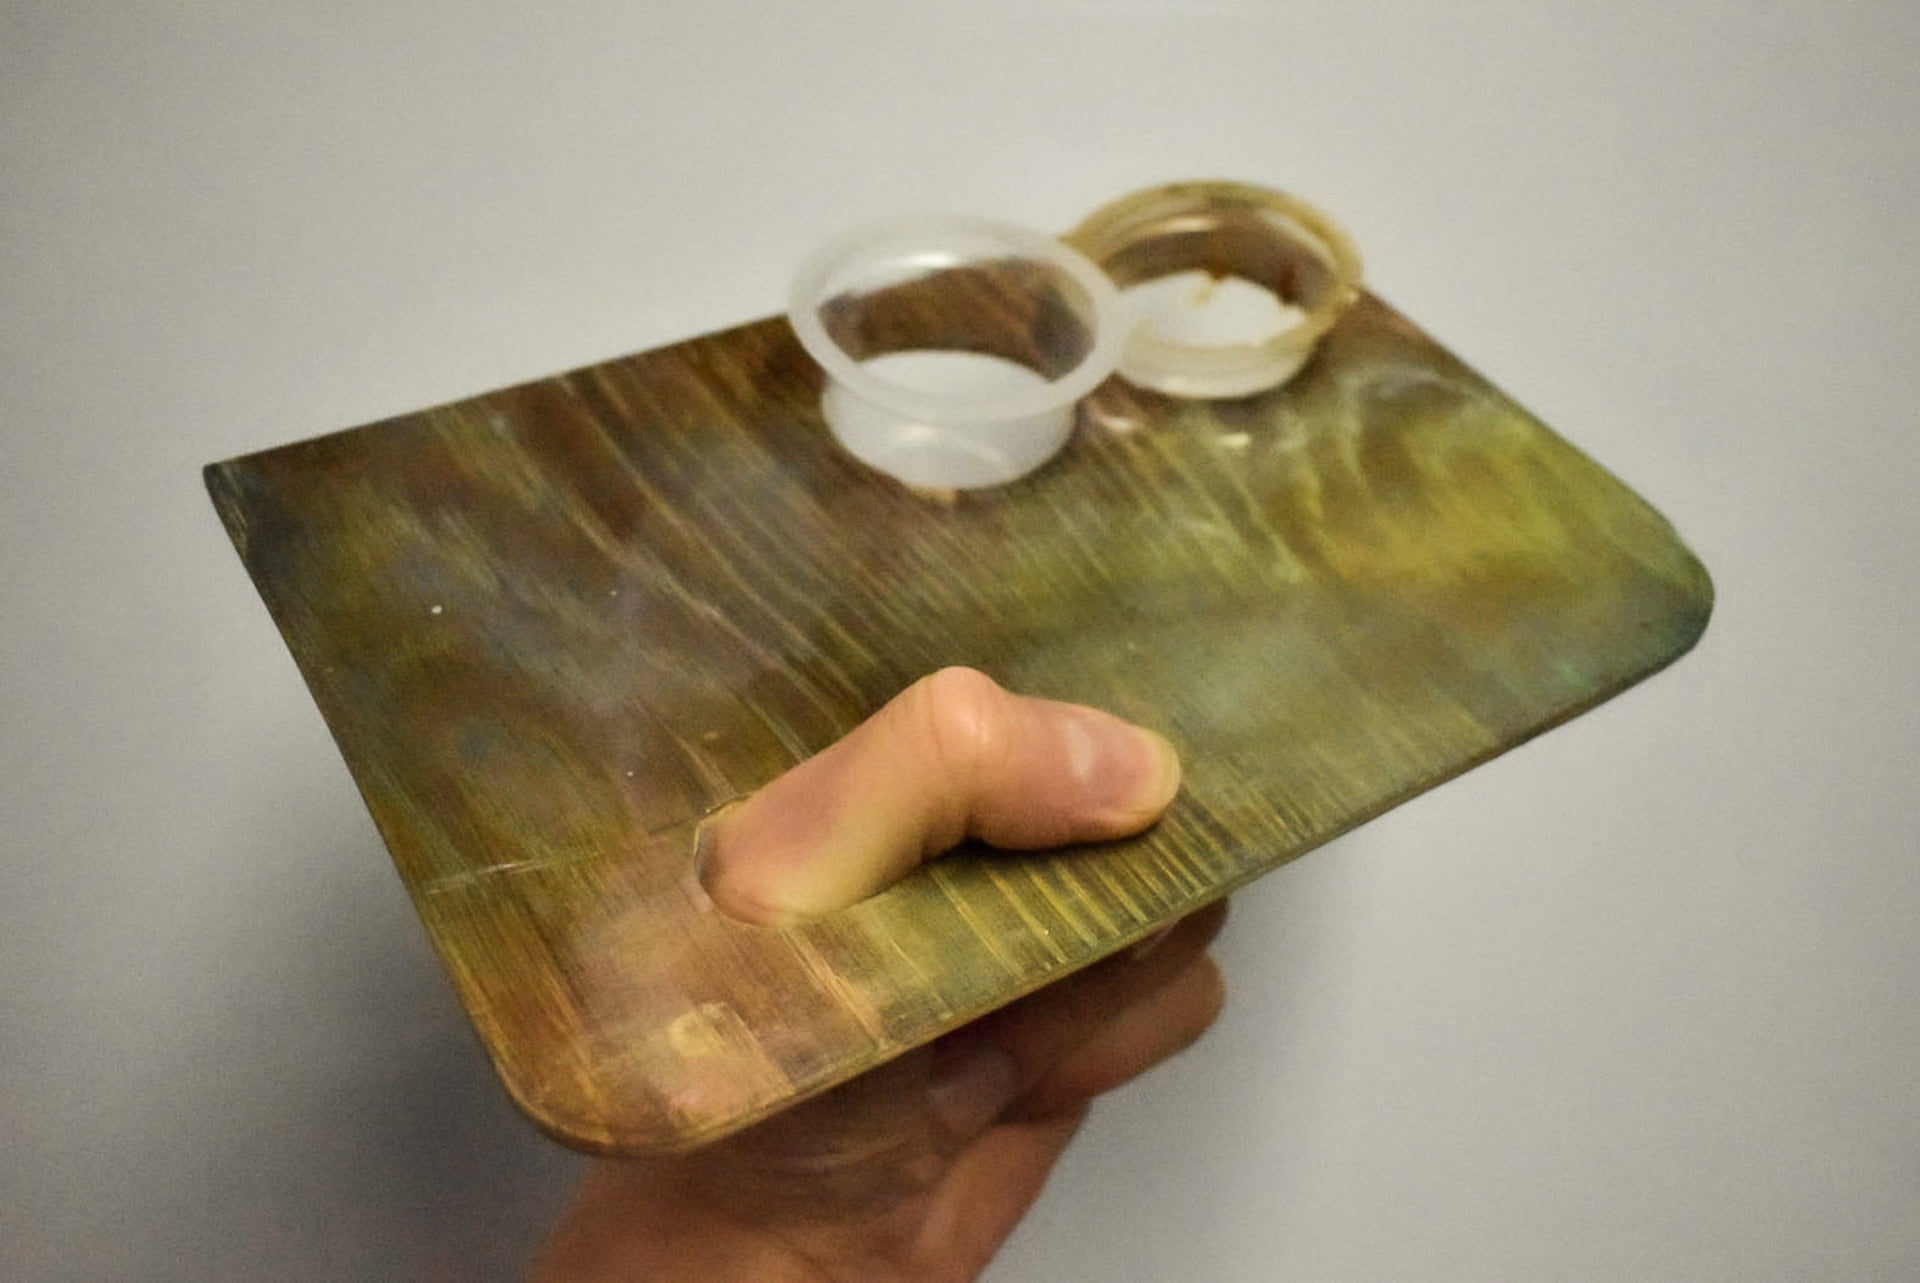
I make my paint palettes with thin plywood.
Additives for lettering enamels
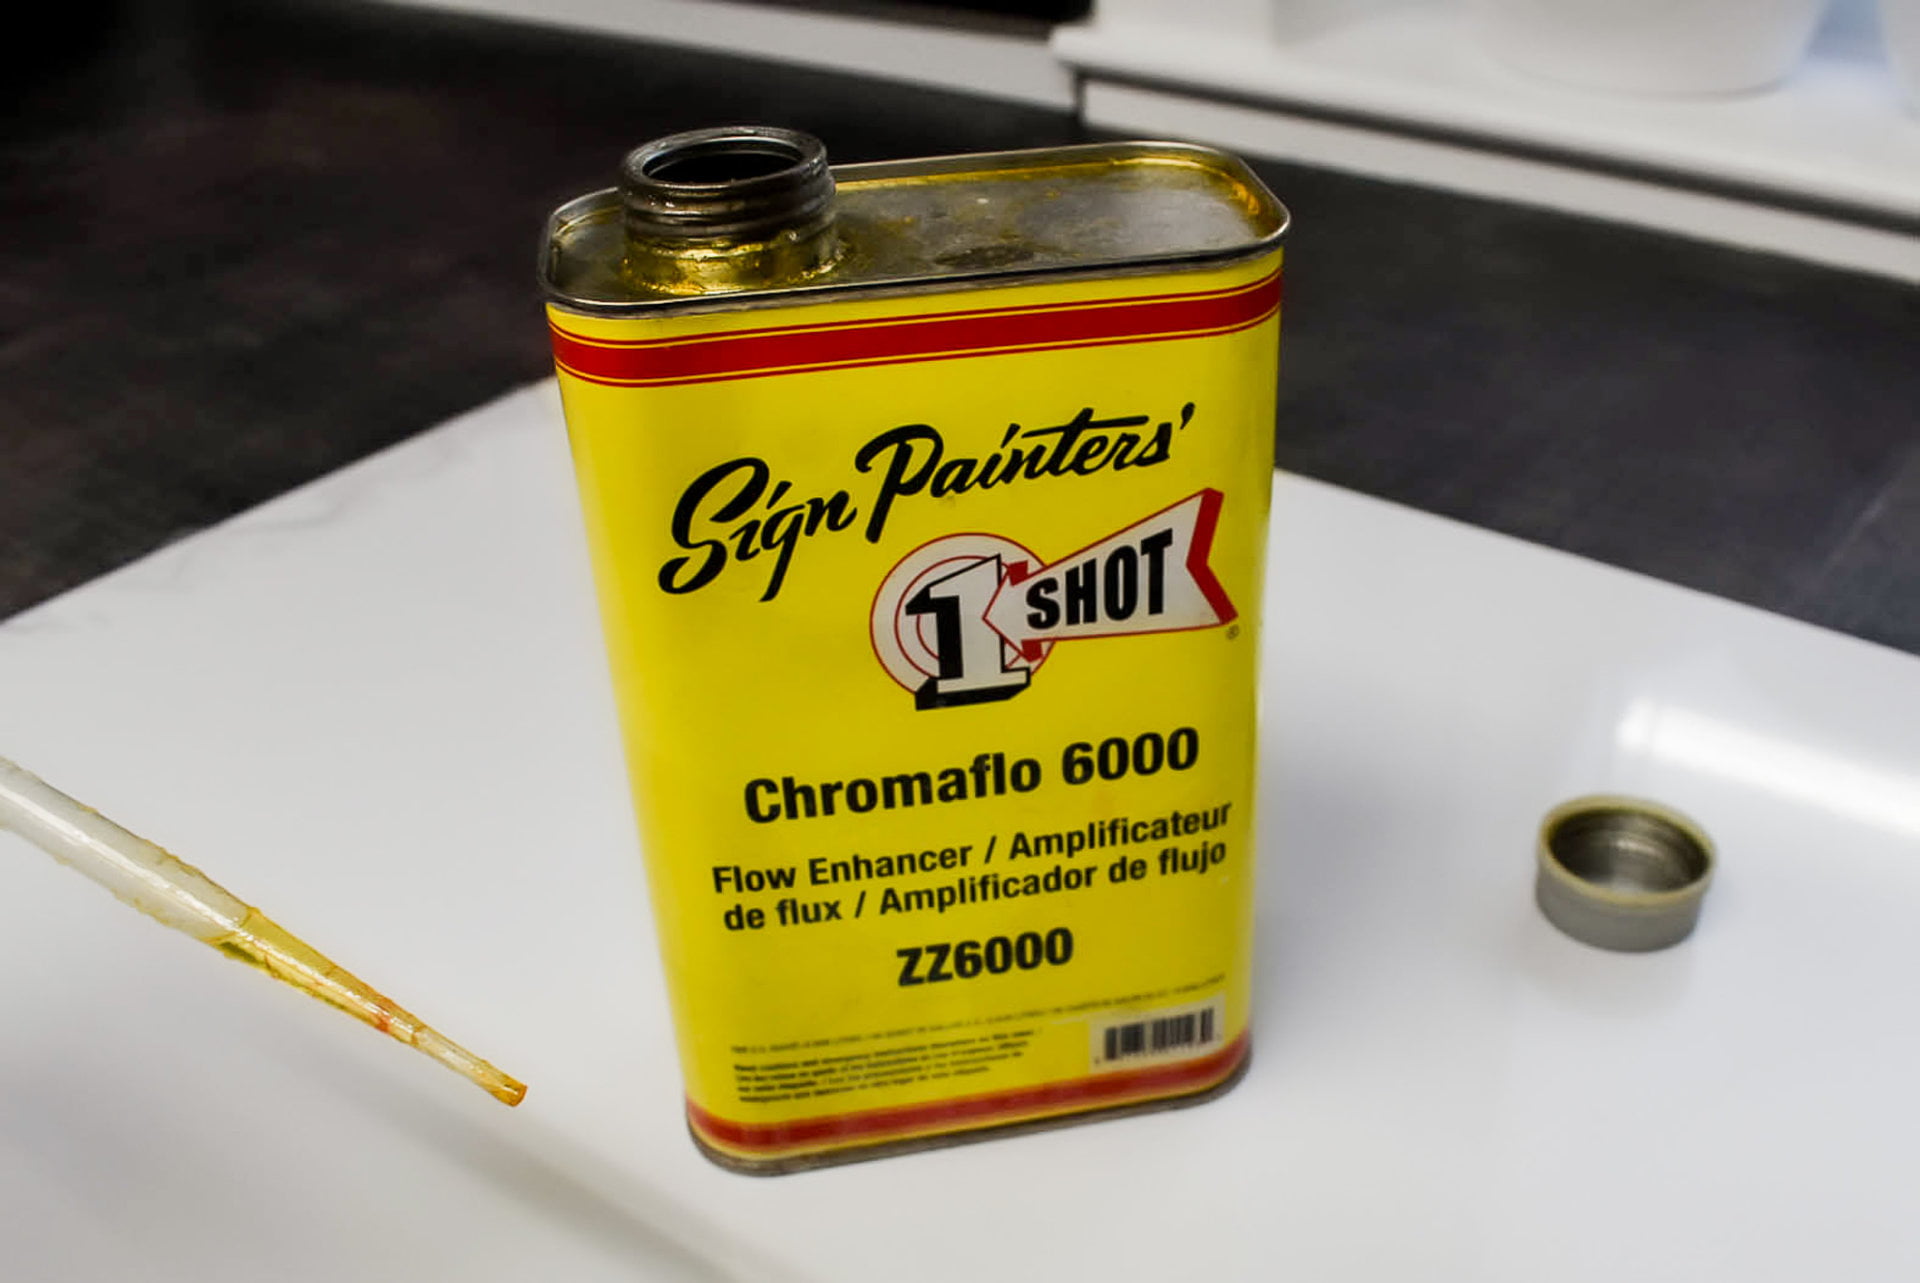
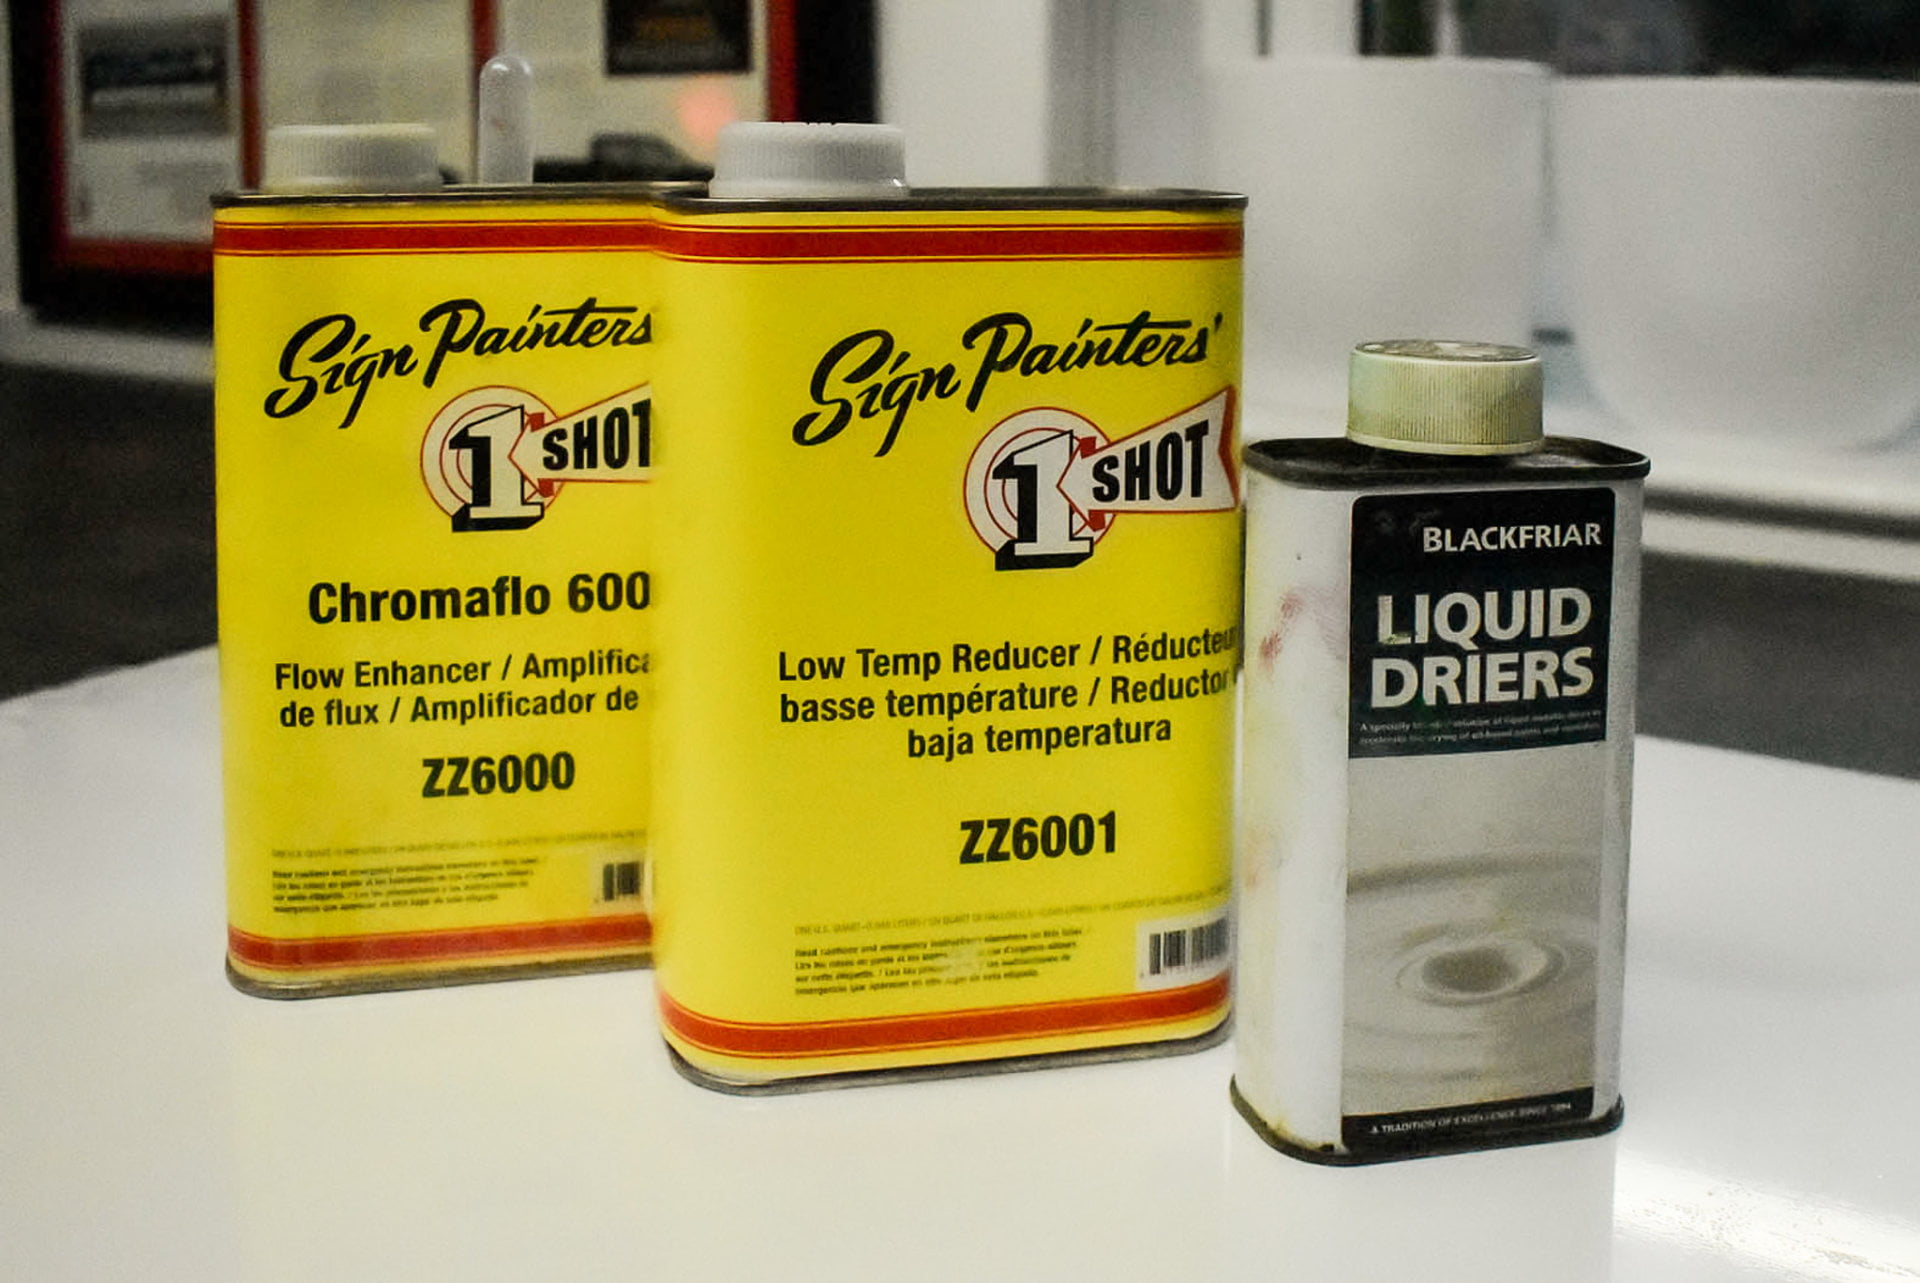
I also use One Shot Chromaflow 6000. This is not technically a thinner but does increase the flow of the enamel. I use sparingly and assess how much to add, depending on the viscosity and volume of enamel I’m using.
Other additives are available, such as high and low temperature reducers. Reducers enable more flow in your enamel when the temperature isn’t ideal. Fast driers can also be added to speed the hardening of your paint. Use driers sparingly and start with a very small amount. Too much driers can slow the drying time of paints.
Enamels differ in workability. Adding various chemicals to your paint will also change how each enamel reacts to your painting, the brush you use and the surface you’re painting on. I advise experimenting with additives before using them on your lettering projects.
Key points
Take care when working with hazardous chemicals.
Stir the paint until it’s an even consistency before thinning or using it from the tin.
Use thinners specified for oil based paints.
Strain the paint to remove any skin or debris.
Add small amounts of thinners whilst slowly mixing them into the paint.
Work with paint which is similar to a single cream consistency.
If the paint drags, thin it.
Always test additives for thinning paints and lettering enamels. Thanks for reading my guide on how to thin paint for sign painting. Get in touch if you have any questions.