07740 877 544
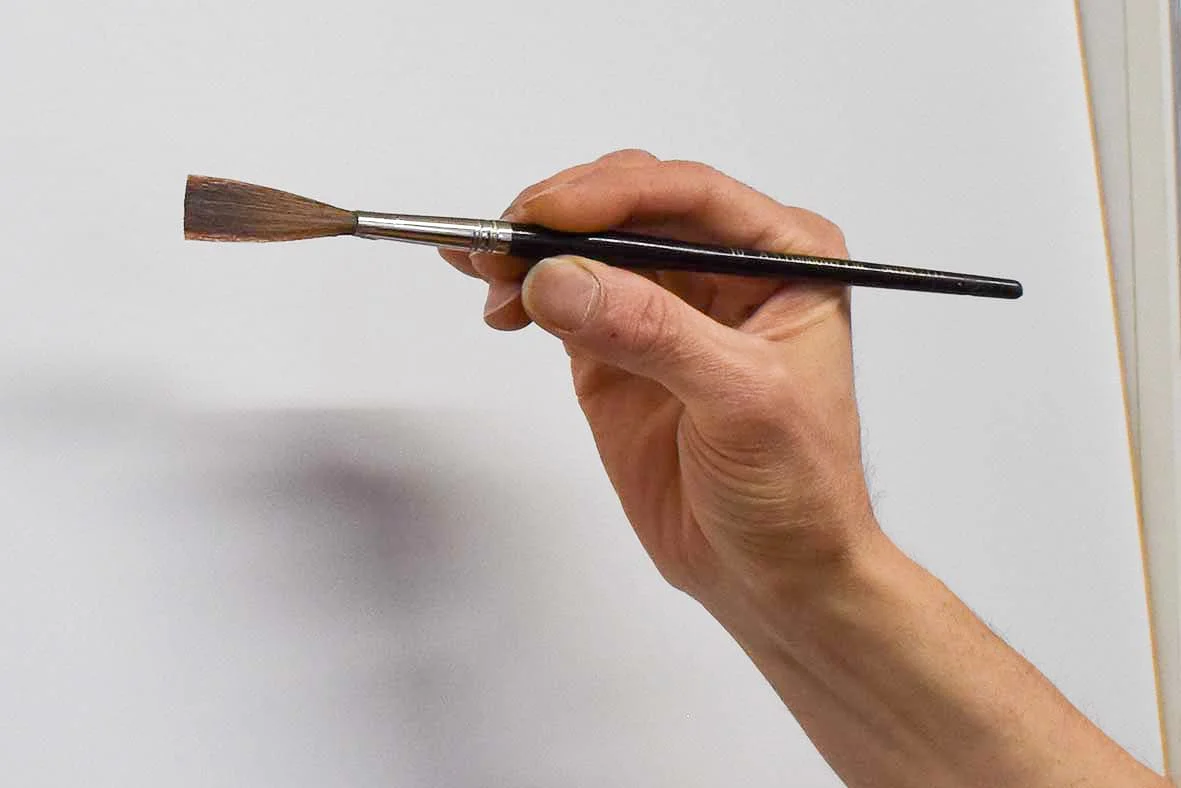
This guide explains the fundamentals of how to hold a lettering brush and mahlstick. With practice, you’ll automatically adopt these techniques and perhaps modify what’s comfortable for you.
Posture for signwriting
Be conscious of your posture and how it affects the movements of your arm and wrist. Your entire body will affect your signwriting. Prolonged signwriting will affect your entire body.
Breathing moves your diaphragm. As such, slight movements in your diaphragm will transfer through to movements in your hands. This’ll become apparent when you’re focused on detailed work. Holding your breath for short intervals will help steady your hand to paint smoothly.
Synchronise your breathing with the movements required to execute strokes.
I prefer to stand when lettering panels. Standing helps me better control the brush. I also prefer to hand paint letters on panels that are vertical on my easel, or at a slight upwards diagonal. It’s wise to work in this manner as you may have to letter a wall or van door which won’t turn horizontal.
Relax your shoulders and stand with feet apart. Think of your spine’s centre line. Your writing hand should be aligned close to your centre and in front of your chest.
Standing isn’t always possible and rests are essential. When sitting or crouching, centre your body. Take care not to slouch your neck and back.
Relax. Stiffening your body will be reflected in the brush strokes.
How to hold a lettering brush
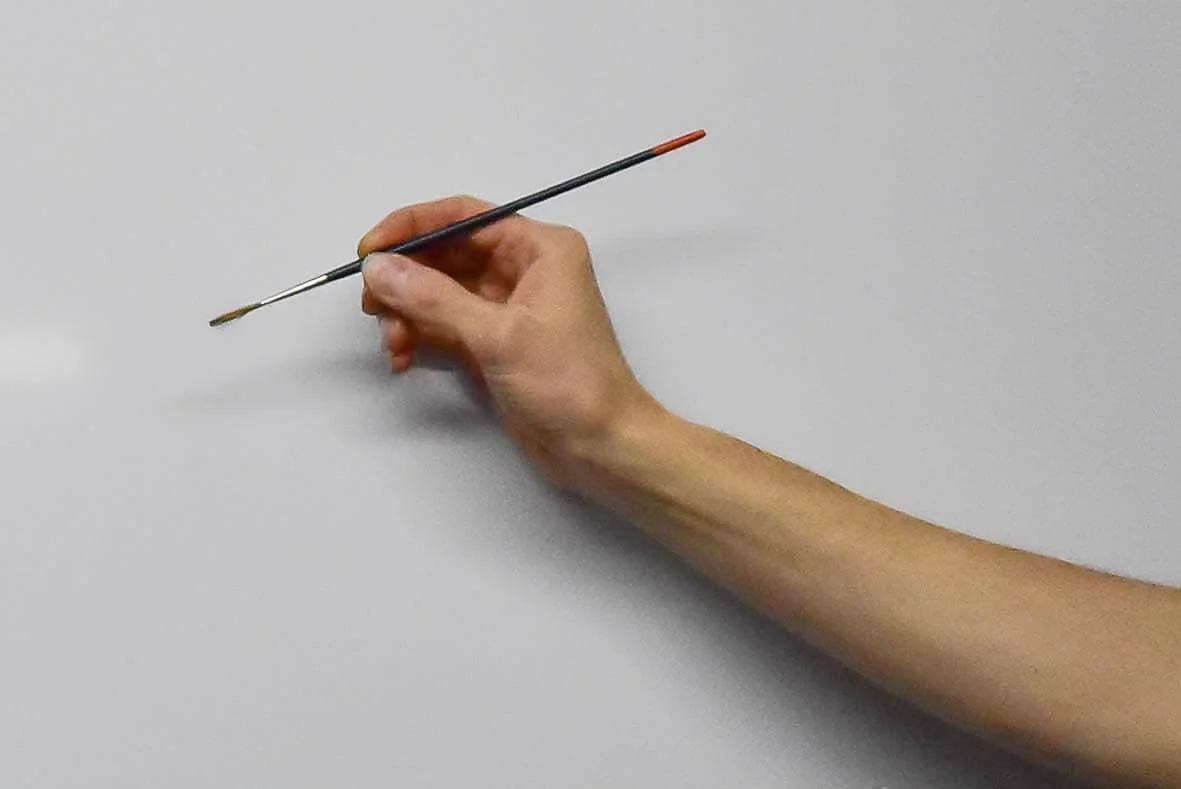
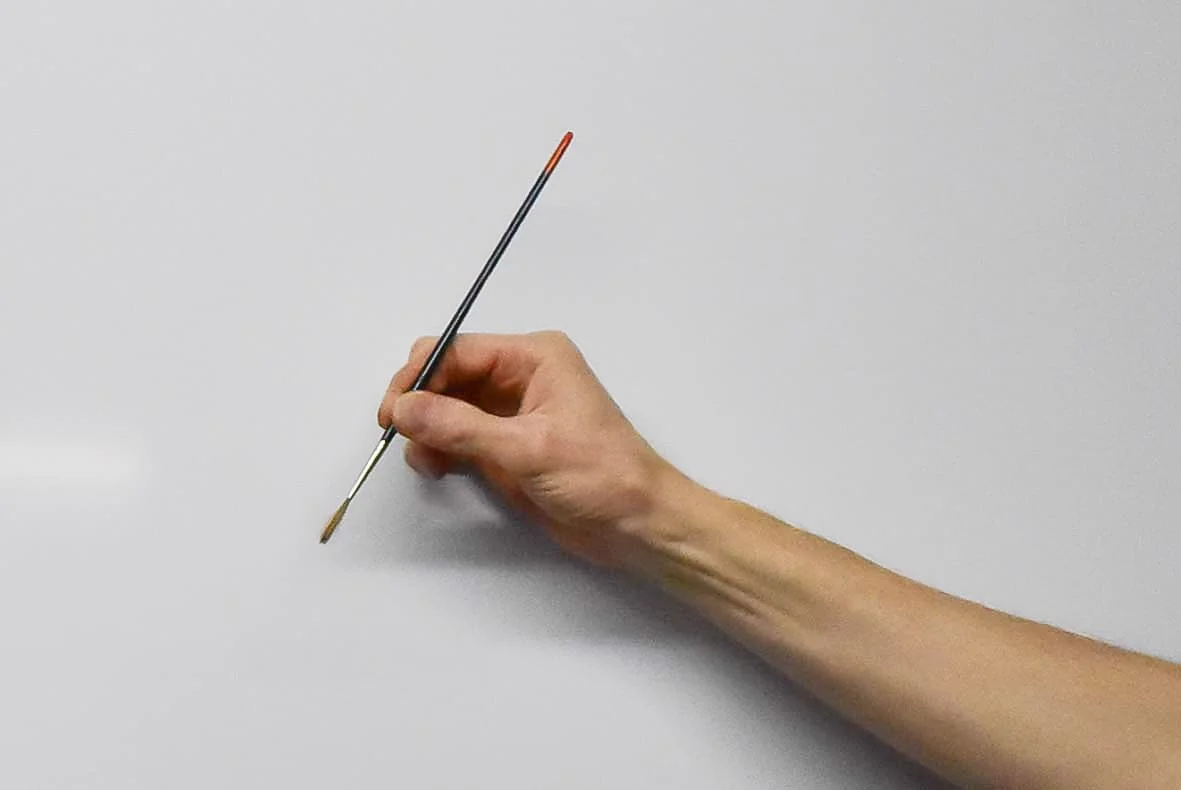
Similar to how you’d hold a pencil, hold the handle of the brush with your thumb and index finger. Grip the handle approximately fifty millimetres from the base of the hairs. Not on the ferrule. That’ll give you optimal control of the lettering brush.
The length of the hairs will also determine the placement of your fingers. If your fingertips are too close to the base of the hairs, the toe of the hairs won’t pivot fully in the direction you move your fingers.
The farther away your fingertips are from the tip of the hairs, will result in longer strokes. Restricting the movement of strokes will limit what you can do with the lettering brush.
Practice placing your fingers at varying distances from the base of the hairs. Paint simple shapes and strokes with different length hairs. You’ll notice where your sweet spot is to place your fingertips.
When starting to learn brush lettering, you may find it easier to use your middle finger to steady the brush. Be aware that the middle finger will hinder the rotation of the brush. Get used to the thumb and forefinger only hold. With practice, you’ll find more flexibility resulting in smoother curves and sharper corners.
Your wrist acts like a compass that your fingers pivot upon. Your arm shouldn’t have to move unless your painting strokes longer than your fingers
Give yourself enough elbow room between the painting surface and your body. Move your body close to the painting surface for detailed and fine work.
How to hold a mahl stick
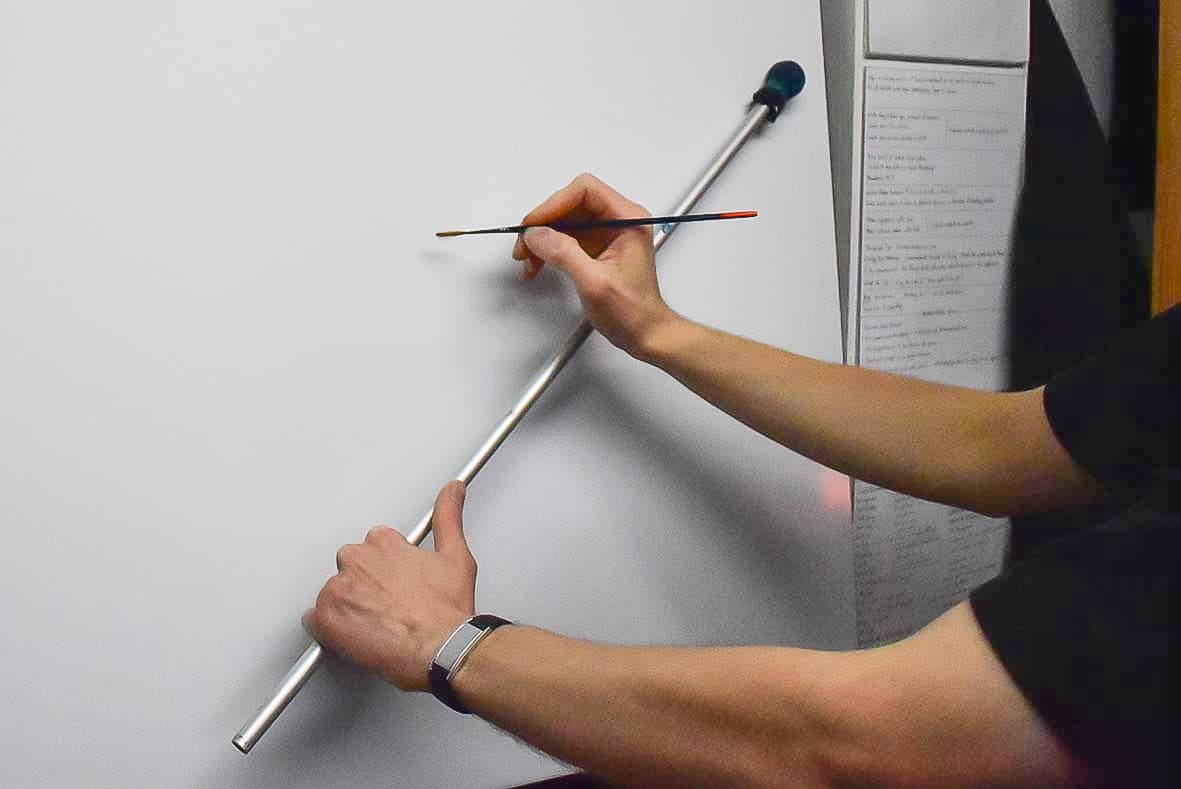
The use of a mahl stick can be tricky at first. With practice, it can become integral when signwriting. In conjunction with your entire body, the mahl stick steadies, rests, and leads your hand. Think of the mahl stick as an extension of your writing hand and it’ll increase your ability.
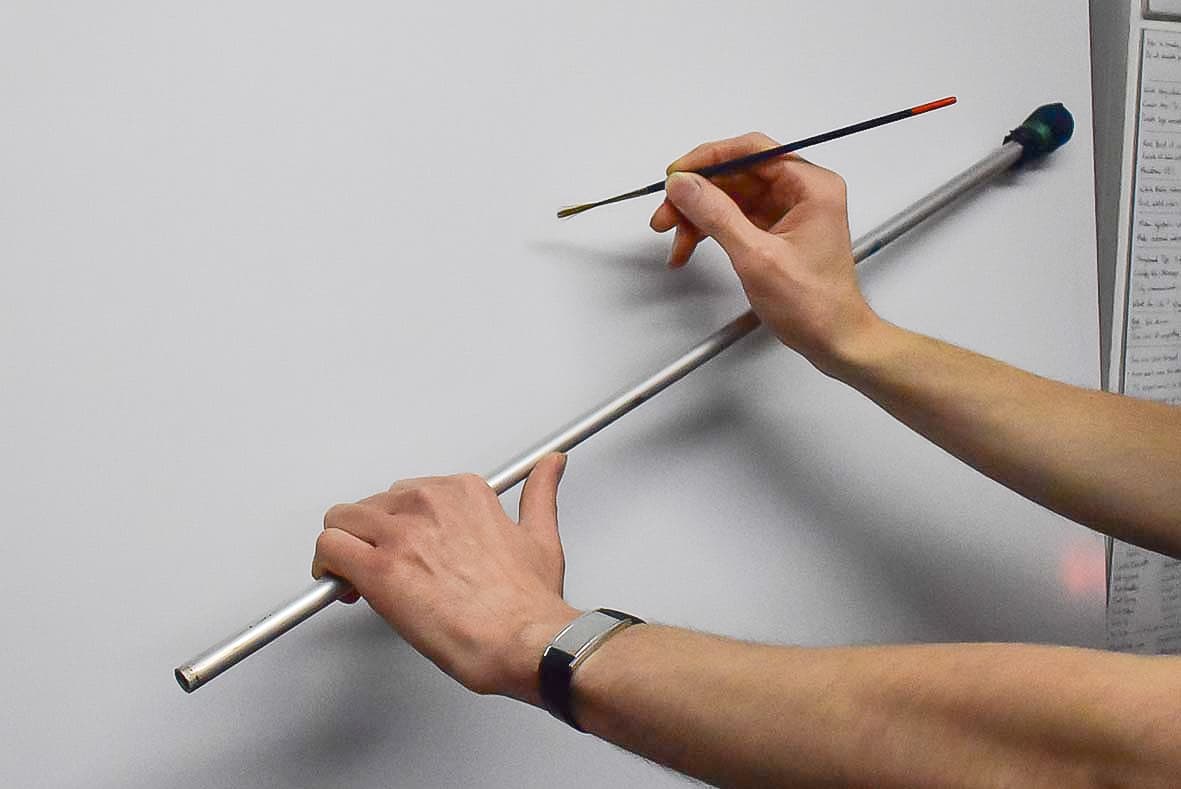
Hold the mahl stick within the bottom third of its length, with your non-writing hand. Rest the heel of your writing hand on the mahl stick at the height of where your signwriting.
The positioning of your writing hand should allow your wrist to move freely in a circular direction. If your hand is restricted, adjust until your wrist can pivot your hand.
You can now move your mahl stick hand back and forth in front of your signwriting surface. As well as your writing hand in all directions. This is the foundation of your signwriting stance.
Steady your writing hand
Alternatively, use your non-writing arm to steady your writing hand. Cross your arm underneath your writing wrist and rest your writing hand. This is helpful in enclosed spaces, where the mahl stick hinders movement.
Some signwriters and pinstripers use their little finger to steady their writing hand. The pinky is gently dragged along the surface, in front of the brush direction.
Whichever steadying method you choose will reduce fatigue in your writing hand. It’ll also improve the flow of your strokes and help you to work faster with fewer shaky mistakes.
Holding the paint
Your non-writing hand can also hold your paint. Small pots like clean yogurt pots or paper cups are ideal. As well as little teacups.
The use of a palette can also be helpful. Some palettes are designed to hold pots which are especially useful when working at height or in enclosed spaces.
Key points:
Be conscious of your posture
Synchronise your breathing with the movement of your brush
Roll the brush handle between your two writing fingers
Use a mahl stick to rest, steady, and lead your writing hand
Thanks for reading my guide on how to hold a lettering brush and mahlstick. Get in touch if you have any questions.
