Understanding the array of paints that sign painters use is a fundamental aspect of the brush painting method. This informative photo guide will explain a brief summary of each of the most often used paints which I have applied by brush, over the last thirty years. All are suitable to use for exterior sign making.
You will gain knowledge in choosing the correct paint to substrate selection. As well as learning the paint layers process for protecting exterior surfaces.
This is not a definitive selection of every paint from every manufacturer, but a shortlist of easily sourced (UK) and affordable paints for exterior sign making. This guide is your reference when following accompanying sign painting guides throughout this series.
Various production methods can be used for making exterior signs and will be dependent on your project’s quantity, size, location, cost, lead time and expected lifespan.
Most metal and plastic sheet material distributors stock off the shelf colours, suitable for a multitude of applications. However, standard colours and finishes are often limited. Ordering specific colours for manufacturing single or small quantities of sheets can also be very expensive.
There is a huge selection of colours and finishes of manufactured, self-adhesive, vinyl. The films can be applied to panels by flooding the sheet material which bonds a skin to the surface. However, there are limitations with vinyl roll widths and barriers with application surfaces. These aspects can also cause poor adhesion and visible tiled segments.
Digitally printed vinyl produces a wider gamut of colours which can then be applied to standard sheet materials. Again, adhesive vinyl has limitations and printing can be costly for smaller panel projects.
Importantly, every colour and finish cannot be accurately produced as an adhesive vinyl.
Spray painting and plastic or powder coating provide reliable options with another vast selection of colours and finishes. These options are better suited for complex shapes, and outsourced to professionals with the correct industrial equipment. Single and small projects can often be costly.
I’ve written extensively about colour management in signmaking. You can learn more here.
Choosing to brush paint a sign panel is most suitable for bespoke coloured and custom shaped signs, which are expected to last for years in challenging exterior conditions.
By painting a sign with a brush, the painter has full control of the colour process. Painting can reduce production costs as well as minimise adverse effects on the environment. Reliable, exterior paints are often cost effective, reusable and can last for years if stored correctly.
There is also added charm apparent with a custom painted sign.
Most substrates and surfaces require thorough preparation before a coat of paint. Loose dirt and debris should be removed from the dried painting surface as well as ensure a dry and breezeless working environment.
The temperature of your working environment is also conducive to paint drying. Too cold can thicken the paint during application as well as wrinkle the finish. Paints usually take longer to dry in freezing conditions. An overly warm environment can quicken the drying time during the application and make the paint thicker too.
Clean the paint tin rims and seal your tins of paint firmly. This will save you from throwing out half used and half dried paints, as well as avoiding potential spillages.
Use primers as base coats and sealers for bare and prepared surfaces before the top coat (finish paint and top layer) is applied.
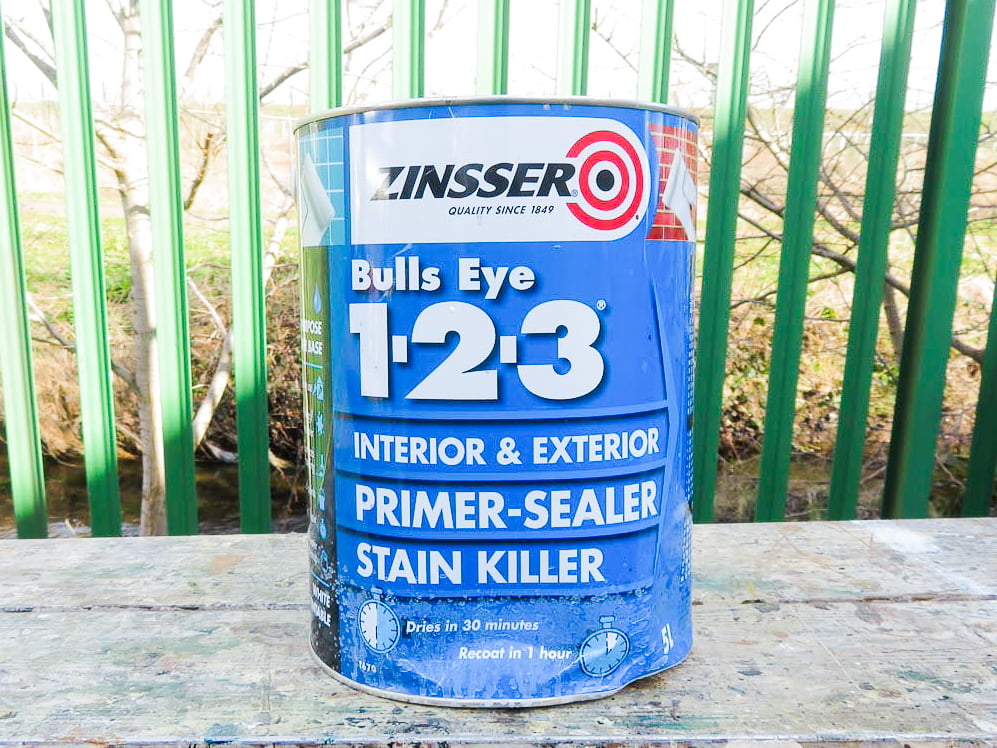
Used for direct application to masonry and stone surfaces, Zinsser Bullseye 123 is an excellent choice for a strong base coat.
It seals and covers, leaving a smooth canvas for painting over. It also spreads well by brush or roller, with an almost elastic flow. Water based, quick drying and overcoatable in the same 24hr period make this paint a fine choice for exterior stone wall signs.

Red oxide is a favourite for wrought iron work. Used for decades by metalworkers, its anti-corrosive properties aid in abating rust and is available from many manufacturers. I recommend using red oxide for iron frames, iron fixings and cut-out shapes.
Thinning is usually necessary for better flow with a brush and generally lays and dries flat quickly. Second coating is not always necessary but in my experience, leaves a fuller bodied finish by the time you get to the topcoat.
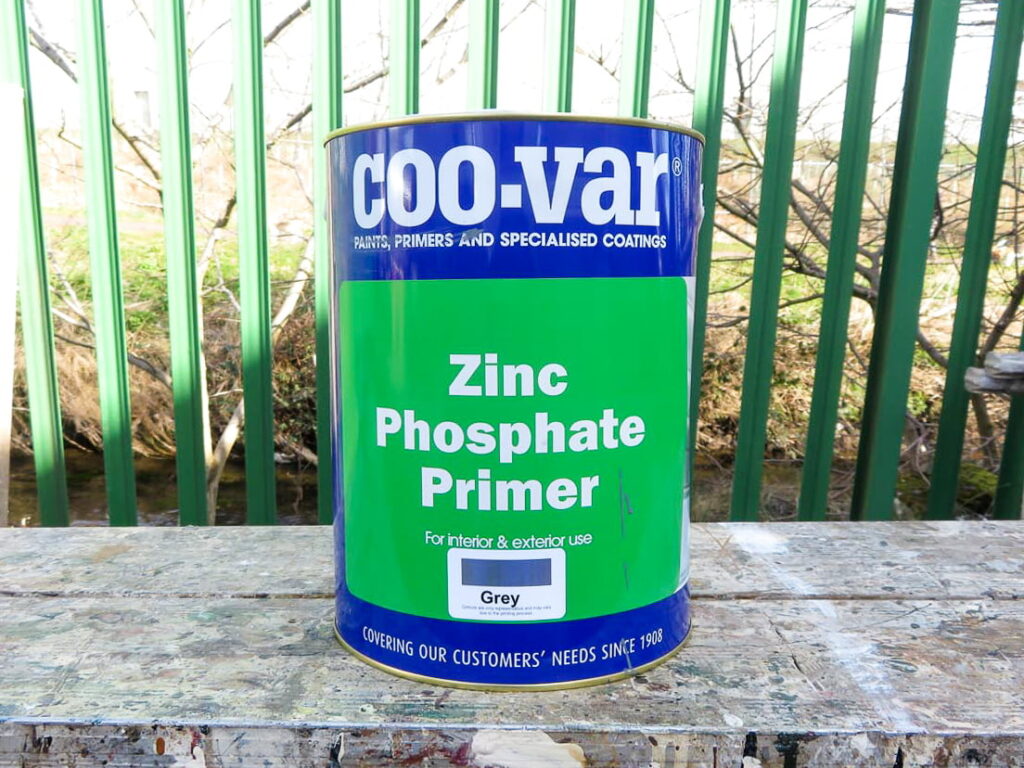
Another must have addition for your metal panels painting projects. Zinc phosphate primer is suitable for most alloys and is especially useful for priming aluminium surfaces.
It holds good anti corrosive properties as well as covering well and touch drying quickly. This paint grabs onto the surface of sanded metals, providing a solid layer for your next coat.
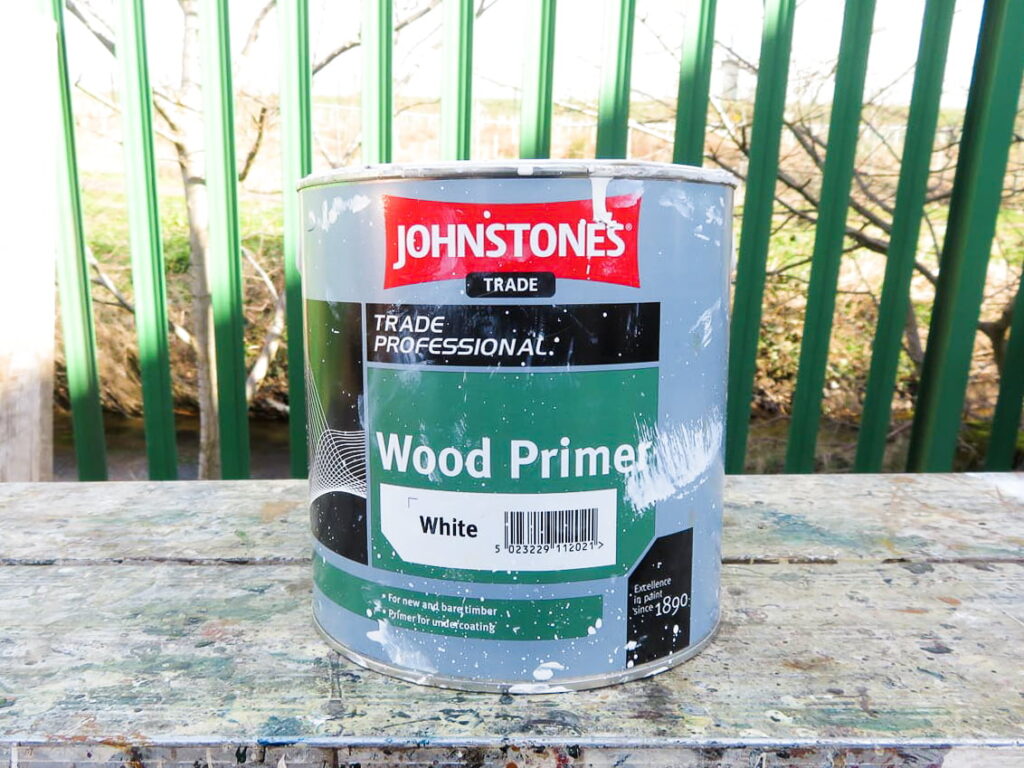
If you want to make bare wood or plywood surfaces into decent, solid coloured wooden signs, you’ll need wood primer. I use mainly oil based paints for exterior sign making and oil-based wood primer the most.
I most always thin the primer with white spirits or turpentine, especially when painting large flat areas. Johnstone’s wood primer is my preference and available from many national and independent paint merchants in the UK. It’s cost effective, reliable and solidifies well, especially after two coats.
In most plywood painting circumstances, I use two coats of thinned wood primer before one coat of undercoat. Then at least two coats of gloss depending on the coverage, per side of the panel. This method of building up paint layers ensures longevity for plywood signs in harsh exterior conditions.
Johnstone’s oil-based wood primer enables a sound base for this layering method.
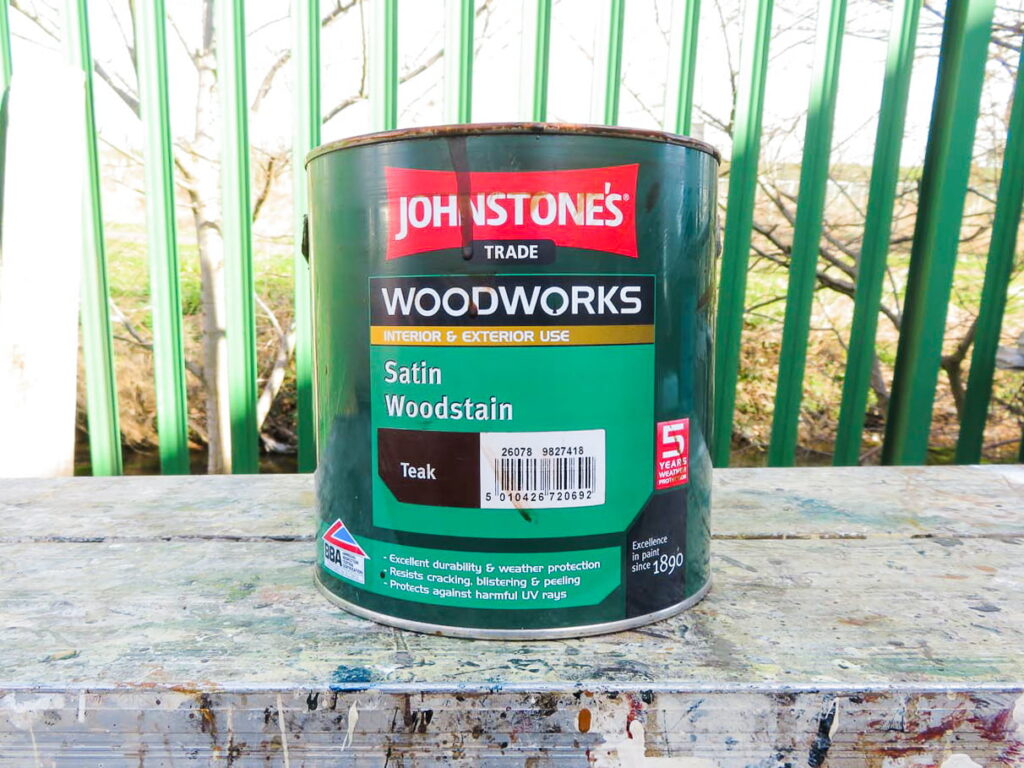
Wood stains are used for enhancing the natural wood grain of plywood, hardwood and softwood. They can be painted directly onto wooden surfaces as a primer and as a finish coat.
Varnish can also be brushed on top for extra depth and durability if desired. Experimenting with natural wood grain finishes and solid colours opens a new world of effects for sign lettering and graphics.
Wood stains are available in several tones from many manufacturers and provide interesting contrasts with different wood veneers.
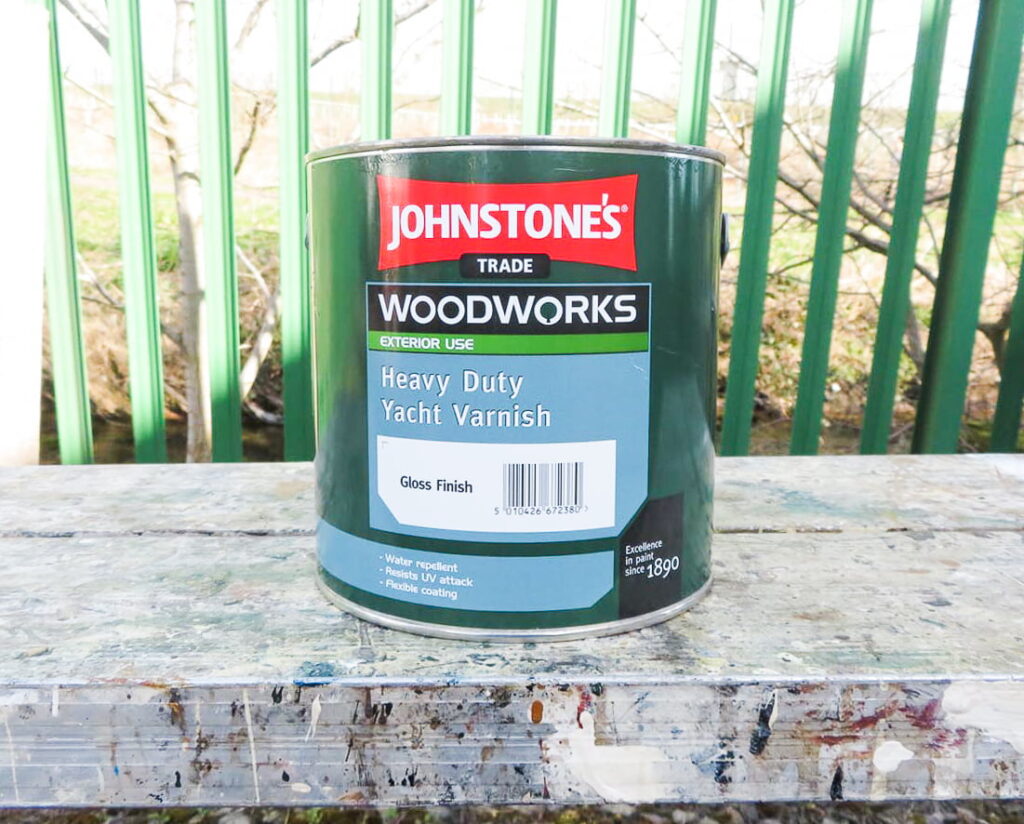
Varnishes and lacquers are generally available in matt, satin and gloss finish. Water and oil based options are widely available for brush application. I advise you not to use a roller when varnishing due to bubbling caused by foam rollers, as well as loose fibres from furry rollers.
Varnishes can be used to paint directly onto bare or treated wood and are sometimes used as sealers before staining wooden surfaces. This option is contentious. I don’t seal bare wood with varnish but I wouldn’t rule it out.
For deep, high gloss finishes which will protect and lengthen the durability of wood stains or sign lettering, I recommend using yacht varnish. After years of exterior exposure, the panel can be sanded and varnished again. This rejuvenates the sign and most often prevents a complete overhaul or replacement.
Using any varnish will, however, discolour your paints below it. Always test a sample first.
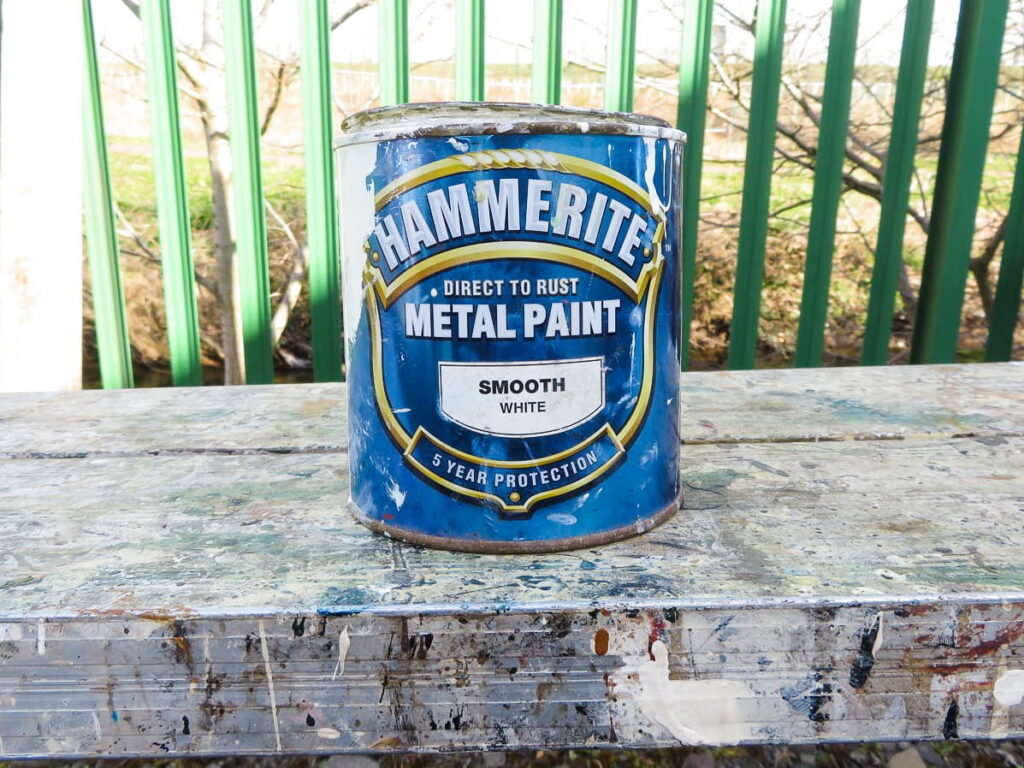
Another universal paint well known for its hammered finish is Hammerite.
Not a common paint coating used for sign panels, but worth mentioning in this guide for painting iron work or metal frames and fixings. It’s well worth having a litre of black in your stock for any poles or flat bars used for signage fabrication.
This stuff dries rapidly when brushing and requires overcoating within a specified time frame. The paint’s reaction makes the chemical properties sufficiently bond to the metal surface. Plan for enough time painting when using this choice of coating and always follow the manufacturer’s instructions for use.
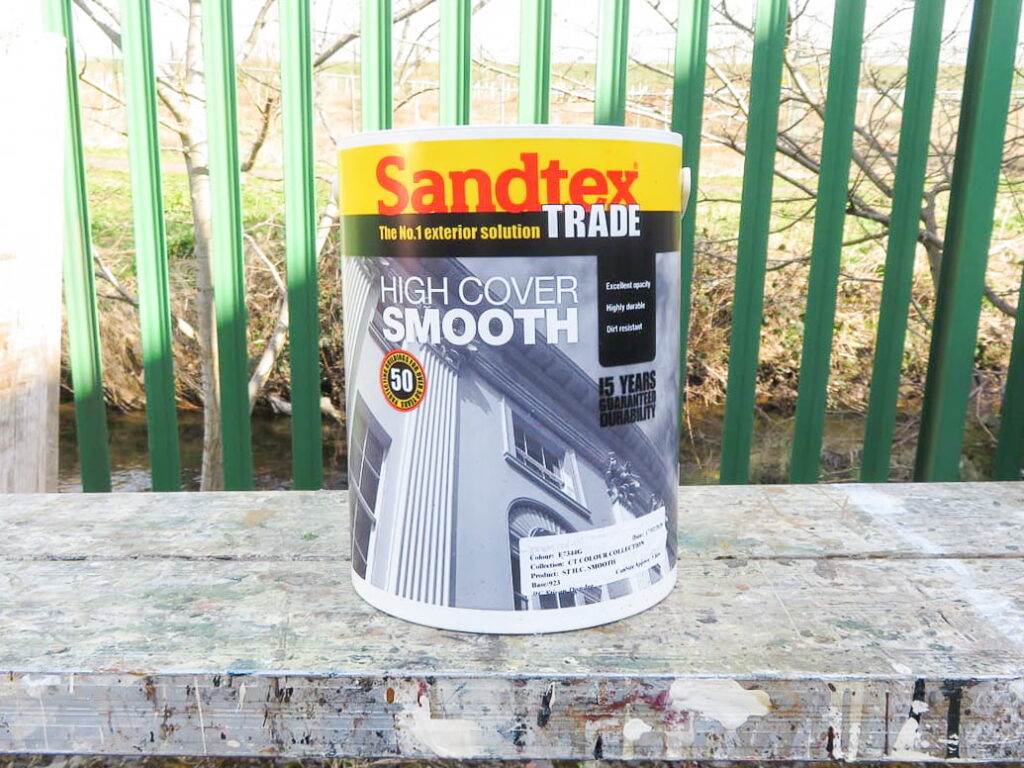
Masonry paints can be thick to handle for detailed sign work on walls. However, it is important to use the most suitable paint for your project to be certain that it will last. The paint shown above is good for colouring large stone wall areas.
Sandtex has a vast selection of colours which are mixed to order. Importantly, many colours are limited for use in exterior environments. The manufacturer advises against using most reds, pinks, oranges and yellows on surfaces which will receive direct sunlight. This is due to UV rays fading the pigment in the paint.
Other masonry paint manufacturers are available for specific wall paints which can be used for exterior sign work. I advise asking your paint merchant to ascertain the paints’ properties and how to mix your desired colour.
Oil-based undercoats and gloss paints can serve as substitute masonry paints for large exterior wall areas. These paints are also available in a myriad of colours, but coverage and opacity can pose problems.
Always adequately prepare masonry and stone surfaces before painting and use suitable sealers or primers before painting top coats onto porous masonry or stone.
Adhesion can be problematic with water on top of oil. Therefore, seek advice from your paint merchant and find the right sealer before applying water based paints on top of oil based painted surfaces.
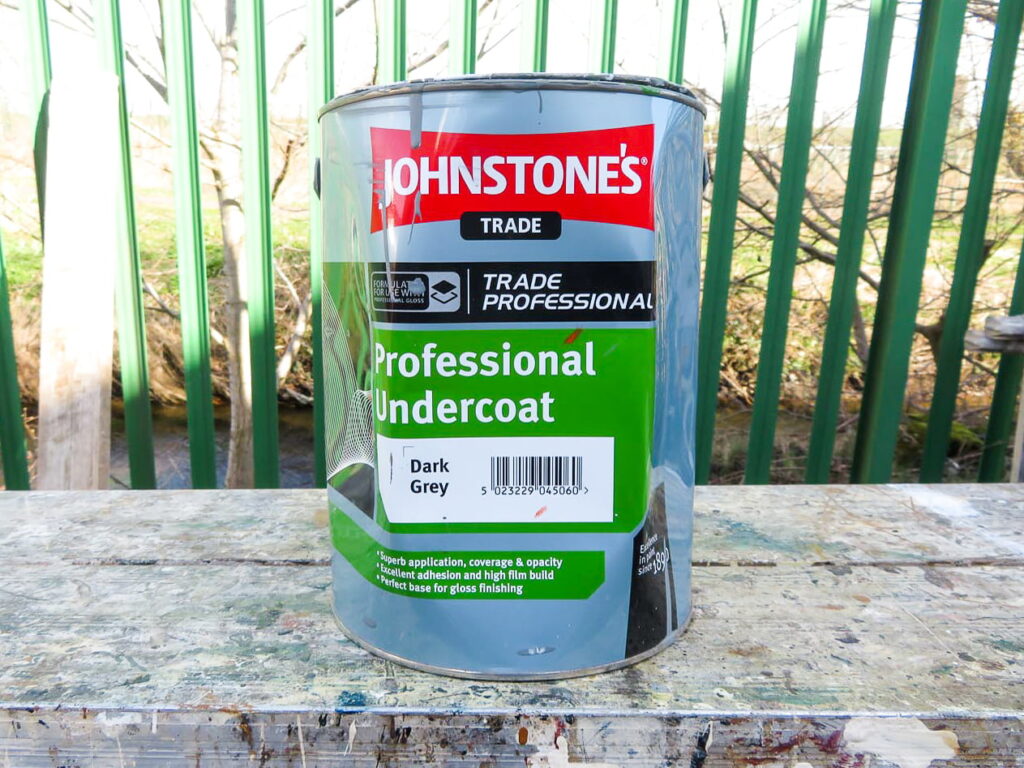
Oil based undercoats are a mainstay for solid and long-lasting exterior plywood signs. The undercoat is applied on top of the wood primer and not only acts as a leveller for the top coat (blocking out open woodgrains) but also helps in building protection for the wooden surface.
I’ve used undercoats extensively in wooden and metal sign painting and there is a noticeably poorer difference in the finish if an undercoat is not used. Keep your undercoat thin and allow it to act as a surface grabber for your top coat.
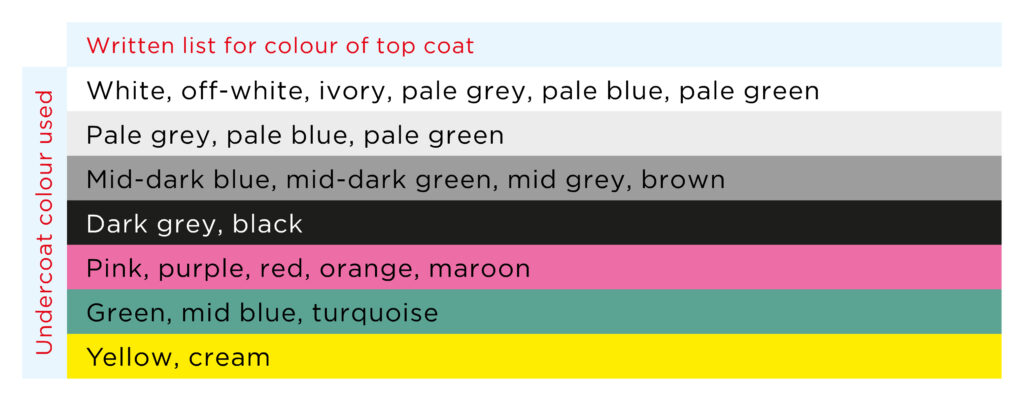
After priming and undercoating, the bare surface colour of your panel should become less noticeable. The undercoat should be as close as available in colour to the top coat. This choice helps increase the top coat’s opacity to become more solid and completely block out the bare surface colour. Use this chart for reference.
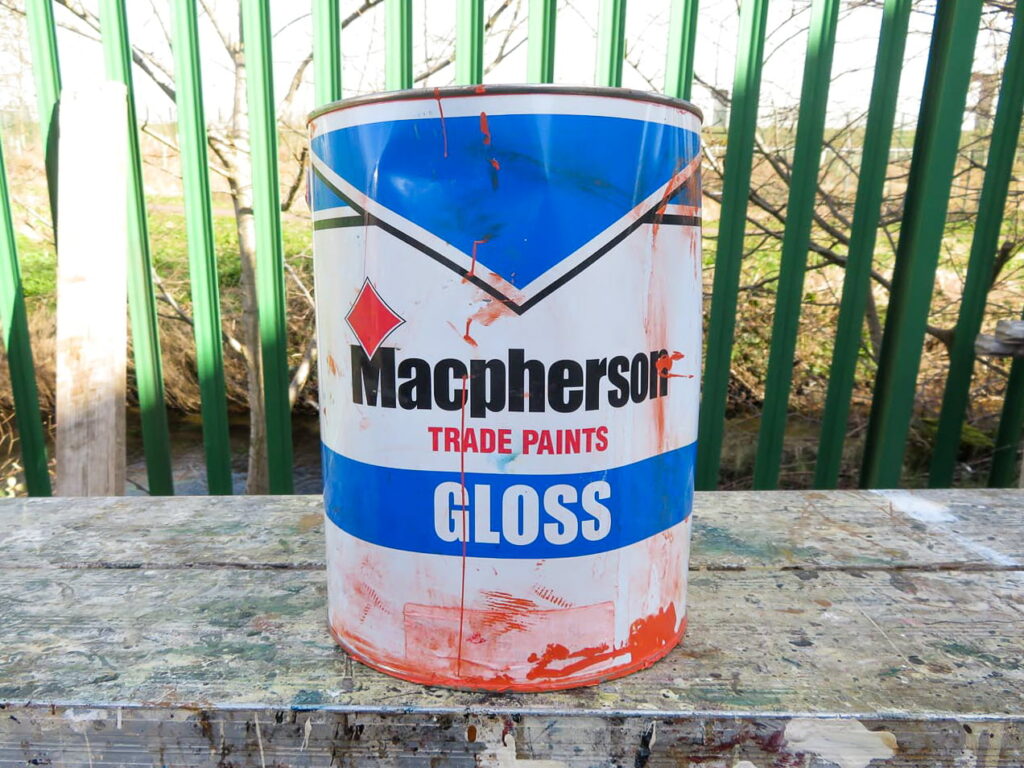
Gloss paints are top coats which should be used mainly for the background colours of your signs. They can also be used for some lettering and graphics but will depend on their flow, coverage, and durability. Of all paints, gloss colours tend to take the longest to dry.
Oil-based gloss paints will often harden in the tin if not sealed properly. As well as a skin forming over the already used paint inside the tin. If this happens, cut the skin with a sharp blade or edge of a scraper and strain the paint before use. Strainers are easily sourced from merchants and auto body paint suppliers or use a pair of old nylon tights.
Decorating grade, gloss paints are widely available in varying qualities from numerous manufacturers. I advise buying small quantities of paints to sample first, before purchasing larger quantities for your sign painting projects.
In my experience, reds, oranges and maroons are poor covering. It’s wise to spend a little more money on a good covering paint, rather than spending time on several coats of gloss.
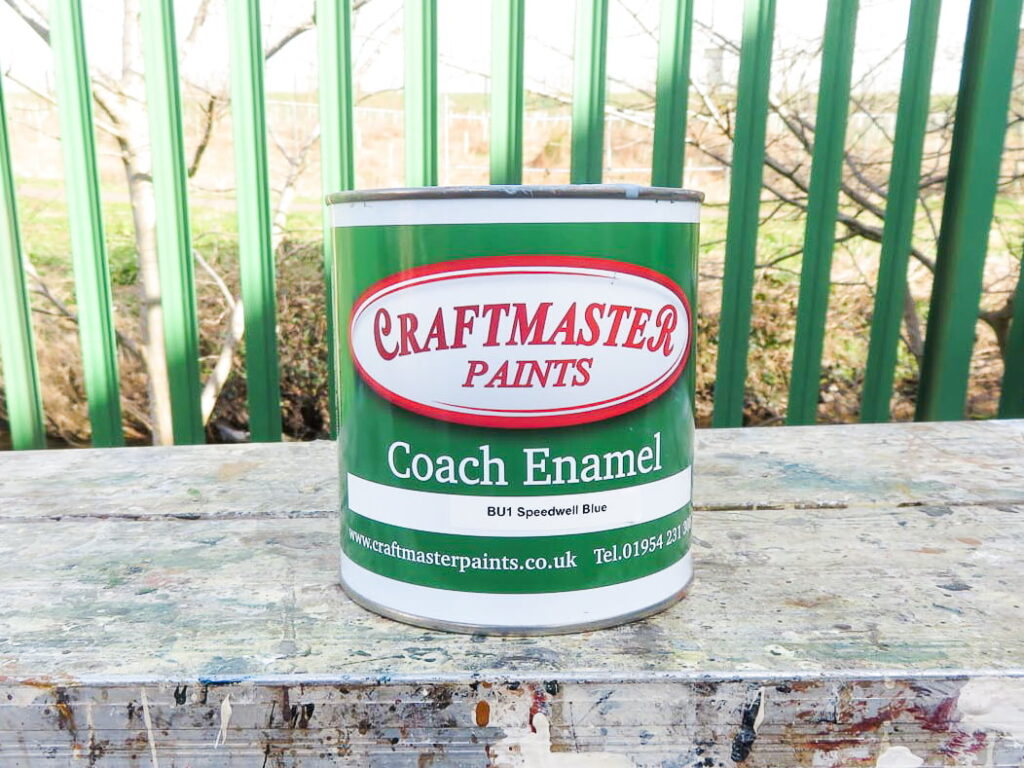
Coach enamels are generally used for automotive panel painting. Like oil based, gloss top coats, they also provide a high gloss, full bodied finish. Autobody enamels are generally harder wearing and more workable than decorating grade gloss paints.
Enamels are designed to dry for hard coatings and are a wise choice for sign panel painting. However, this choice can be an expensive one, so it’s sometimes hard to justify, especially for small or singular projects.
In general, coach enamels are better to use with writing brushes for sign work due to their flow and coverage. In my experience, red, orange and maroon coach enamels are also poor covering.
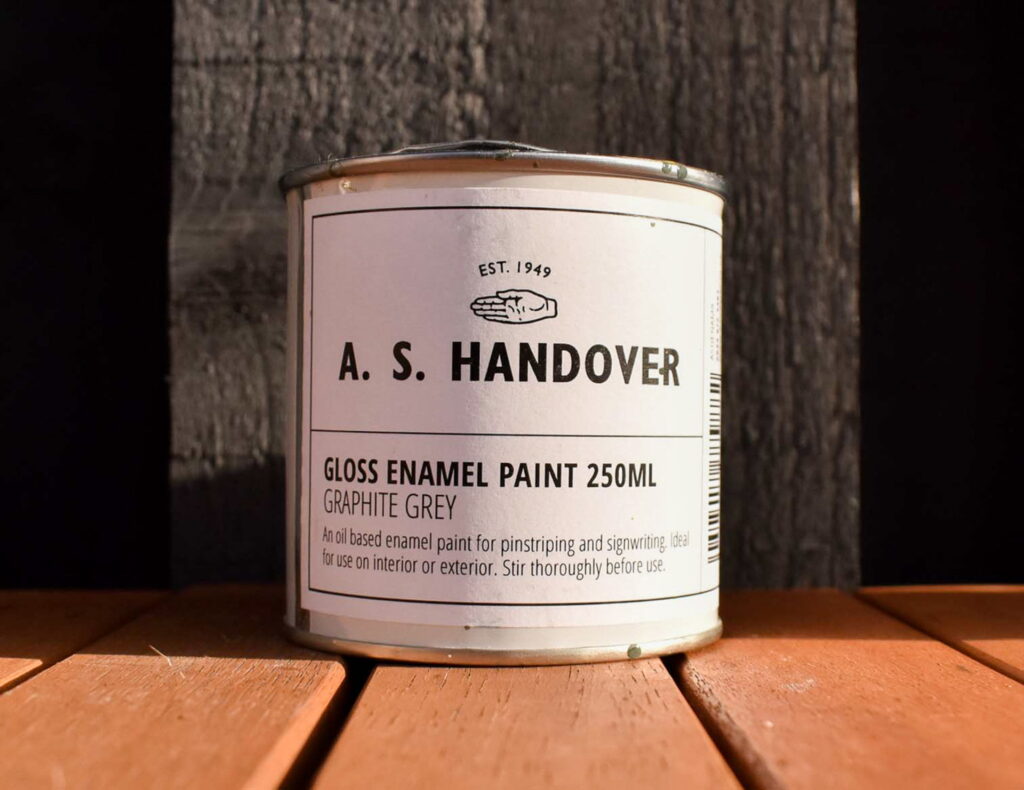
A. S Handover supplies a very decent selection of gloss colours for hand lettering with a brush. Colours not available as standard can be mixed close to your desired colour.
In my experience, the enamel flows well, doesn’t clog in the tin and is reasonably priced.
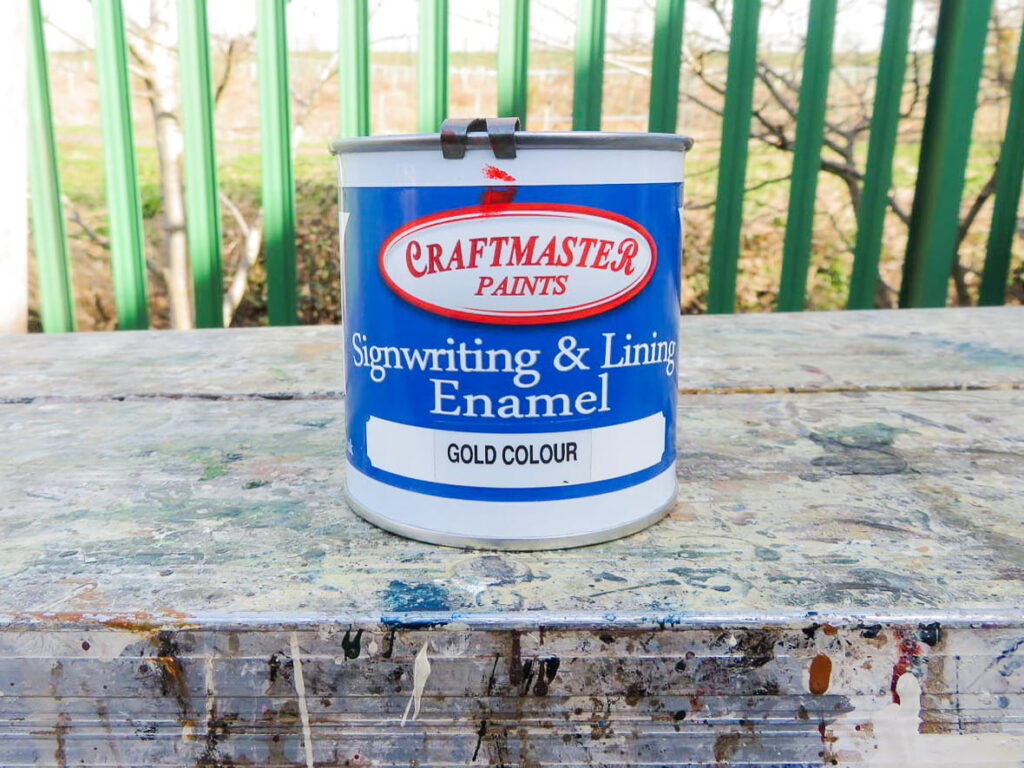
Craftmaster’s traditional lettering enamels are made in the United Kingdom and available from several stockists as well as the manufacturer directly.
Used mainly for working on vehicles and canal boats, the range of paints is of a high standard for signwriting and pinstriping. Reasonably priced and with additional support from their online resources, the Craftmaster brand is worth knowing
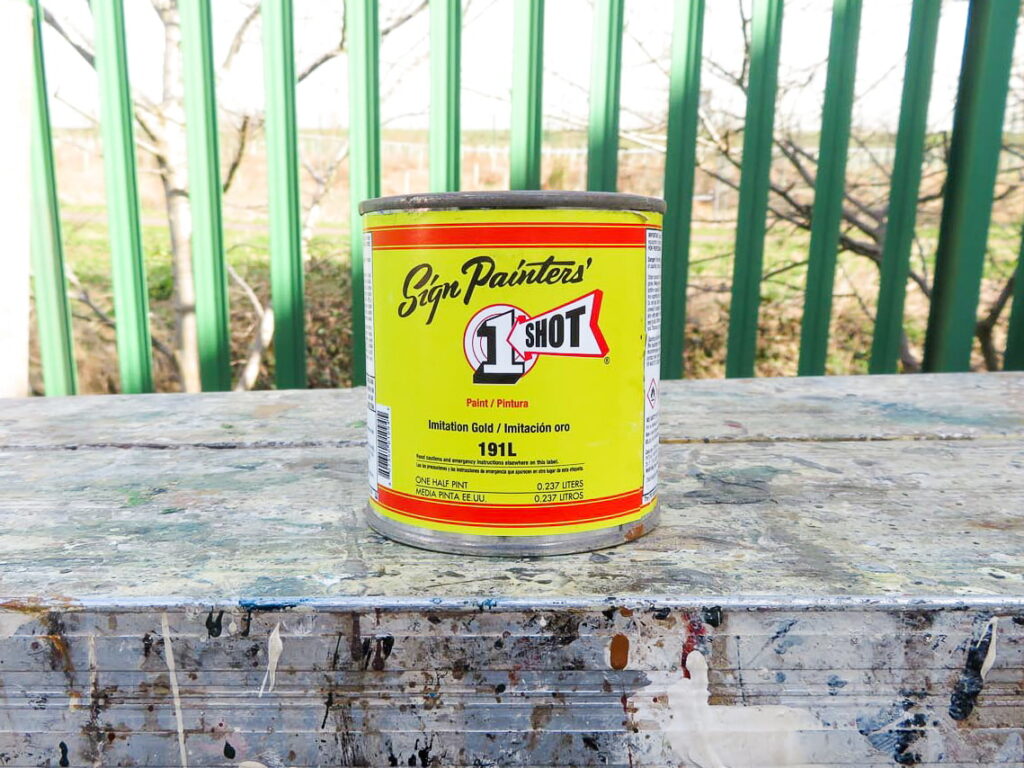
Arguably, the most famous and revered signwriting paint in the world; One Shot.
With an exceptional range of steadfast colours and finishes, most notably the superior gold metallic, One Shot has painted the way for generations of signwriters worldwide. The opacity and flowing properties of most of the range of paints are of a very high standard.
Used by the best in the world for decades, the paint’s reputation is reflected in its price.
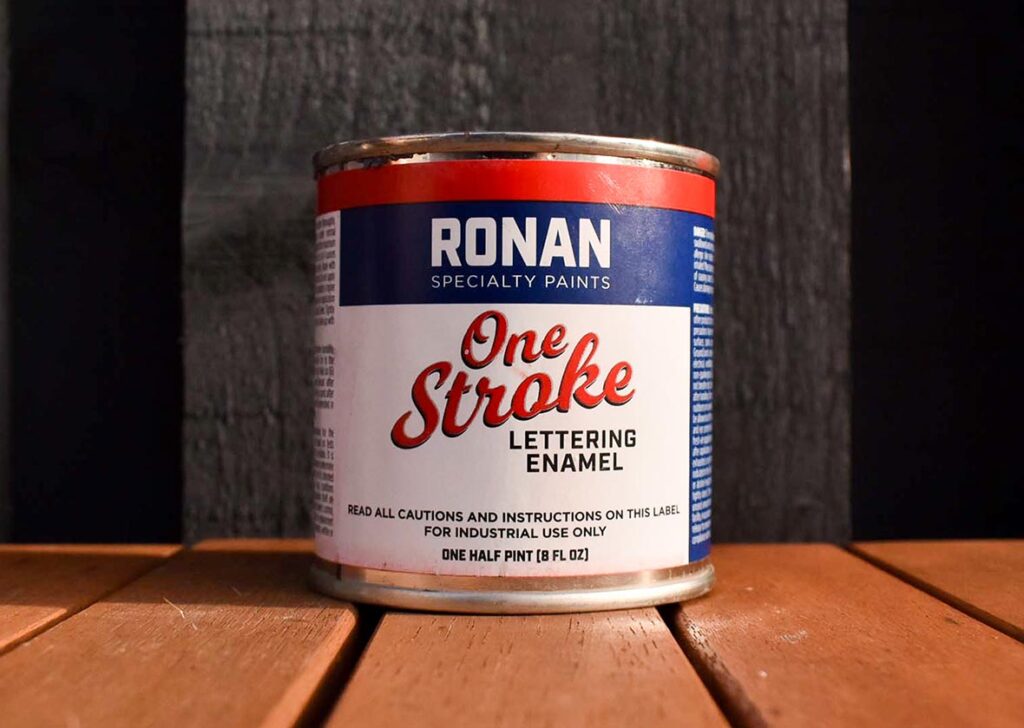
Ronan is another American paint and their One Stroke series is available in a range of attractive colours. Marketed as full bodied and claiming to leave no brush strokes, the enamel is certainly worth stocking for your hand lettering projects.
You can see and purchase more of Ronan’s enamels and lots of other paints, available from Sabre Paints.
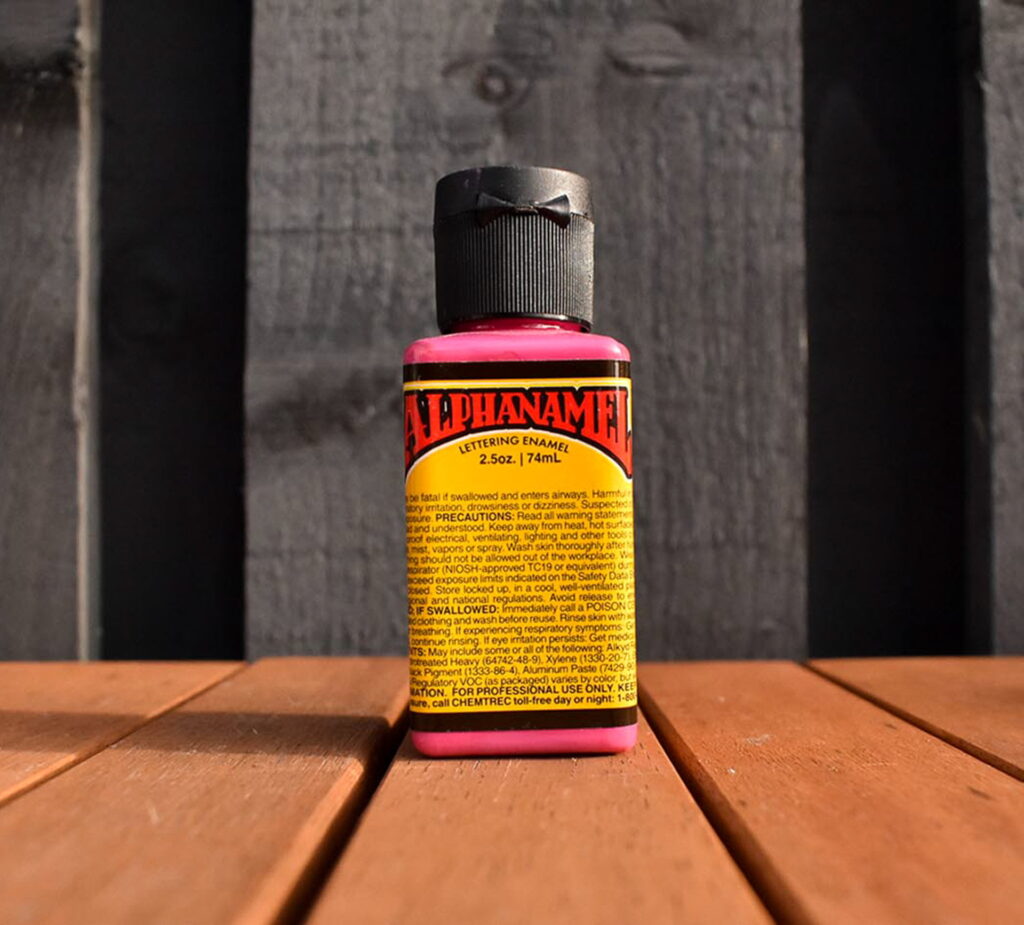
Alphanamel is also available from Sabre Paints and with a wide range of wild colours, the enamel is a good choice for vibrant lettering and illustrative pieces.
The paint covers and flows well. With variable sized bottles, all with handy drip free caps, this is the way to go for paint storage. The cap makes it easier to transfer and gauge the quantity of paint from the bottle to your pot.

A. S. Handover’s Japan flats are my go-to for matt finish hand lettering paint. The coverage and workability with a brush is exemplary.
The paint dries quickly and leaves an even finish. I find this enamel to be neat and tidy for sharp edges and detail work.
Gold size is a paint which has a similar consistency to enamel and appearance like yacht varnish. The size is clear but often tinted, which enables the signwriter to see what they are painting. After a short while, the size turns tacky, just before ‘going off’ (drying). It is at that point the gold leaf can be applied to the size.
I advise caution when choosing your oil based gold size. With variable open times (the time it takes from wet to tacky to dry), it’s easy to damage the leaf, the finish or forget where you’ve left off.
Always test your gold size before using in exterior environments and avoid hand lettering in extreme temperatures when possible.
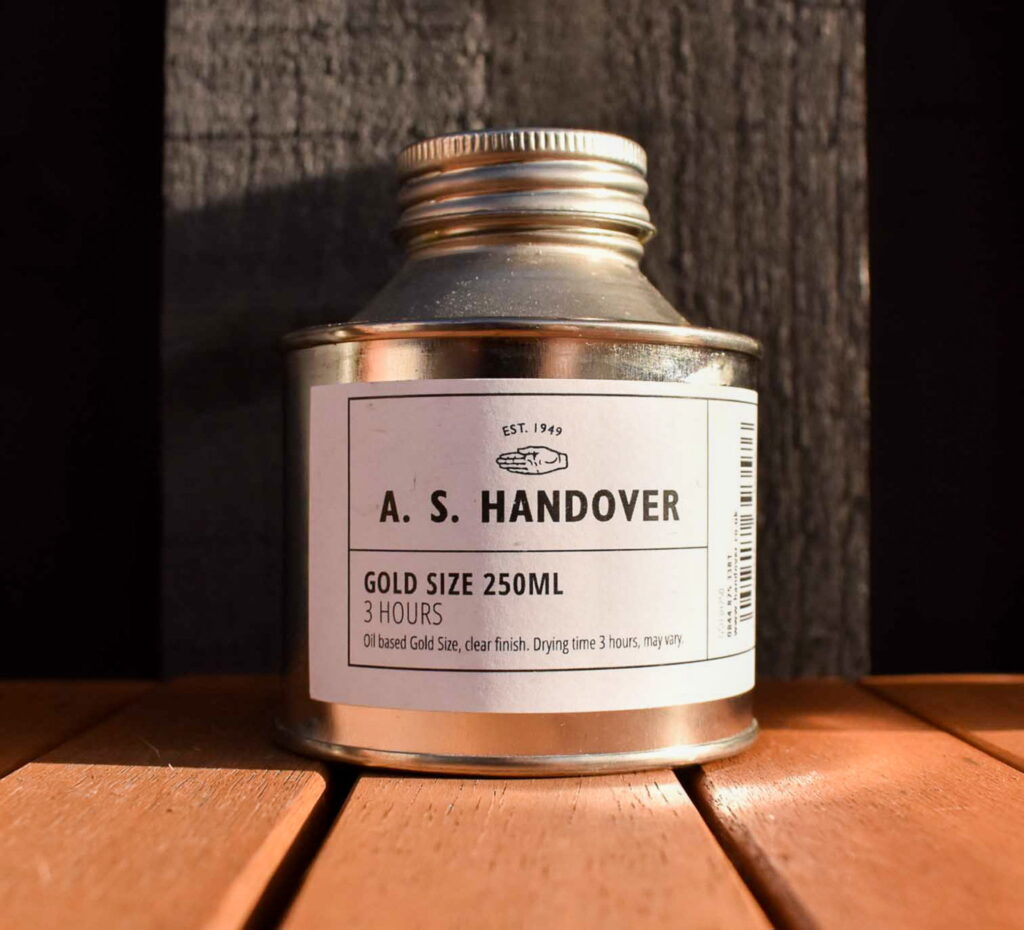
With variable open times for gilding with gold and metal leaf, A. S. Handover’s oil based gold size is my first choice for sign lettering.
I tend to use the three hour size and find it to be workable in different temperatures during exterior lettering. It’s reasonably priced and the screw cap bottle avoids clogging the pot lid.
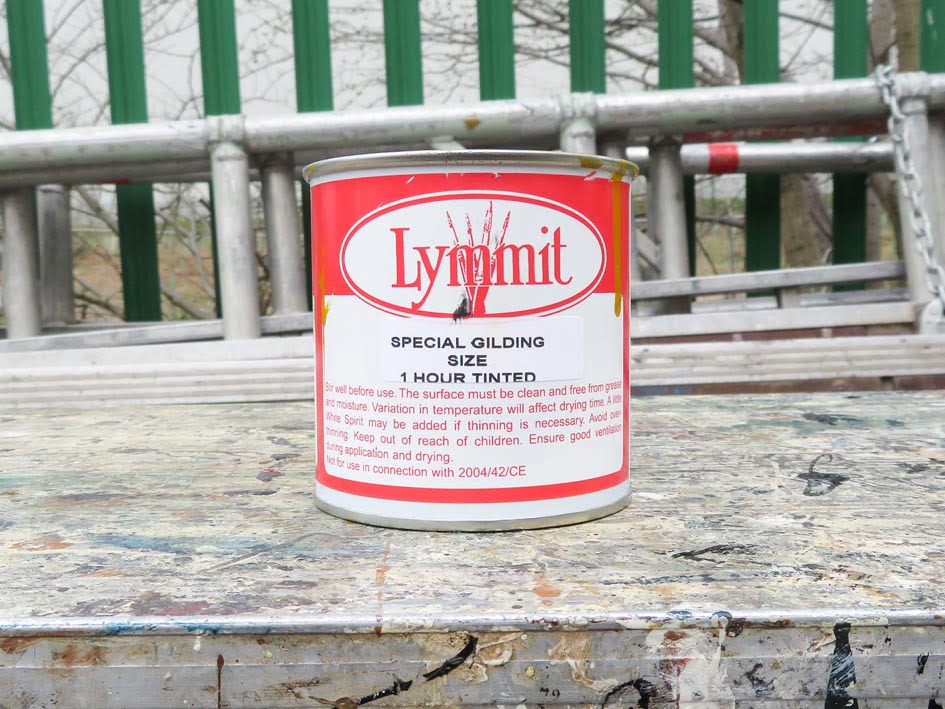
Wright’s of Lymm are also a well respected and long established British manufacturer of paints and sundries. Specialising in gold leaf and very knowledgeable about all aspects of gilding, their selection of products is vast.
The one hour size is shown above. Working proficiently on large gilding areas with this gold size requires some practice.
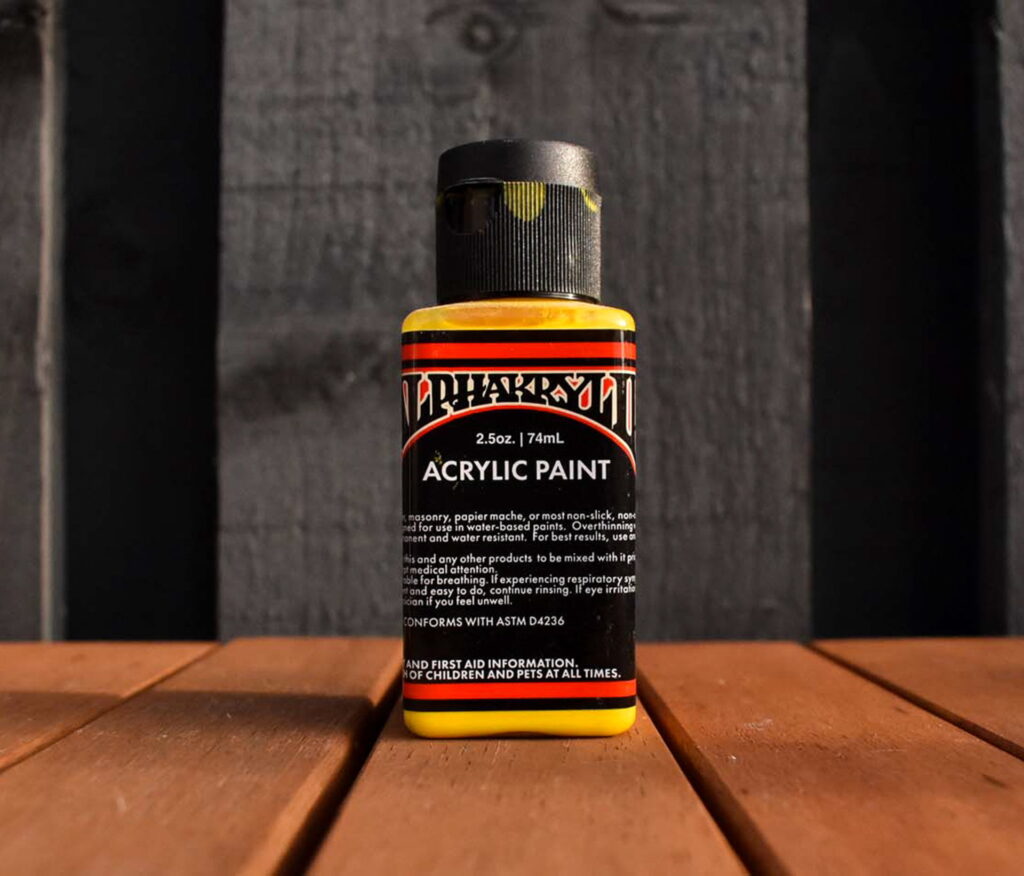
I don’t often use water based paints but Alphakrylic is well worth a mention. It’s available from Sabre Paints and shares the same colour range and choice of bottle size as its enamel brother.
I was impressed with its hard wearing adhesion to the plywood signs I’ve used it on.
It flows very well and is a joy to paint with. I find it to dry quickly, which can be advantageous for your project. I also found it to clog my water based brushes whilst in use and I washed them carefully during my hand lettering.
It’s definitely worth trying for matt finish lettering.
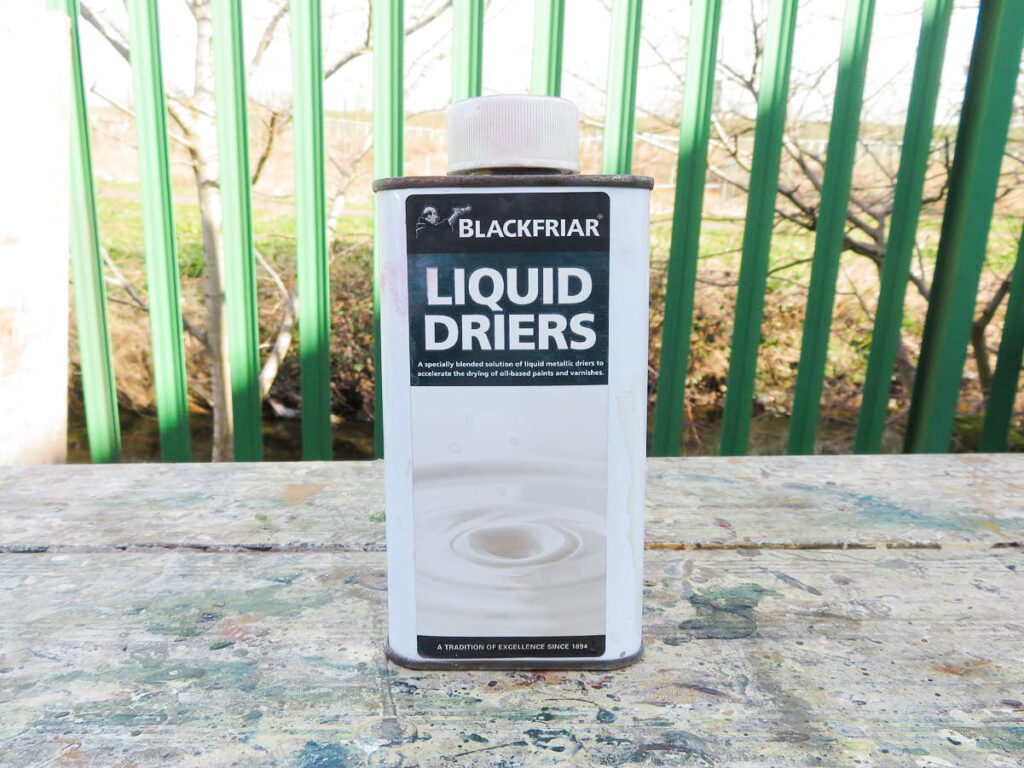
Not a paint but deserving a mention in this guide are dryers.
Used sparingly and with caution, fast dryers enable slow drying or slow curing paints to harden faster. Especially useful in colder temperatures, dryers have enabled me to get another coat on the sign the following day.
Please take the time to learn how much to use and which paints are compatible with the various dryers available on the market. They may be of vital use in one of your projects but can lead to unsatisfactory results without testing first.
Some fast driers can slow the paint drying time if you add too much. Take care.
Key points
Thanks for reading. If you have any questions or would like to talk shop, get in touch.