
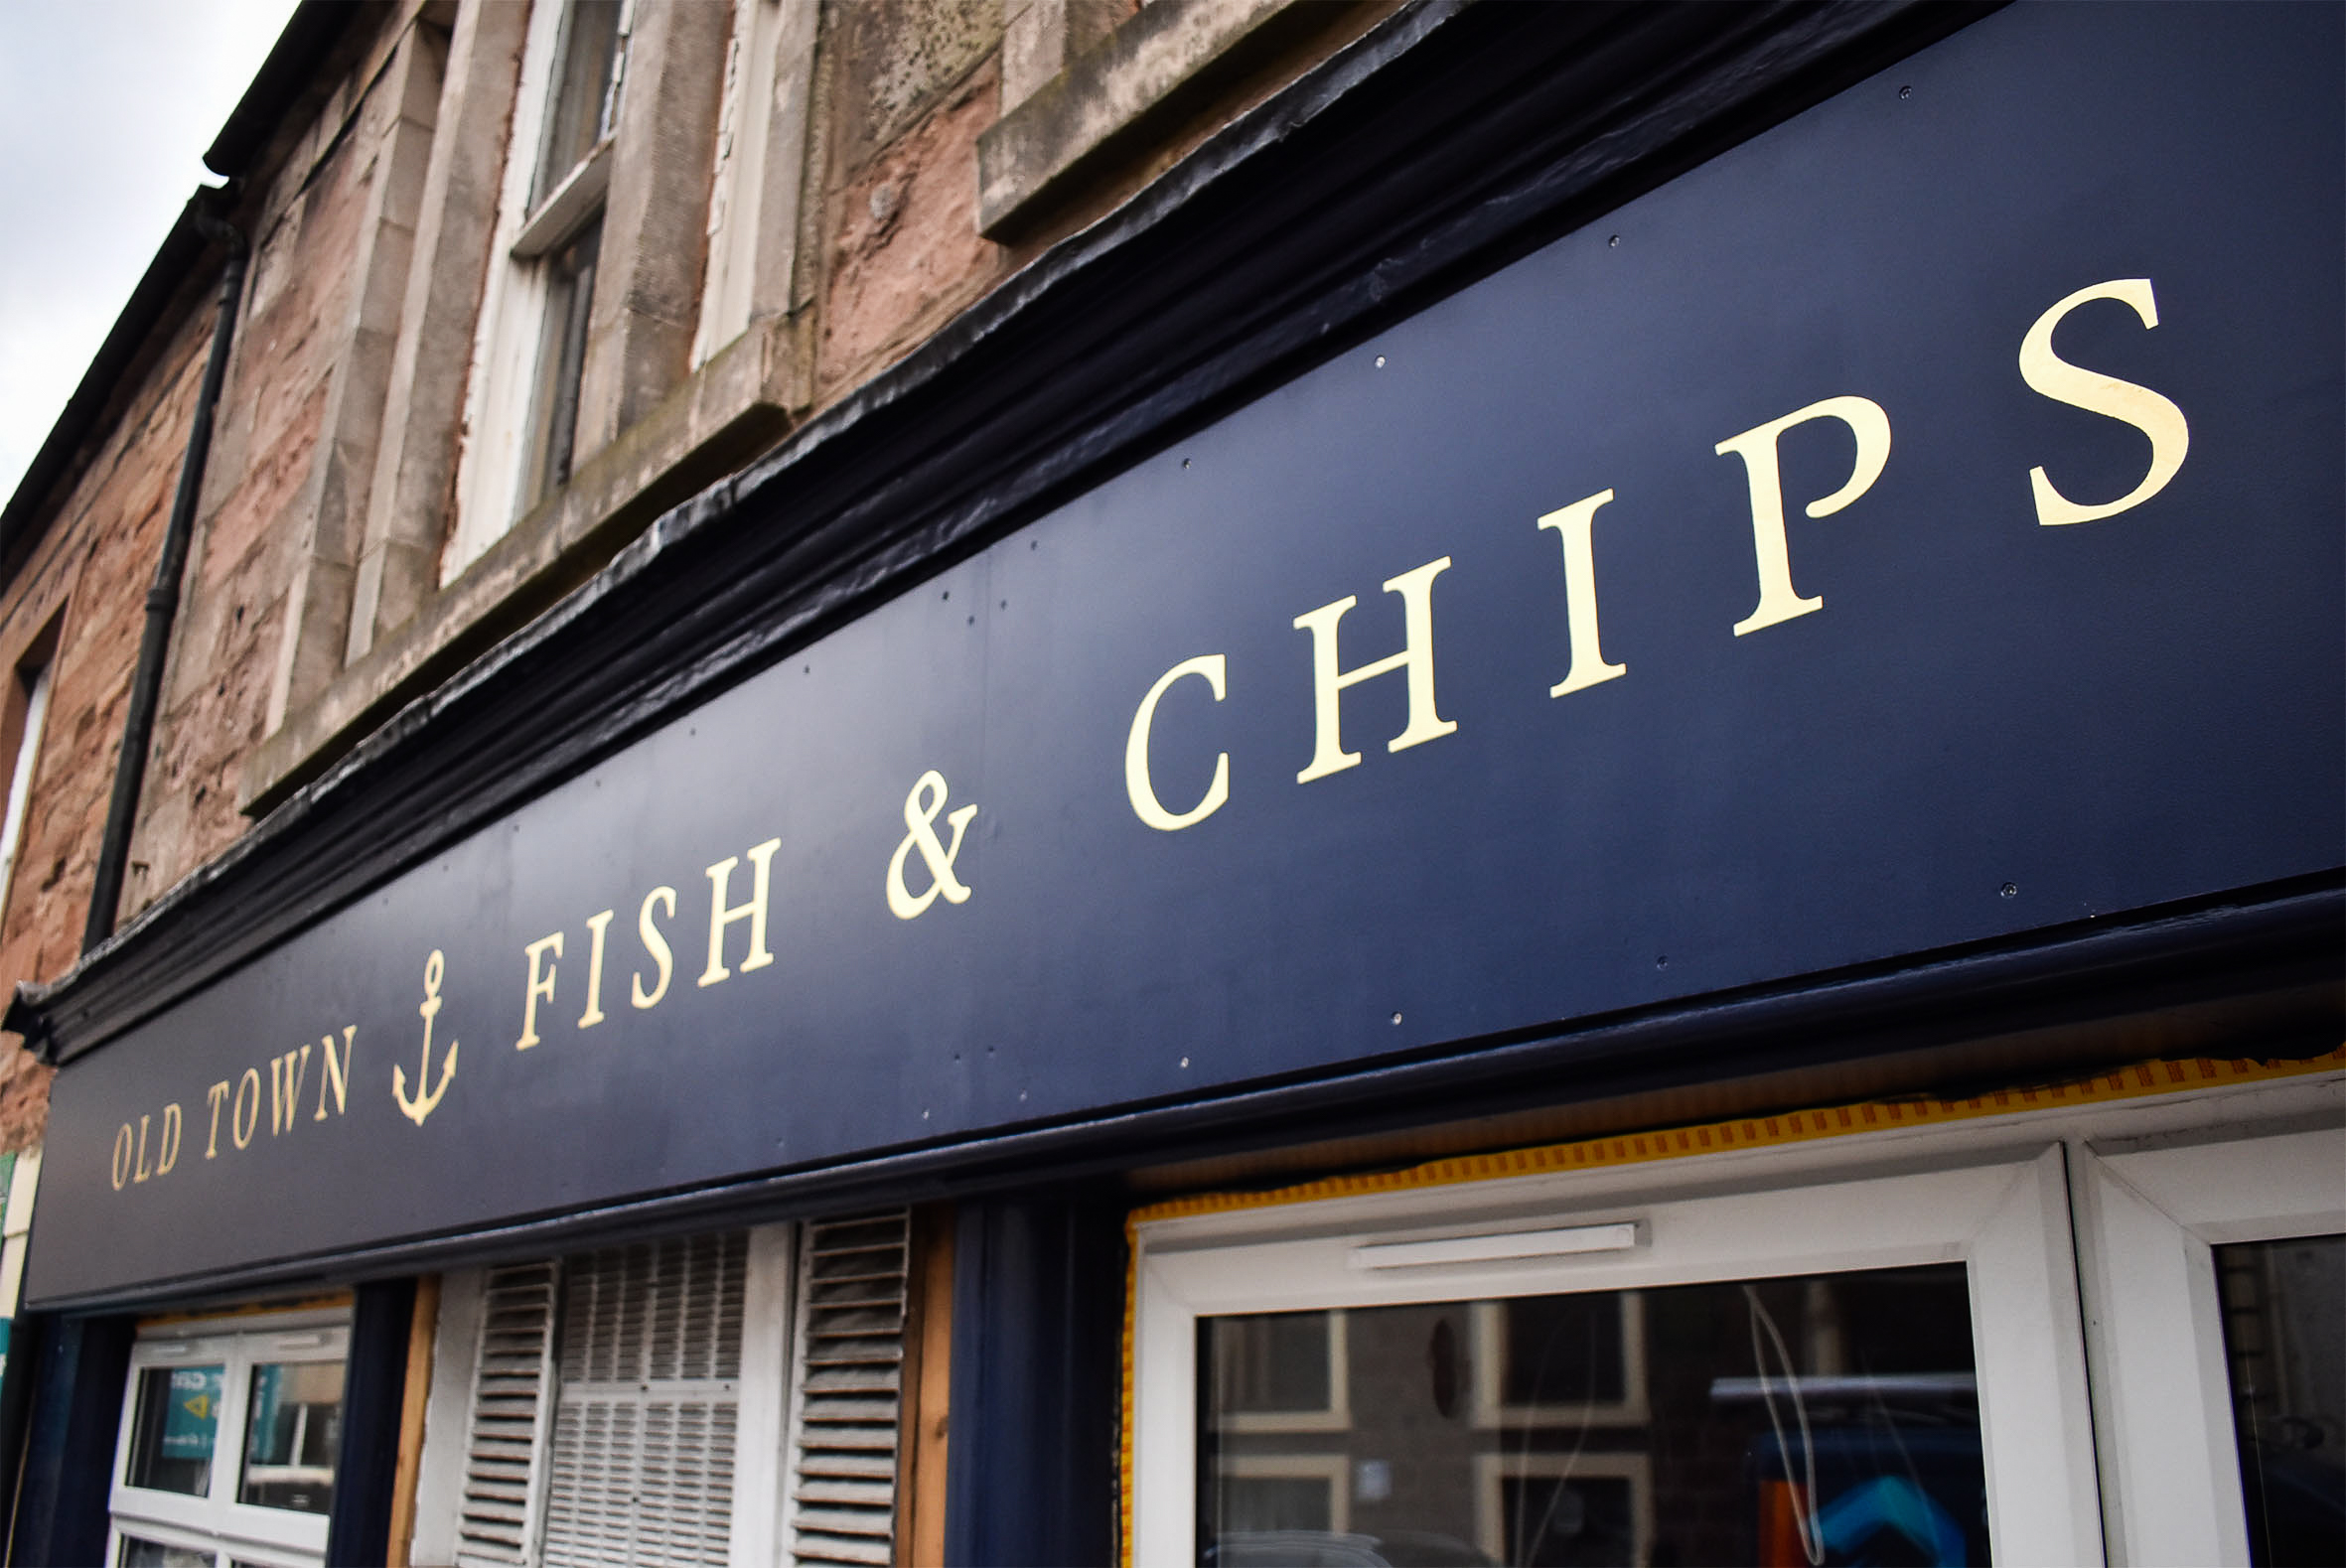
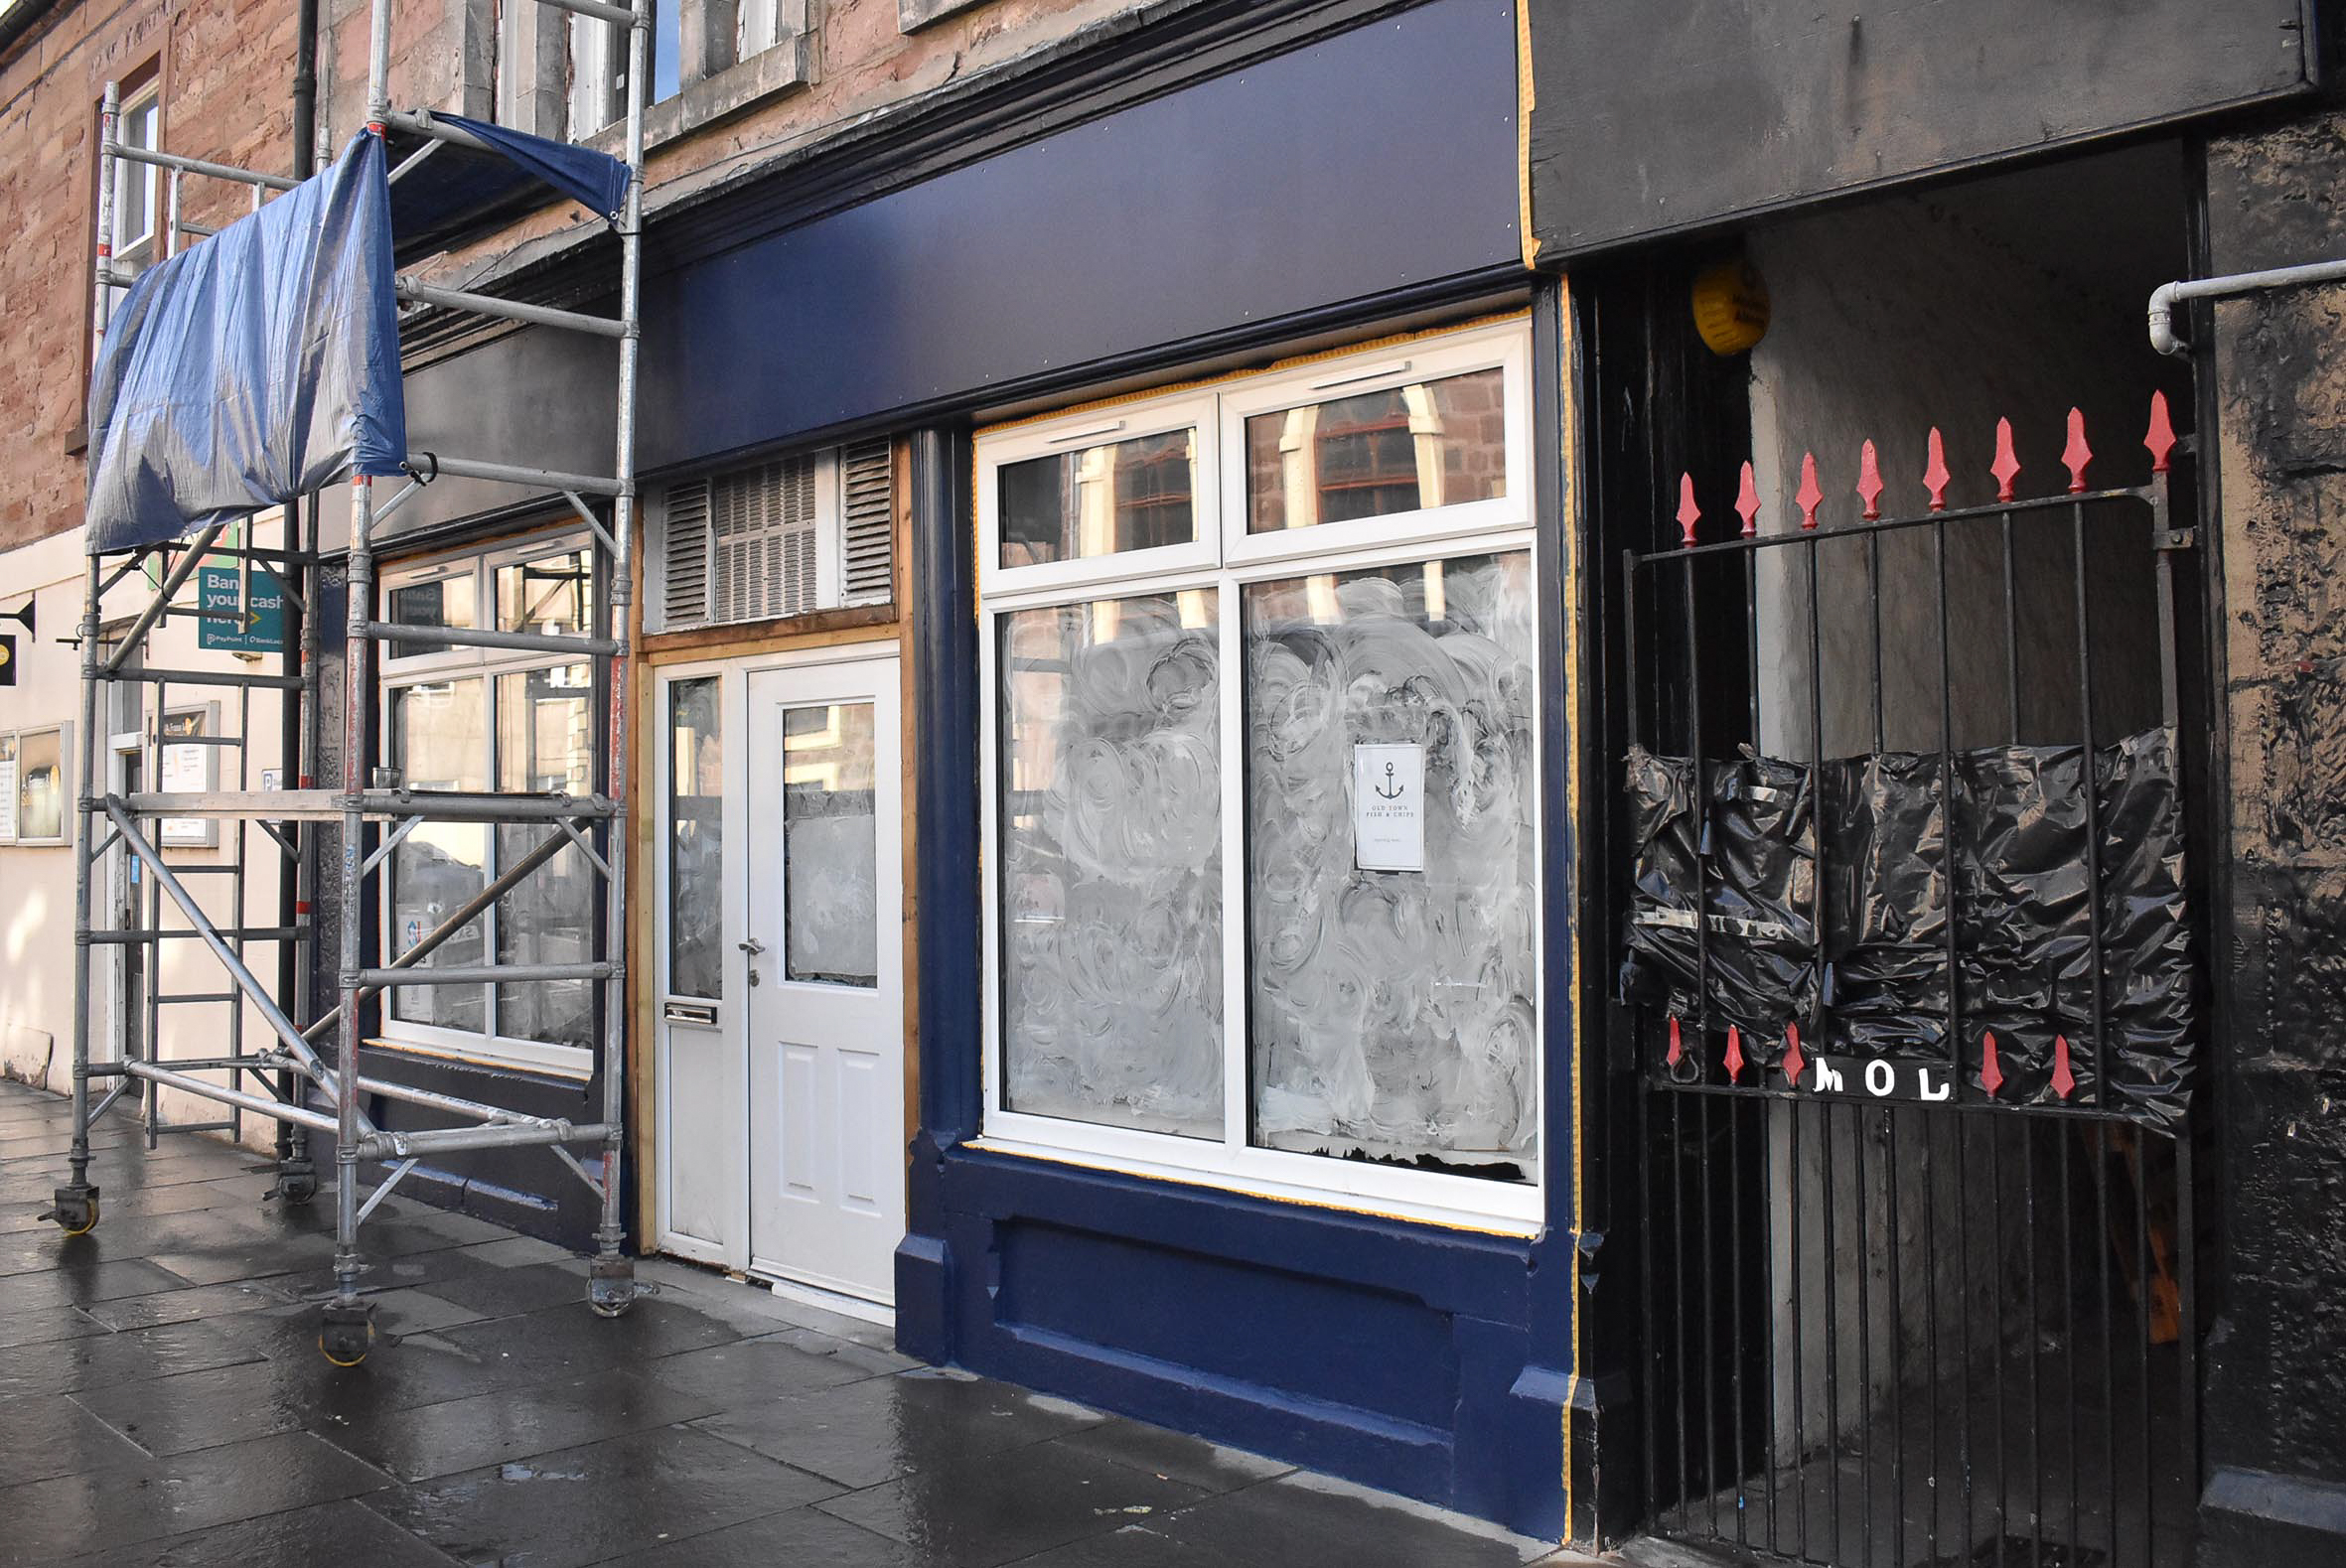
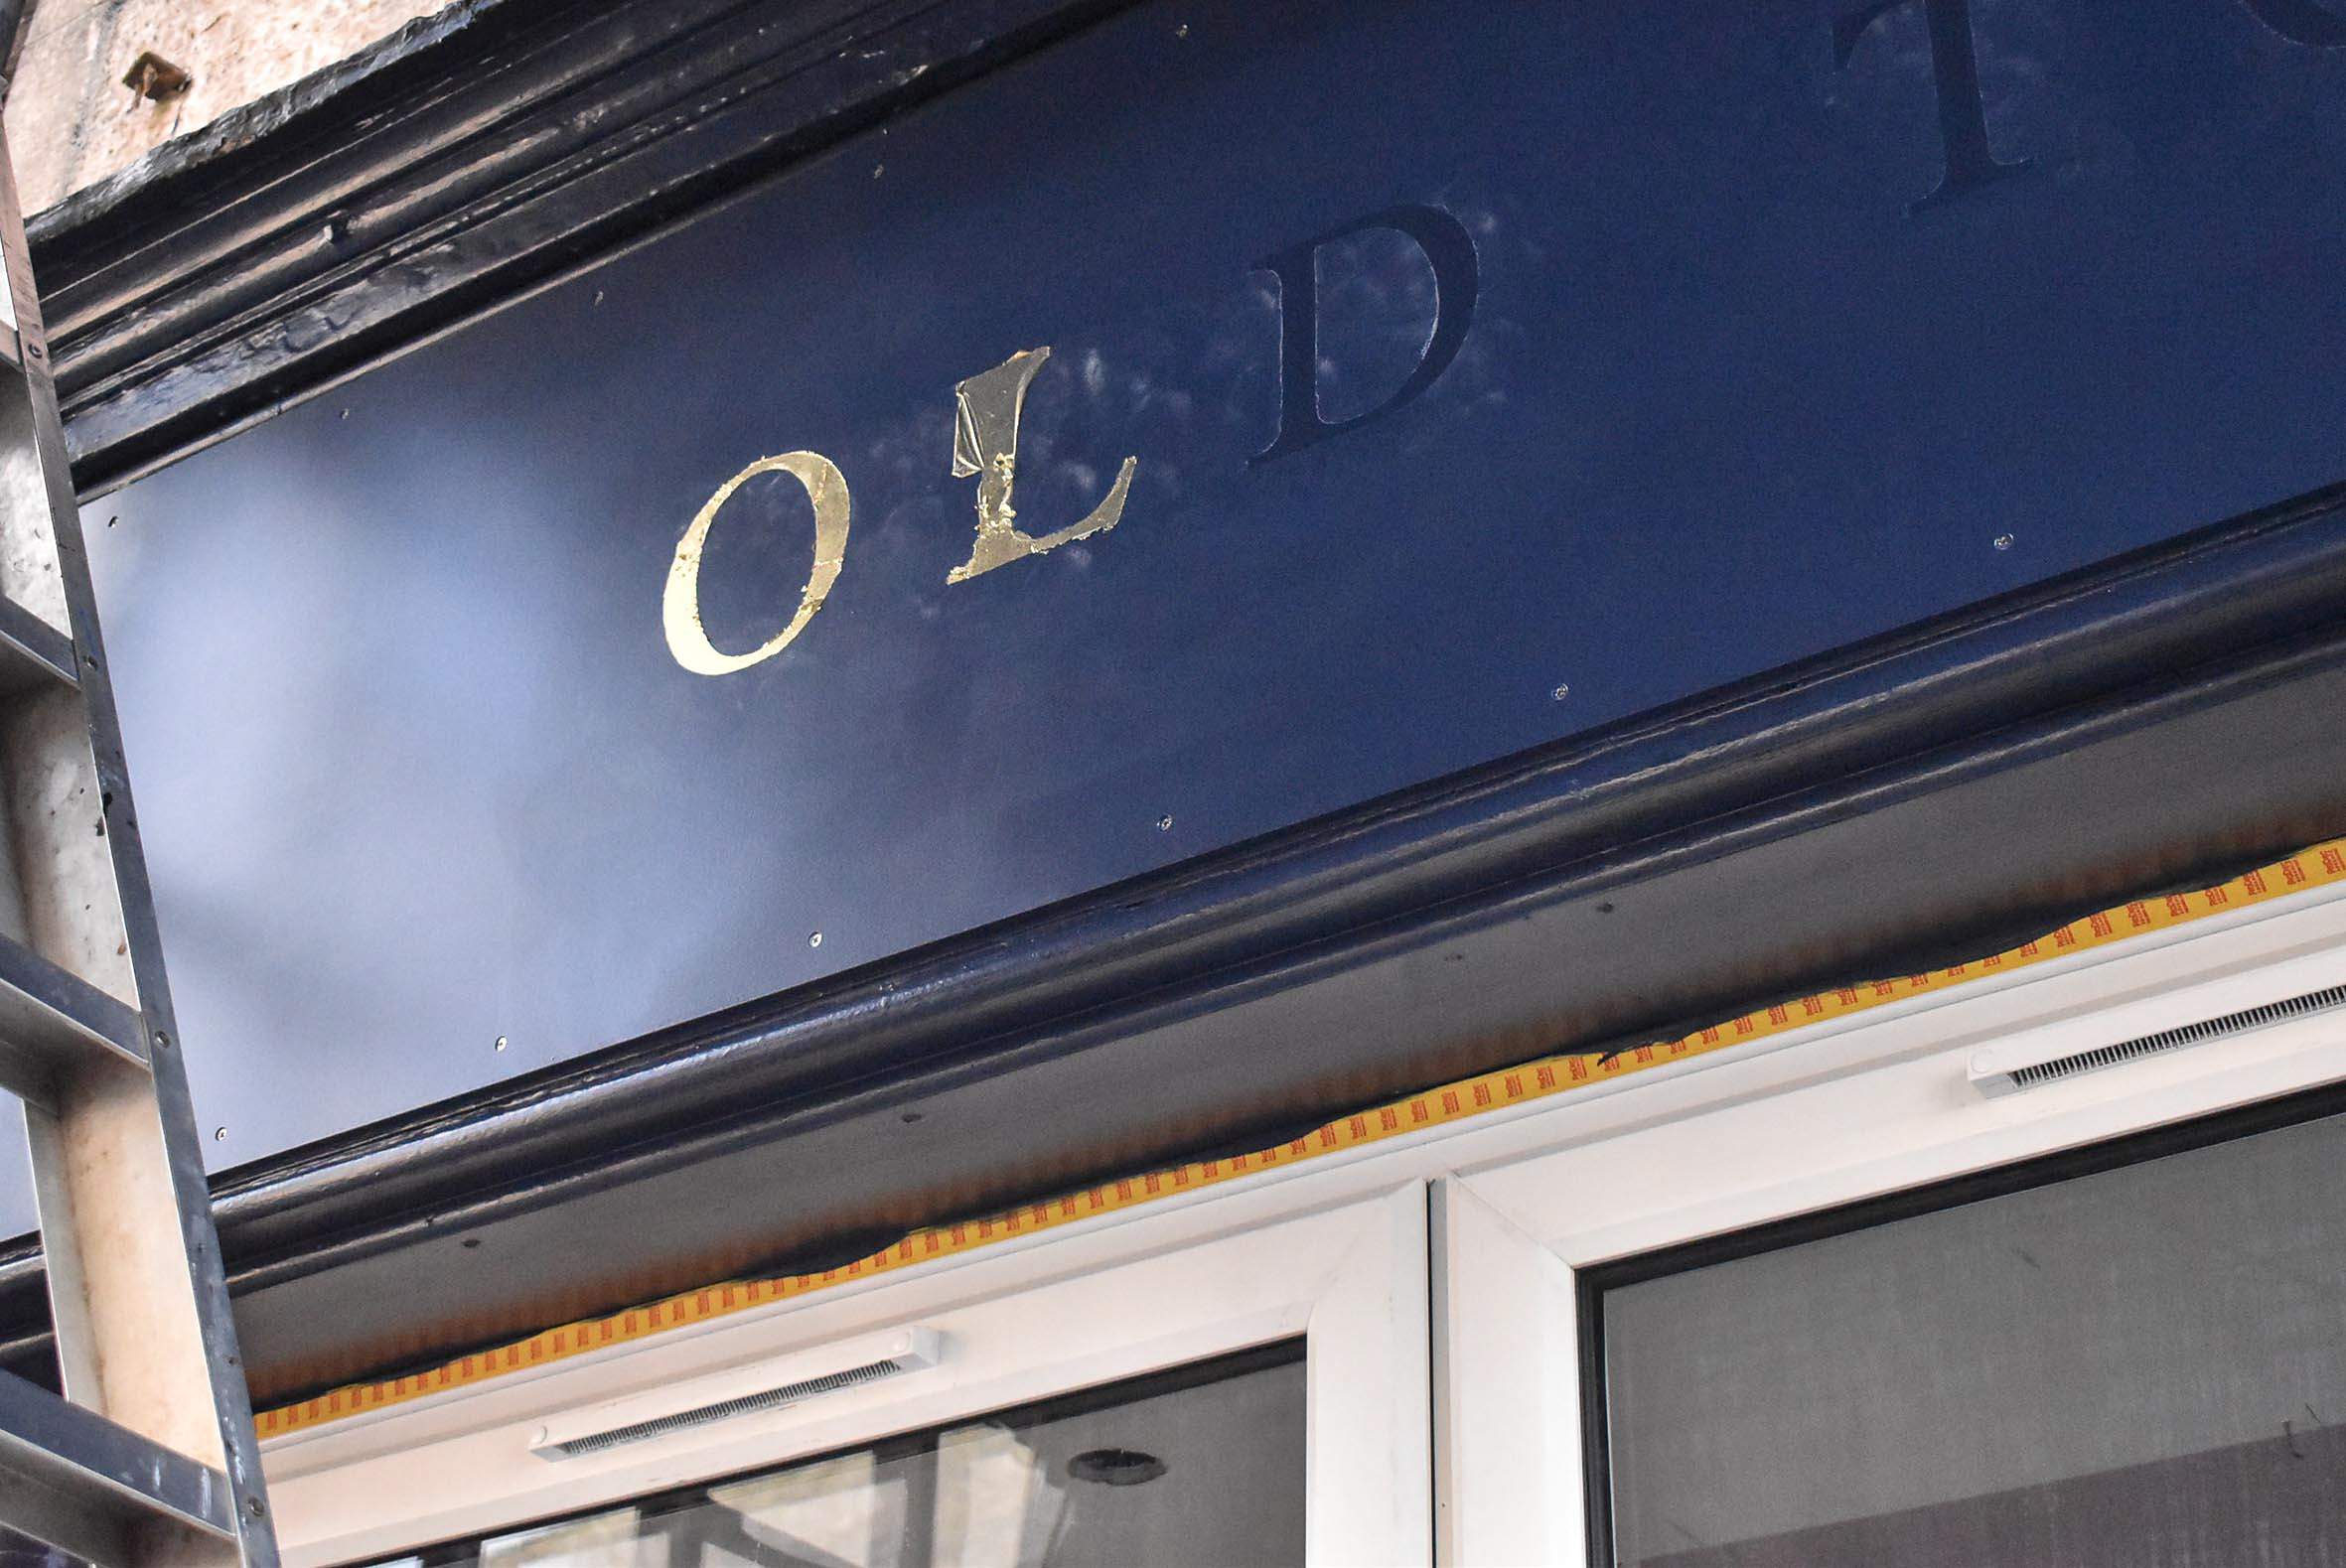
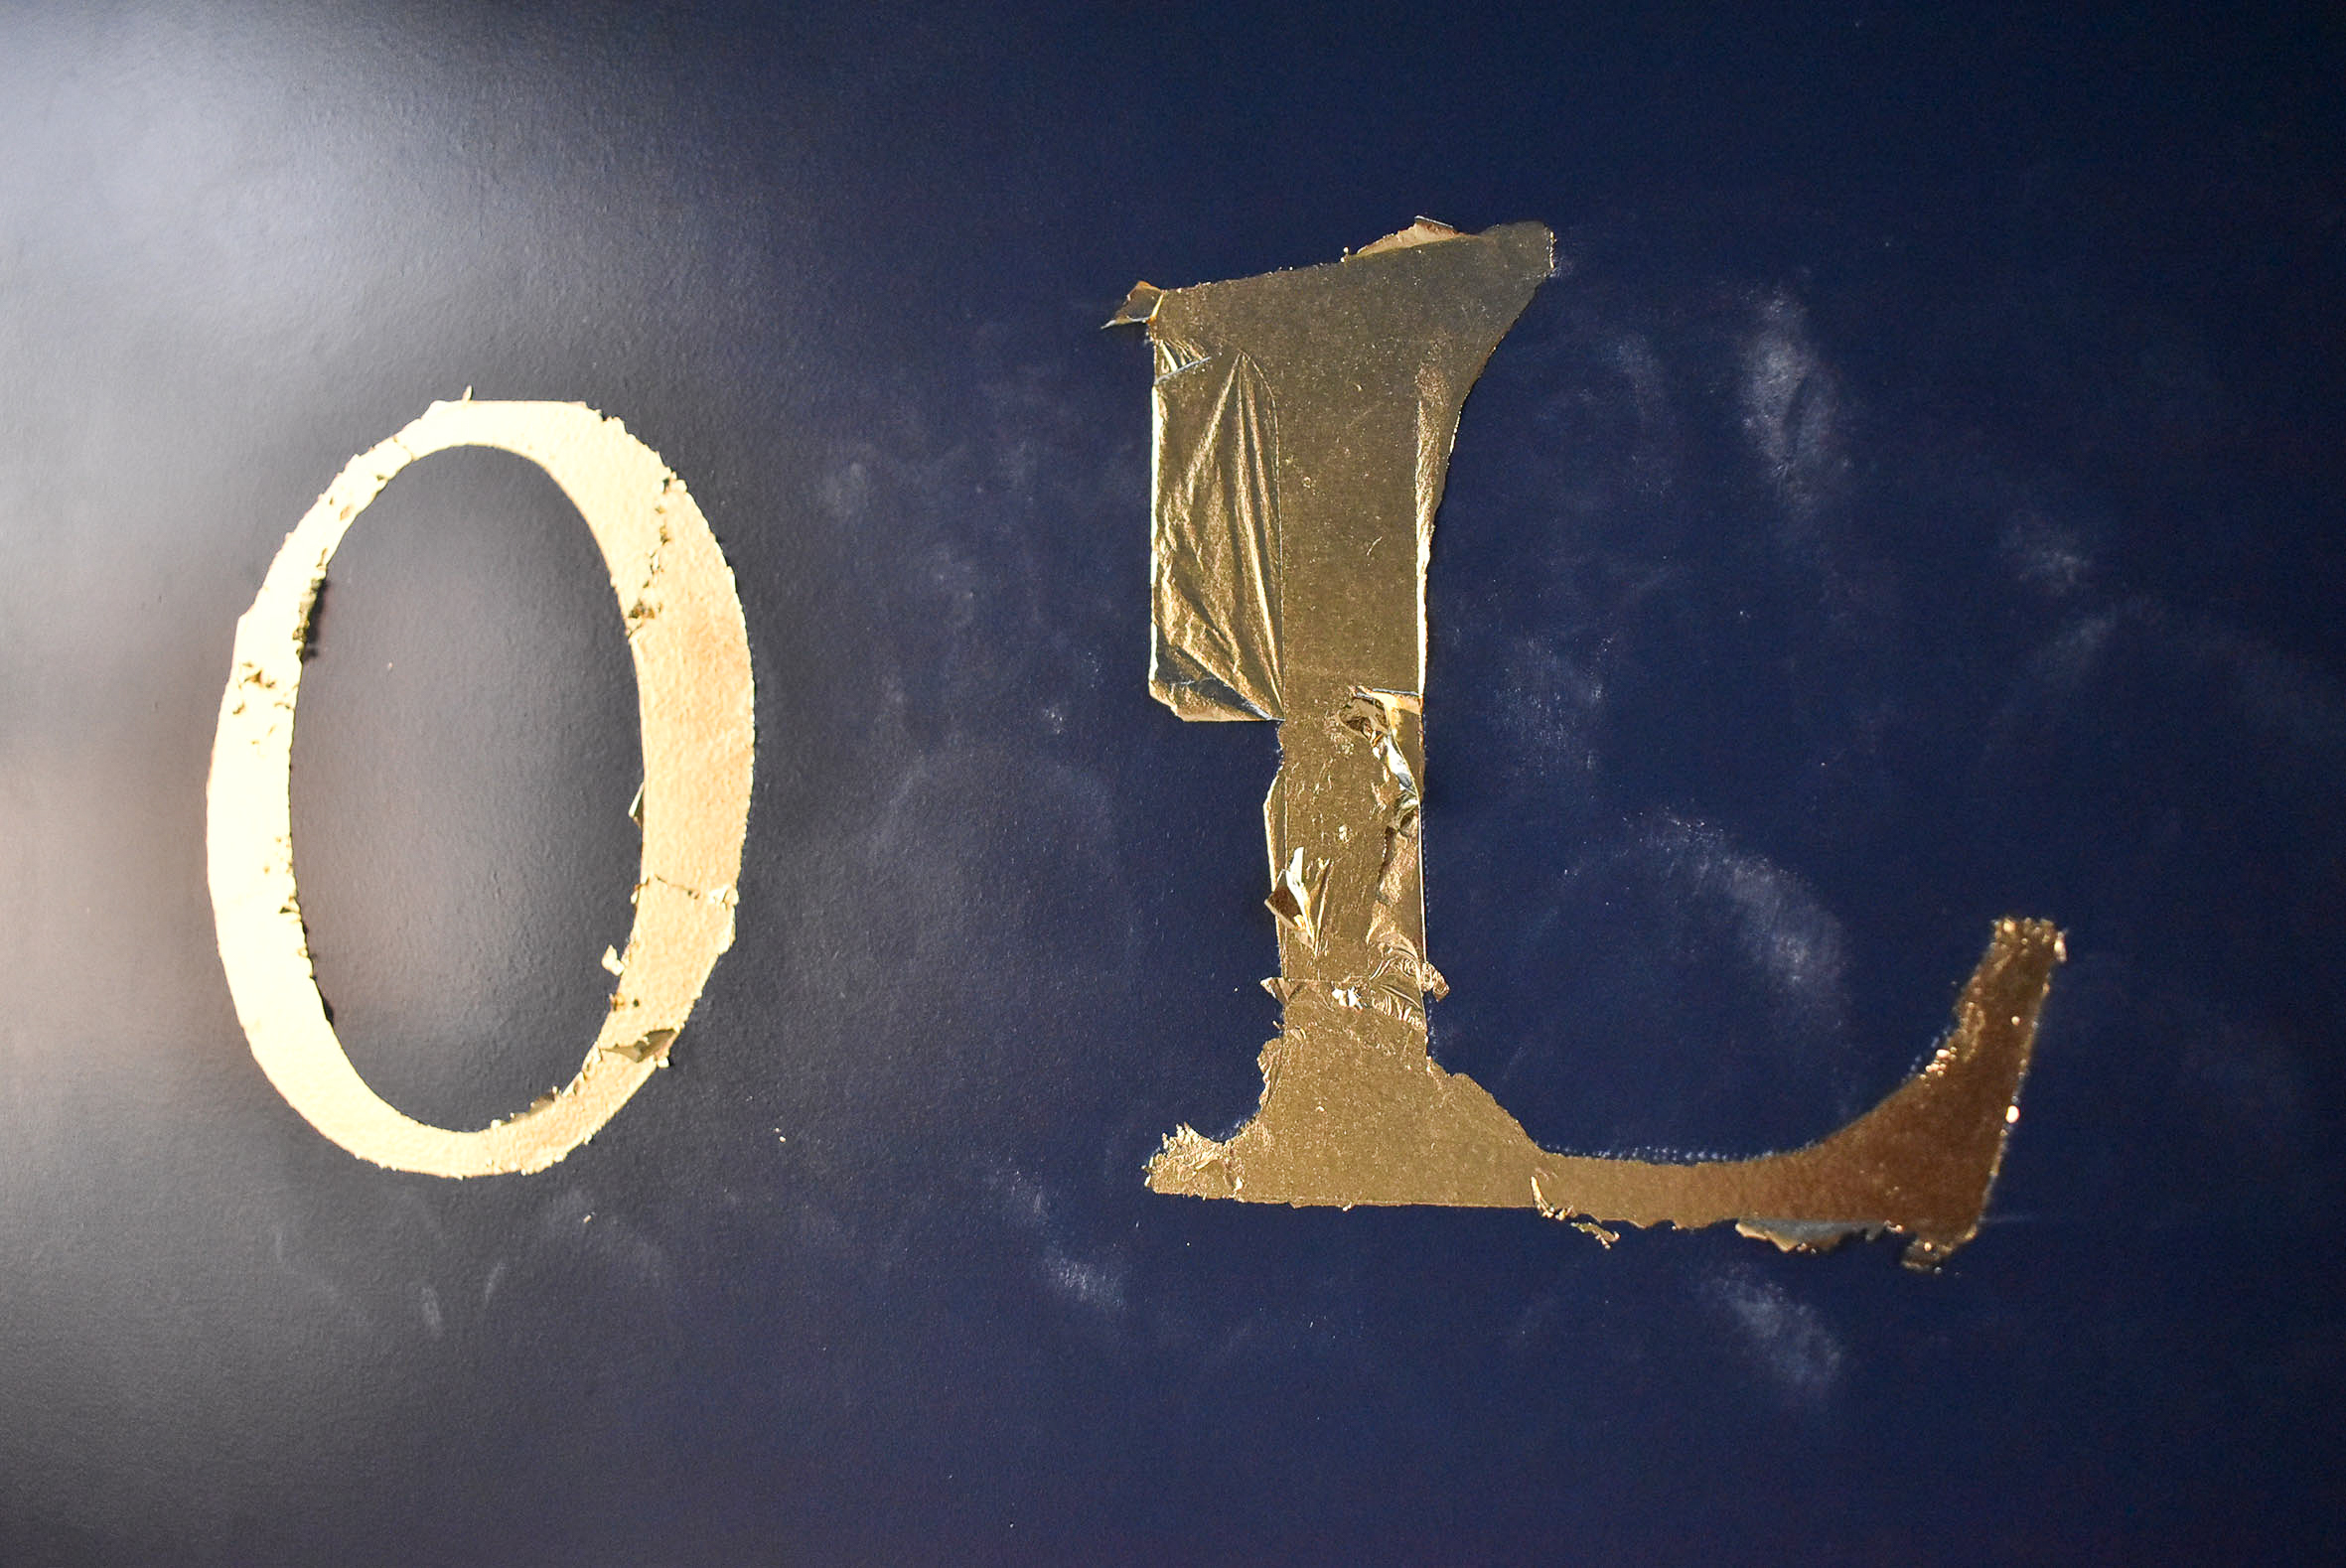
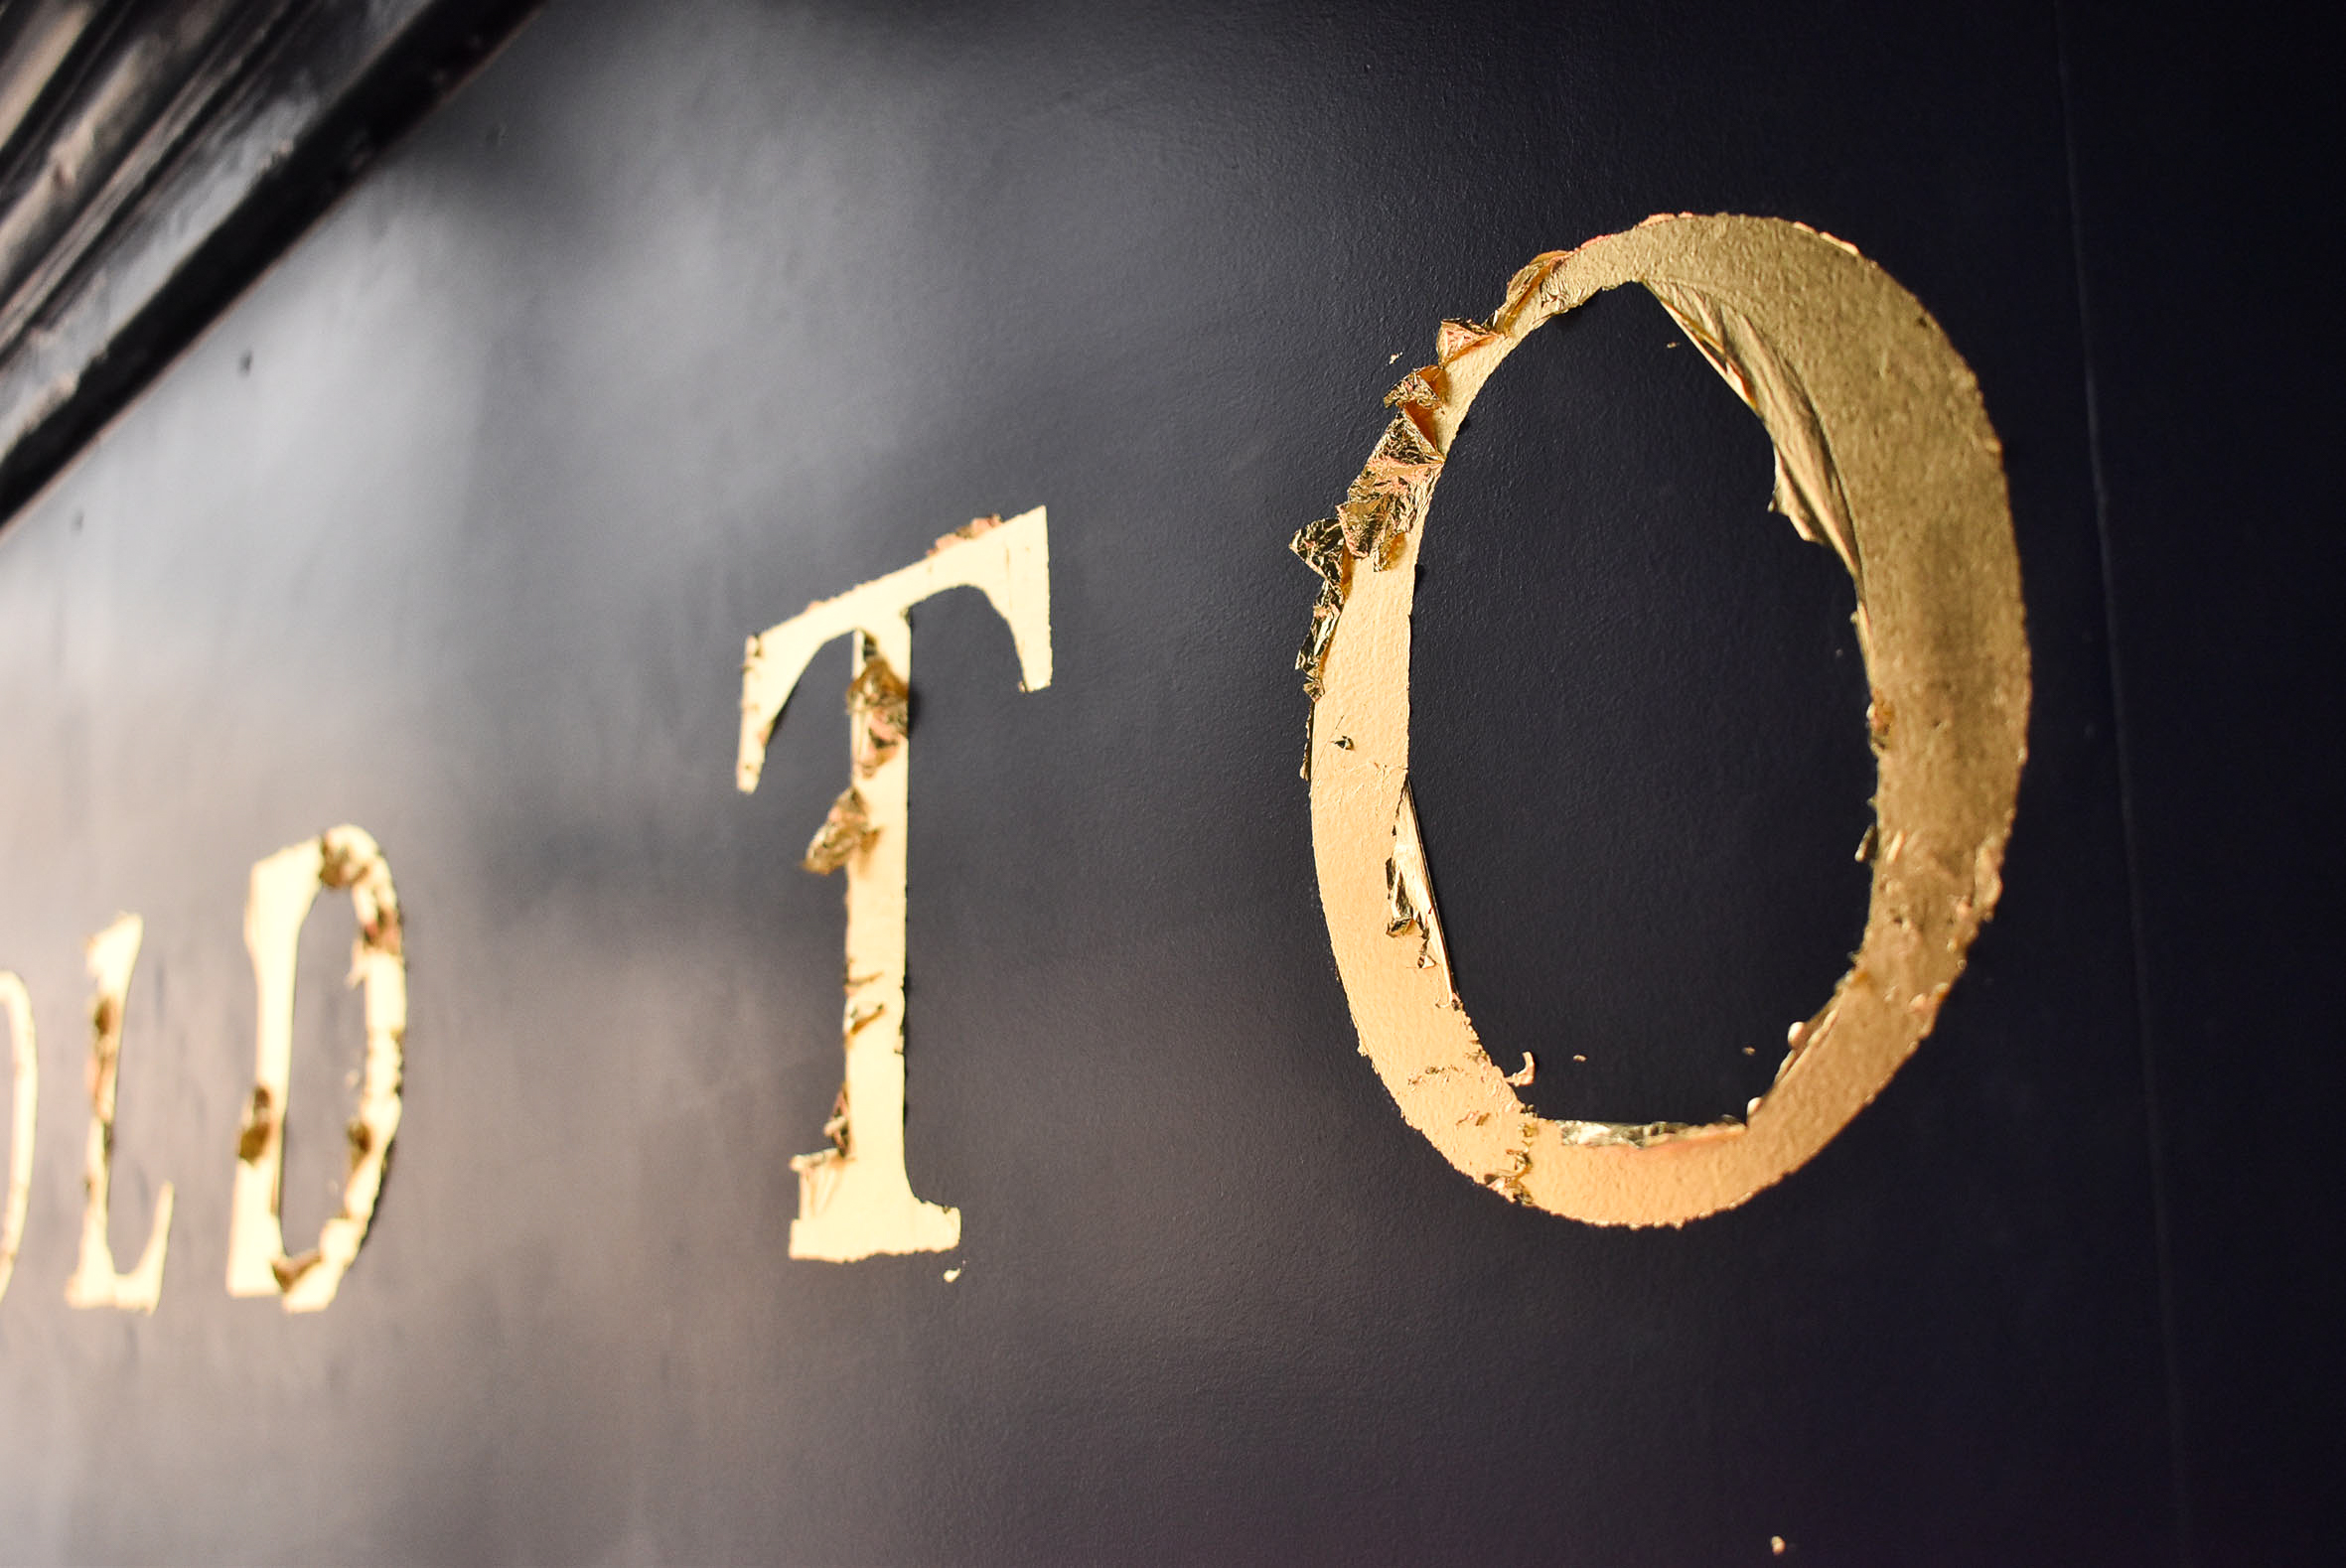
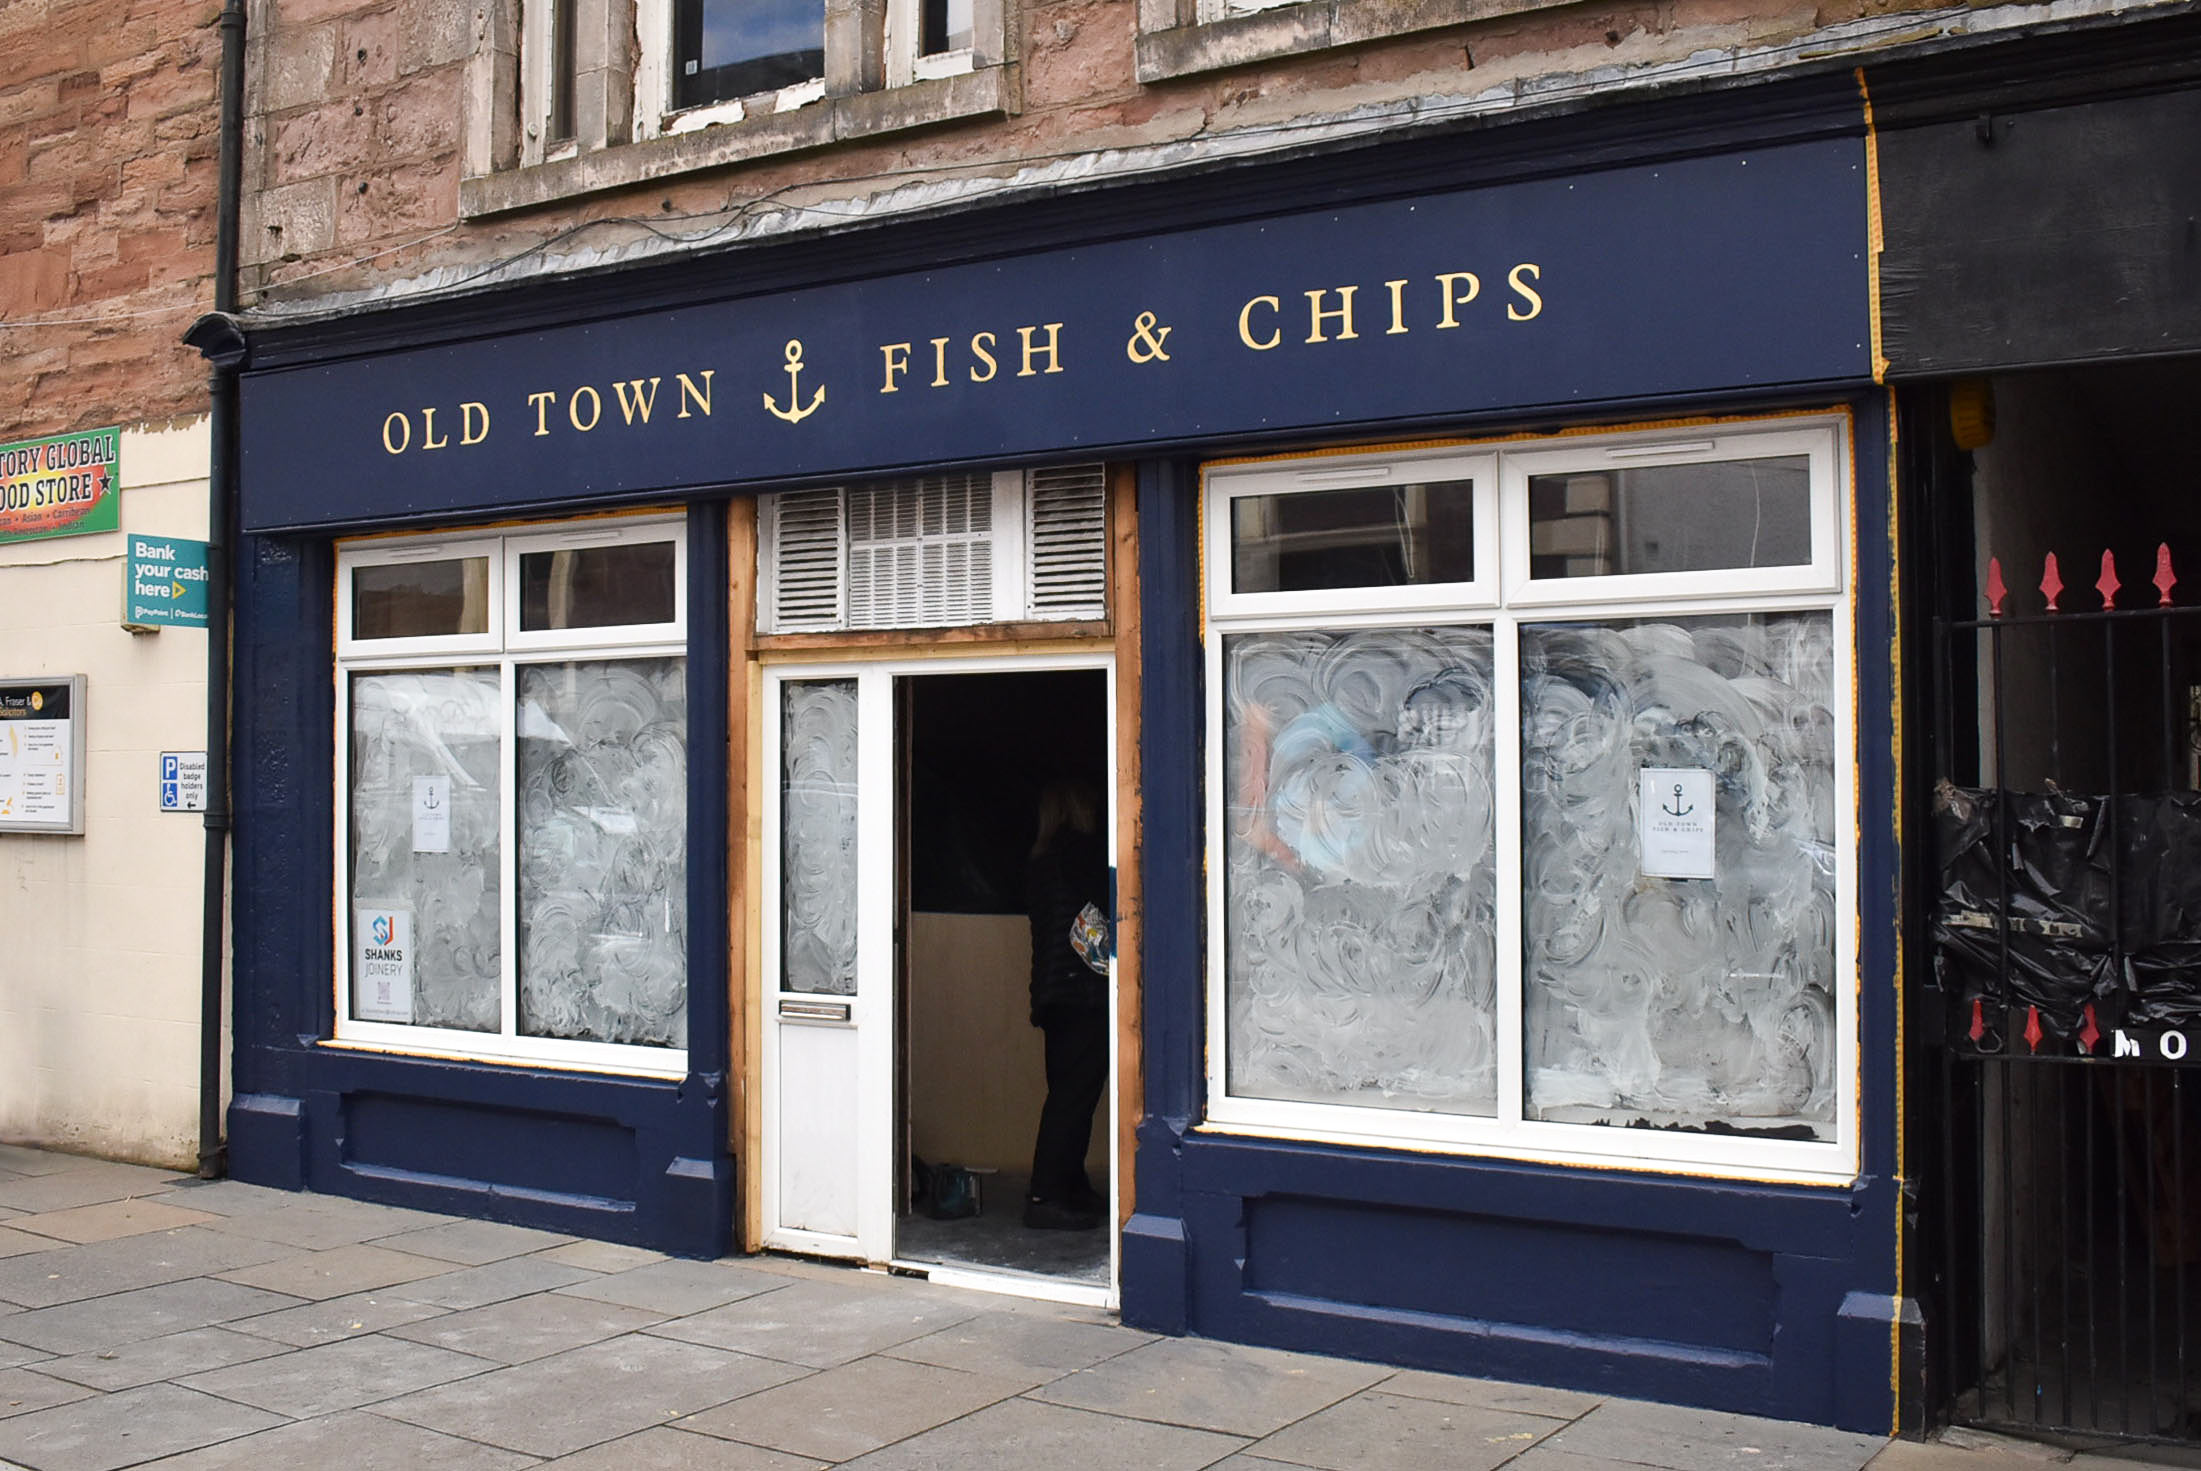
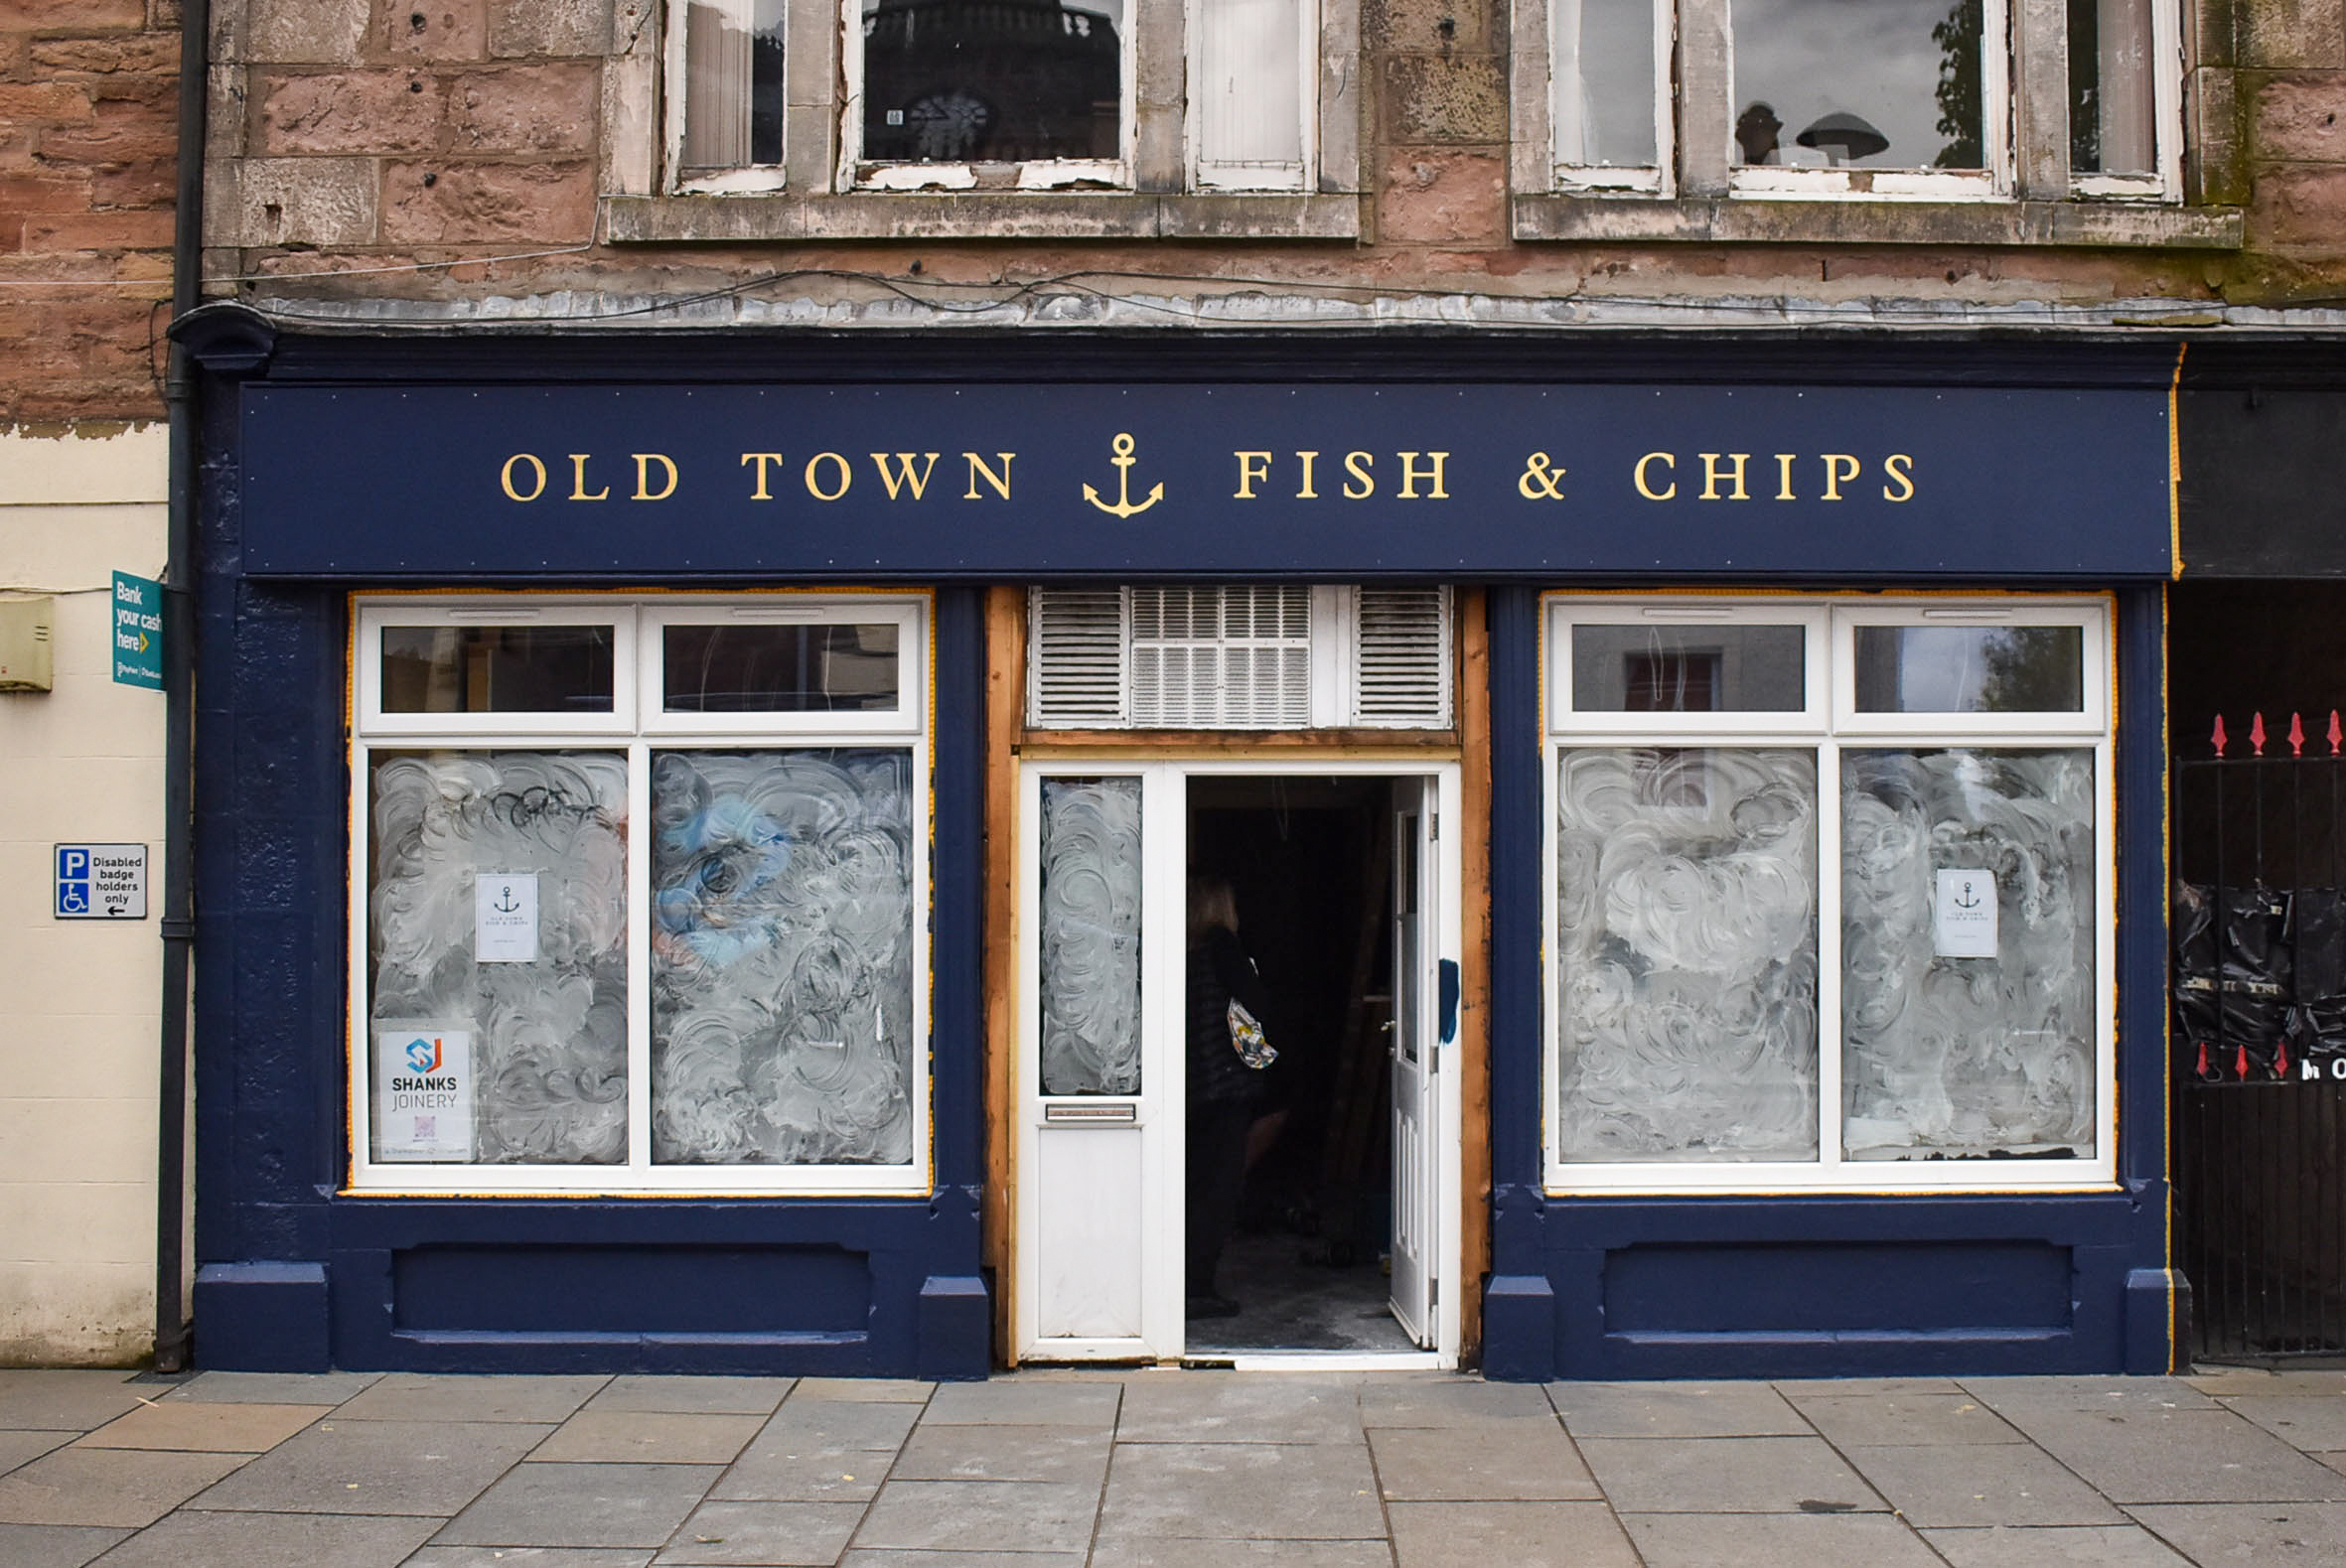
The unusual sight of a working signwriter in Inverness bolstered a new business before it started trading. Traditional signwriting combined 23.5ct gold leaf to adorn a shop fascia in the historic city centre. Radiant hand lettering gained positive attention for the restaurant weeks before opening.
There wasn’t one fish and chips shop in Inverness city centre until Old Town Fish and Chips. Unanimous support from anticipating customers and the local BID committee all looked forward to the restaurant and takeaway opening.
Owner and keen sailor, Charlie Furnivall’s career background in hospitality led him to venture towards his goal of creating a sustainably responsible restaurant. With an eye for detail and enthusiastic approach, Charlie chose quality from the beginning.
‘We will source fresh fish and shellfish from trusted suppliers, prepare everything in-house, and never use frozen or pre-made products. Expect hand-dived scallops, our own take on “scampi,” and a firm promise: nothing dredged, nothing bottom-trawled – ever.’
Charlie knew gold leaf signwriting would perfectly convey his restaurant’s aura.
In late March 2026, I received Charlie’s enquiries asking me to provide a quote for hand lettering his signs. My first reply asked for his project brief – specifically:
Charlie replied and attached an architectural drawing of his shopfront with a brief description of the necessary signs and content. Charlie asked me for the manufacture of a hanging sign as well as a suitable projecting bracket. At this stage, with no approved artwork, I considered materials, method, timeline, as well as logistics and accessibility for my mobile tower scaffold.
The following day, Charlie e-mailed an artwork mock-up depicting the fascia lettering. I chose a similar heavyweight font to base my scaled artwork on and enable planning the project.
My indicative quote was sent on 29th March. Included in my email were recommendations to contact the local authority for a pavement scaffold works permit and descriptions of materials I’d use.
I proposed a 15mm thick Medite Tricoya Extreme for the hanging sign panel with an angled and chamfered hardwood rain ledge attached to the top edge only. The hardwood is thick enough to accept eye bolts for hanging under the bracket. The sign would be finished in Charlie’s choice of paint. My email also included a link to a trusted supplier of powder coated steel projecting sign brackets.
I also explained I gild with at least 23.5ct gold leaf for durable exterior signs. Lesser weight of gold will eventually tarnish, especially in the Scottish Highlands’ climate.
The hanging sign would be hand lettered and gilded in my studio in Dundee. The fascia would be directly hand lettered in the bold font like Charlie’s mock-up. We’d have to wait a few days before Charlie received his shop key to thoroughly inspect the fascia’s condition.
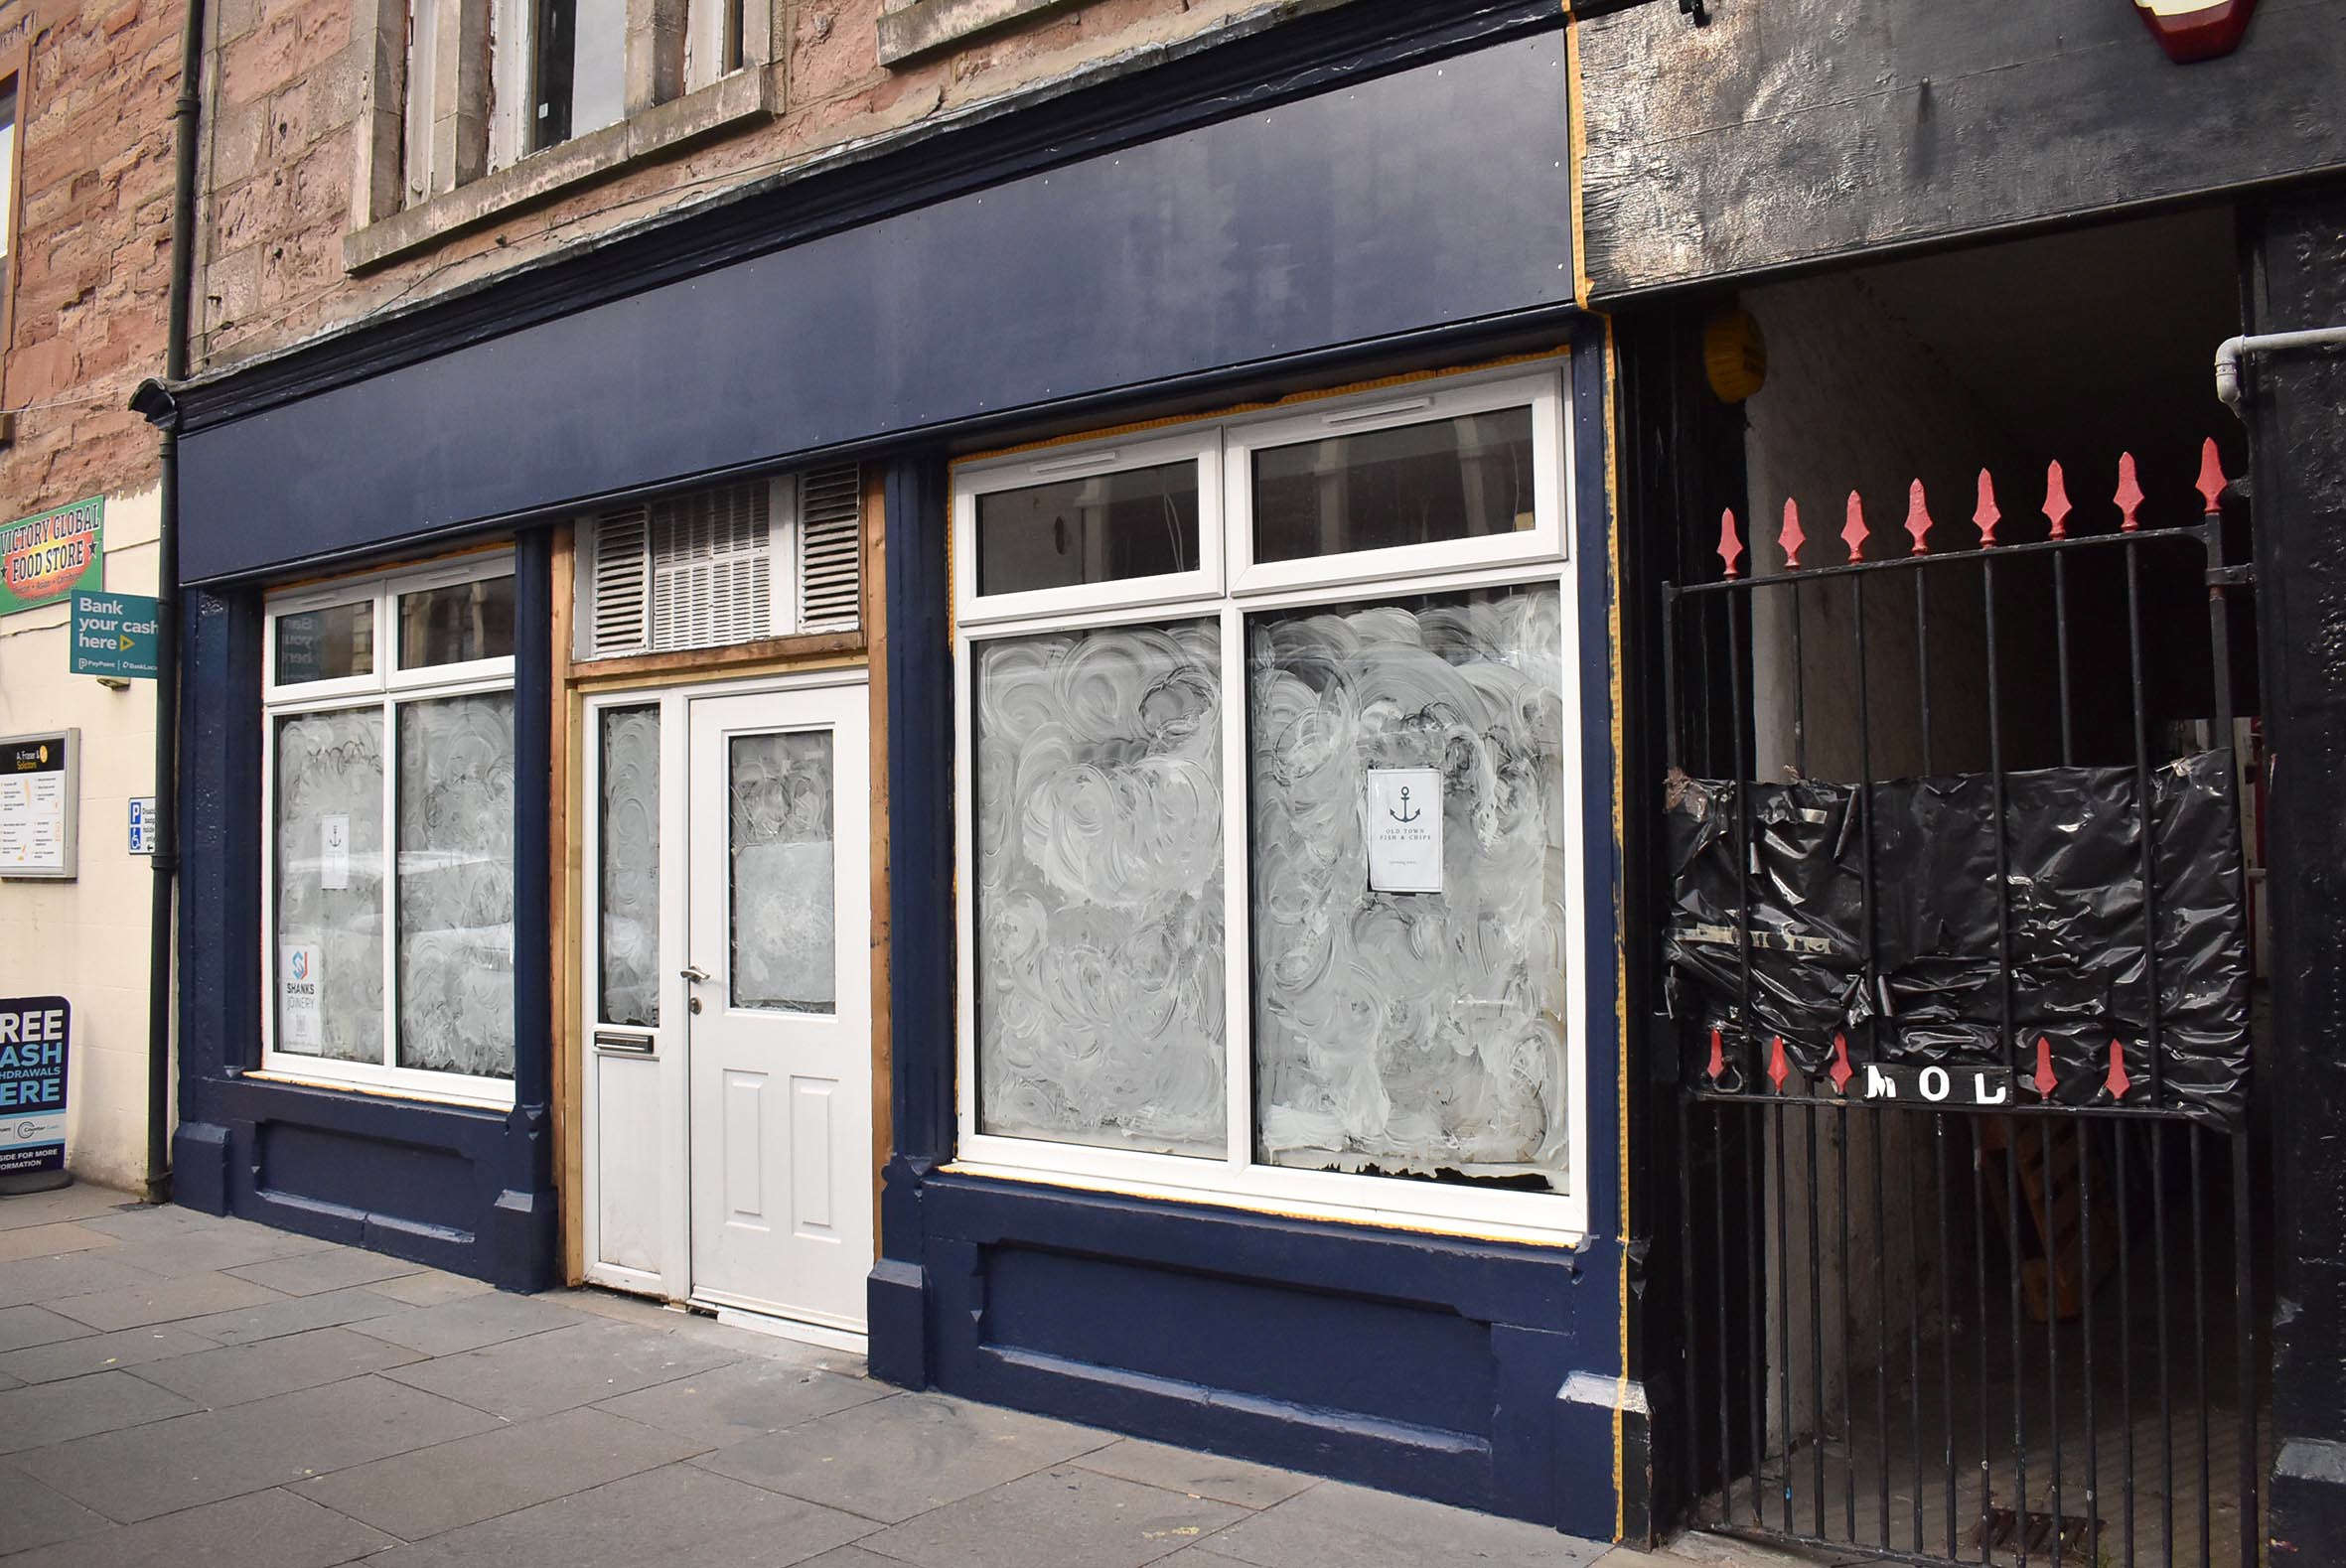
On 6th April, Charlie sent photos of the existing fascia, which was in disrepair. The previous fascia sign panels were removed to unveil rippled plywood beneath. I recommended choosing Medite Tricoya Extreme (MTX) to cover the entire length of the fascia. MTX’s exterior durability and rigidity are unmatched. The sheet material can also be easily sawn, drilled, and painted.
Charlie said he could paint the shopfront as well as the replacement fascia panels. I advised the most practical approach for painting the MTX panels. I also explained I’d test gild on Charlie’s choice of paint before confirming suitability.
On 11th April, the postman delivered a small jar of Charlie’s paint. I prepared and primed an aluminium panel for my test gild before coating the panel three times with Charlie’s dark blue satin finish paint.
It’s important for me to test unproven applications before committing to any signwriting or signmaking project. Especially signwriting involving hundreds of pounds of gold leaf and a two hundred plus miles round trip. I had to be assured that the water based, satin finish paint was suitable for gilding and wouldn’t adversely react to my oil based gold size. Some paints mark easily when touched – especially water based paints with flat finishes.
Charlie’s paint was problematic. My hands and mahlstick were blotching areas around where I test gilded letters. The French chalk used as a resist before gilding gold leaf also presented an issue for clean removal. To minimise marking the surface coating, I realised the paint would have to cure for at least a few days before working on top of the surface.
I recorded a five minute video on 17th April, explaining my research and showing the test result. I sent the video to Charlie and explained my concern related to the paint curing time and potential risk of permanent marks caused by the French chalk and handling the painted surface.
However, I was confident of my process and my ability to gild Charlie’s signs as he had envisaged.
Charlie was pleased with the test panel result. Following his confirmation of the heavyweight font I’d selected and scaled artwork supplied for both signs, we began to arrange dates, accommodation, parking and scaffold permits for my visit.
I estimated up to three weeks for the manufacture of the hanging sign before departing for Inverness. I explained to Charlie that I was keen to order the fabrication of the sign from John Rennie, the joiner I regularly work with. At this stage, assurance of the paint curing time on MTX was unknown.
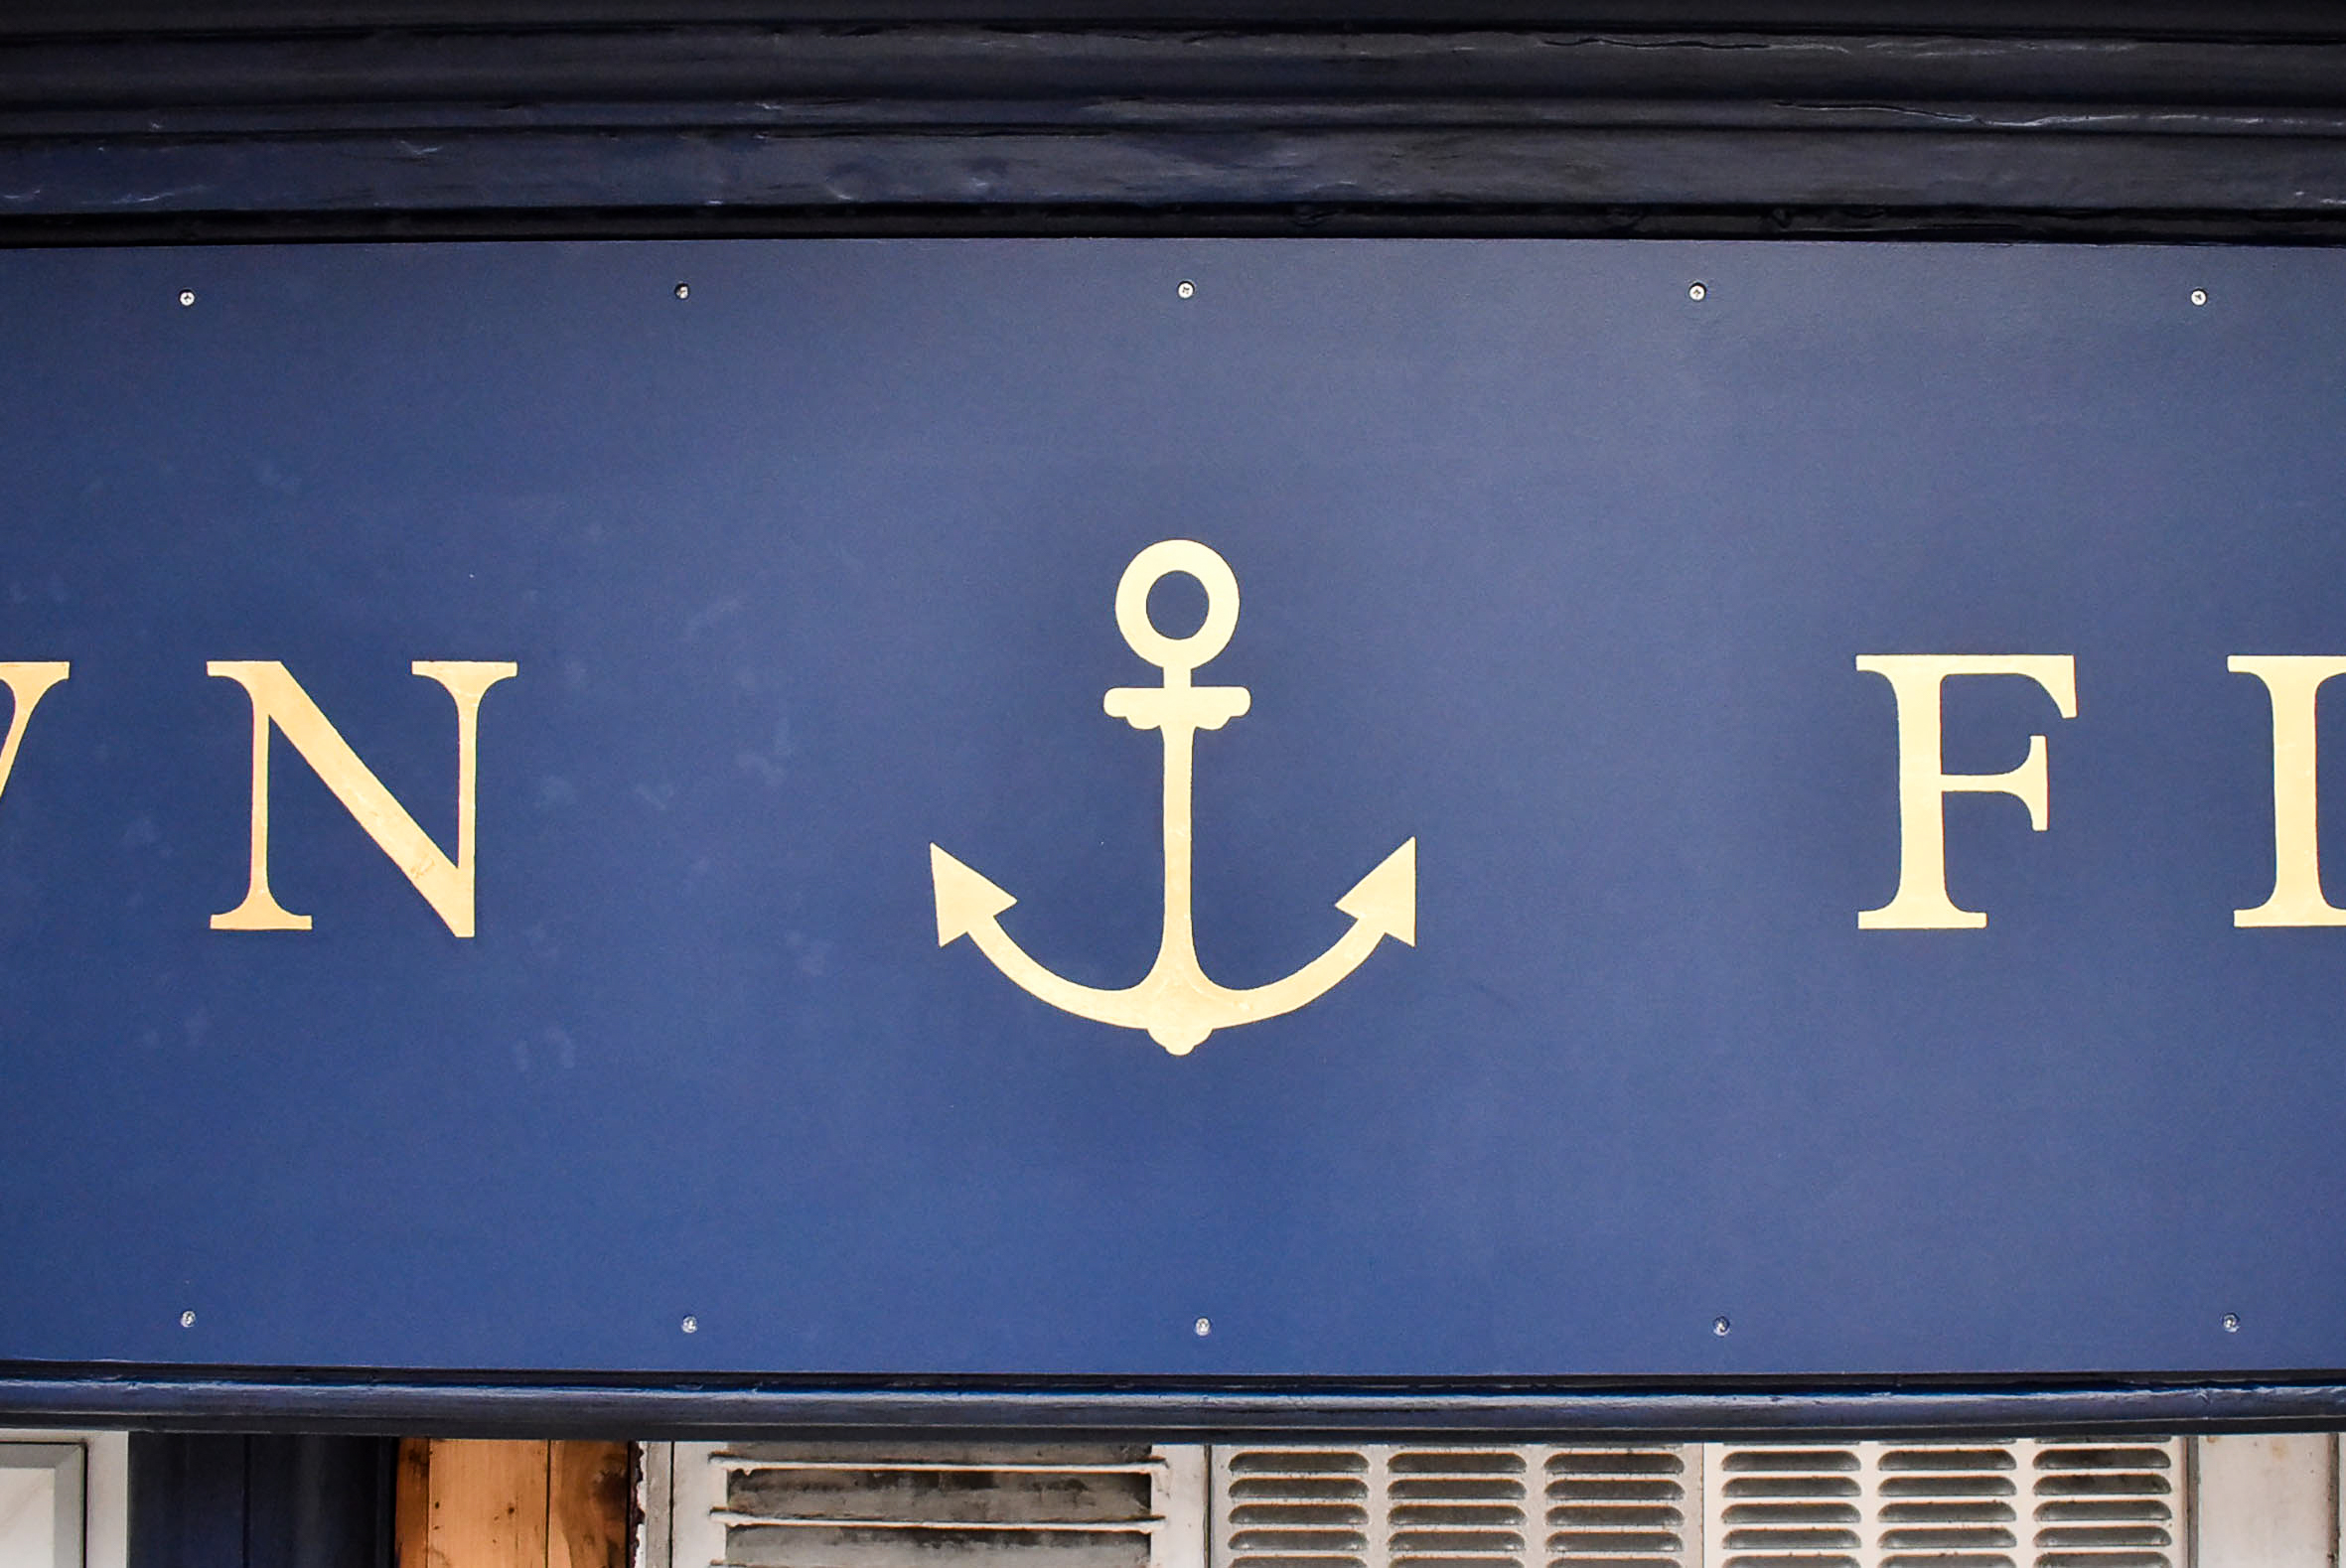
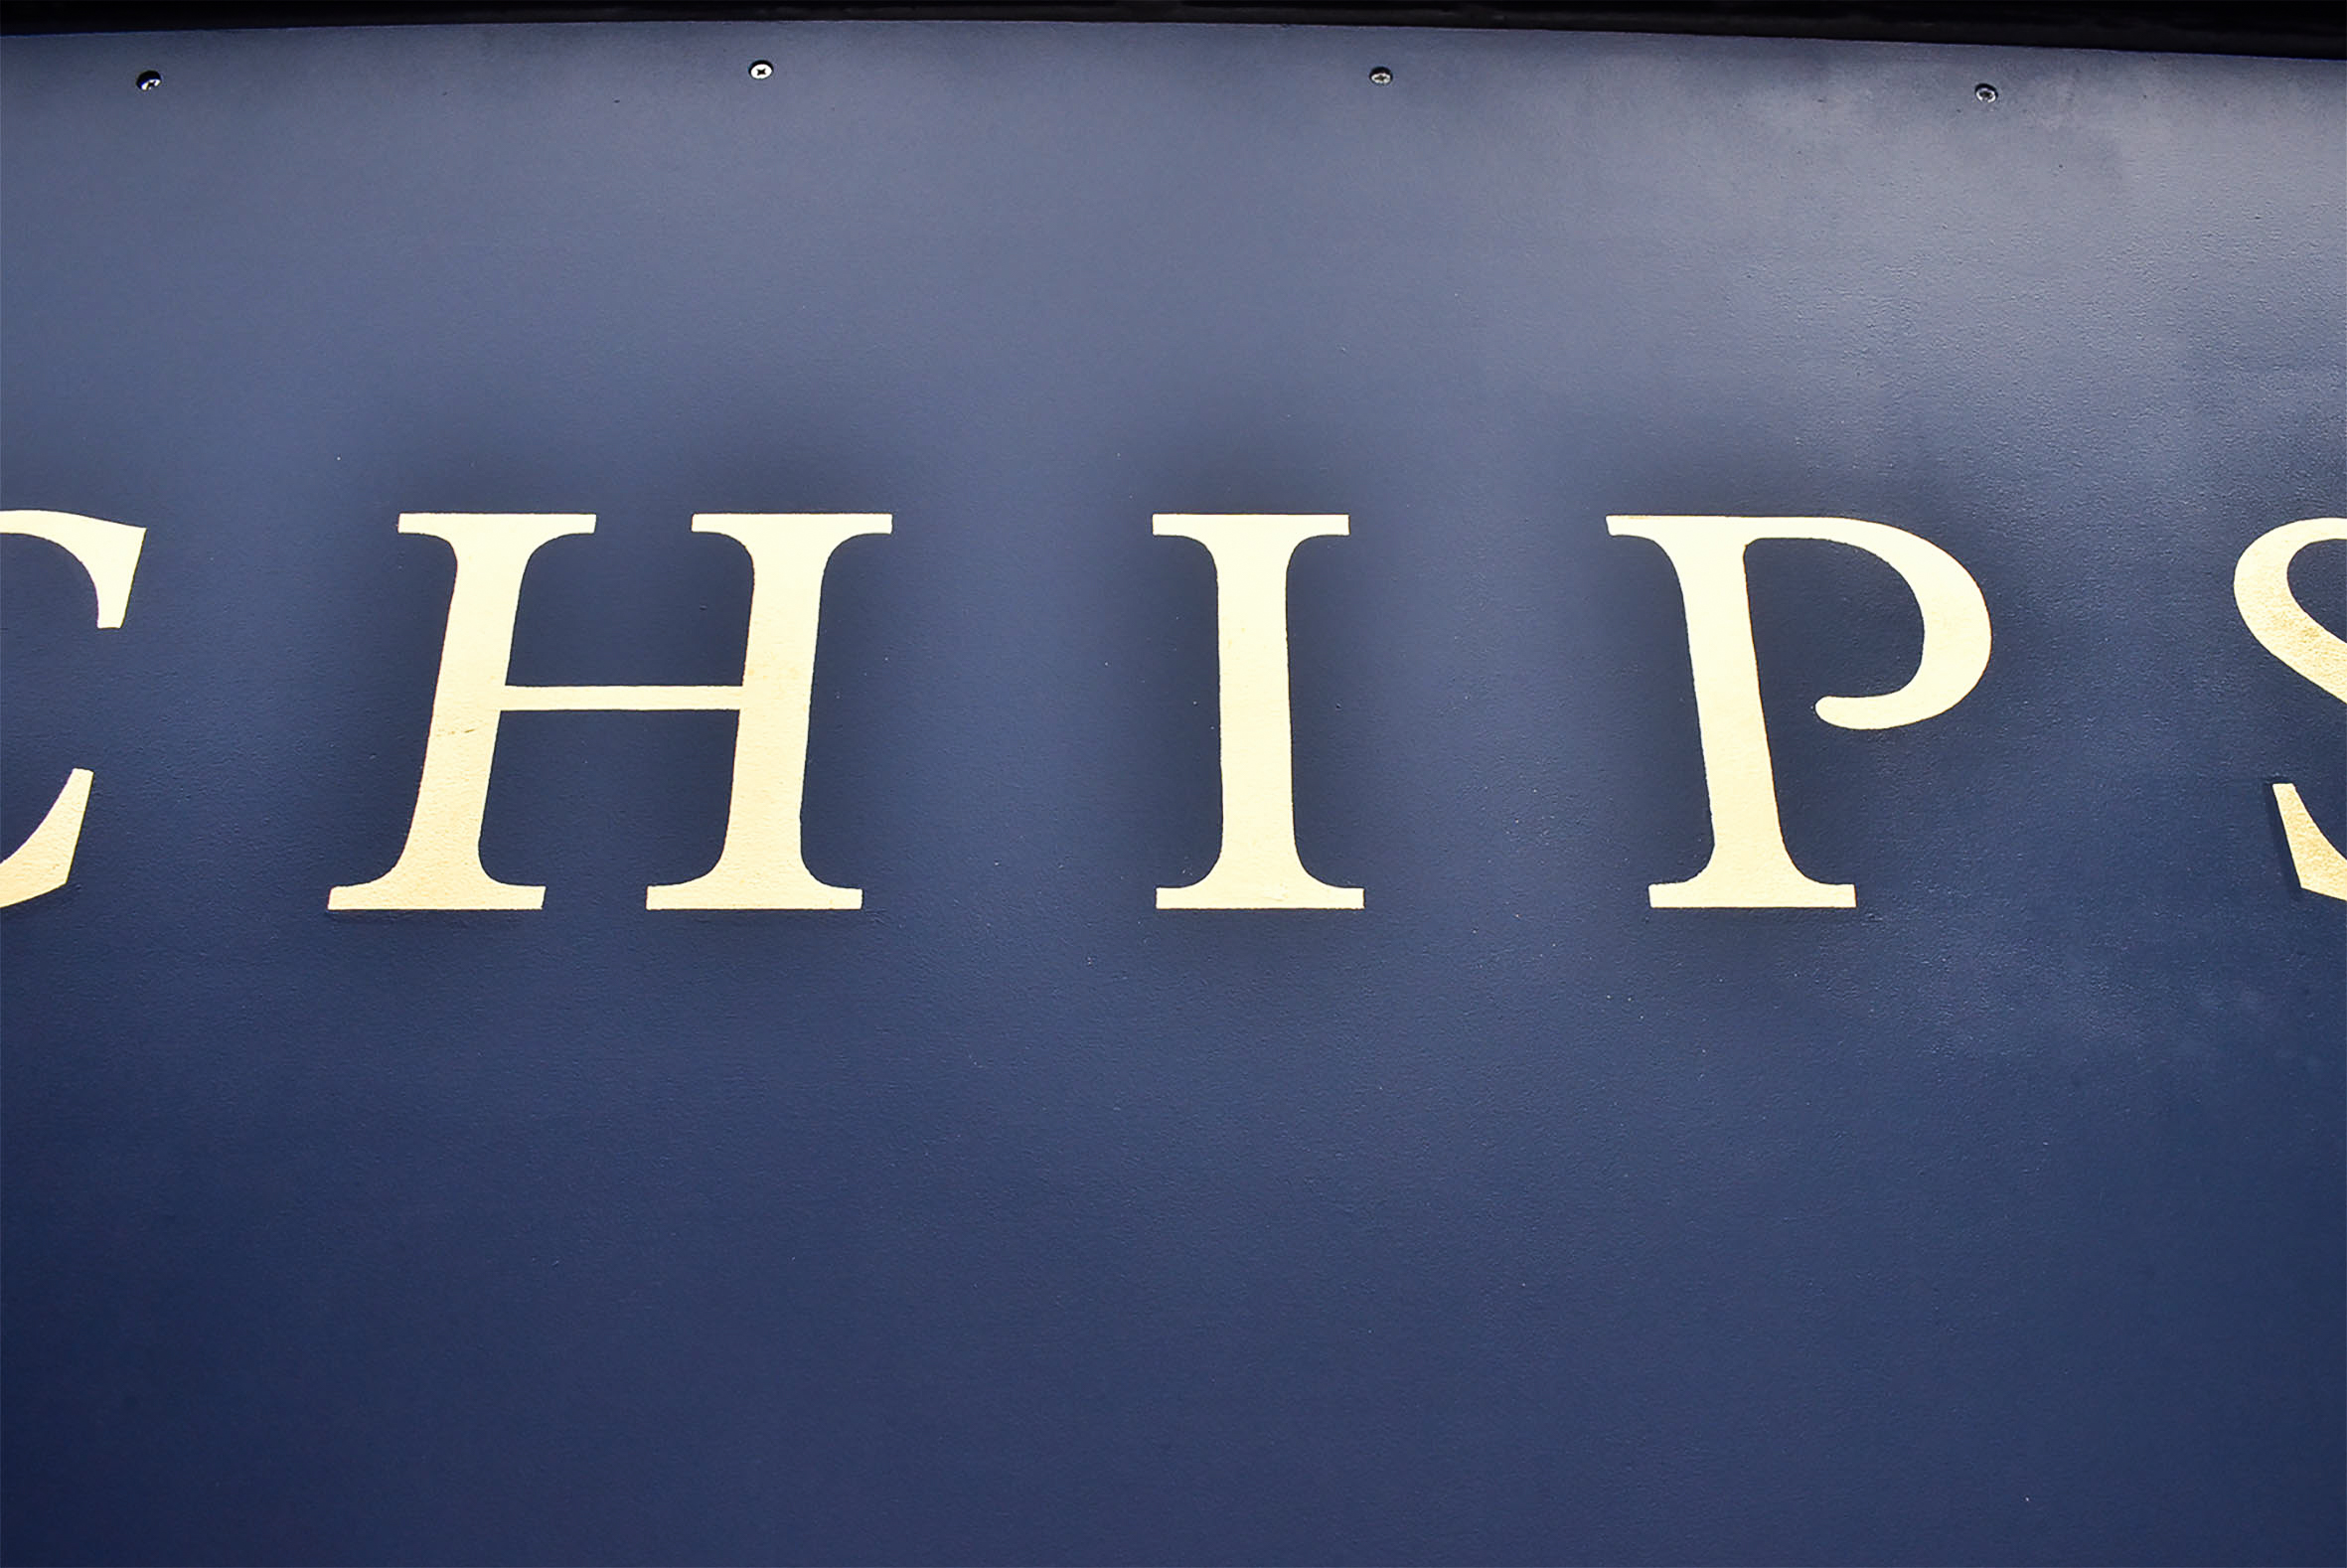
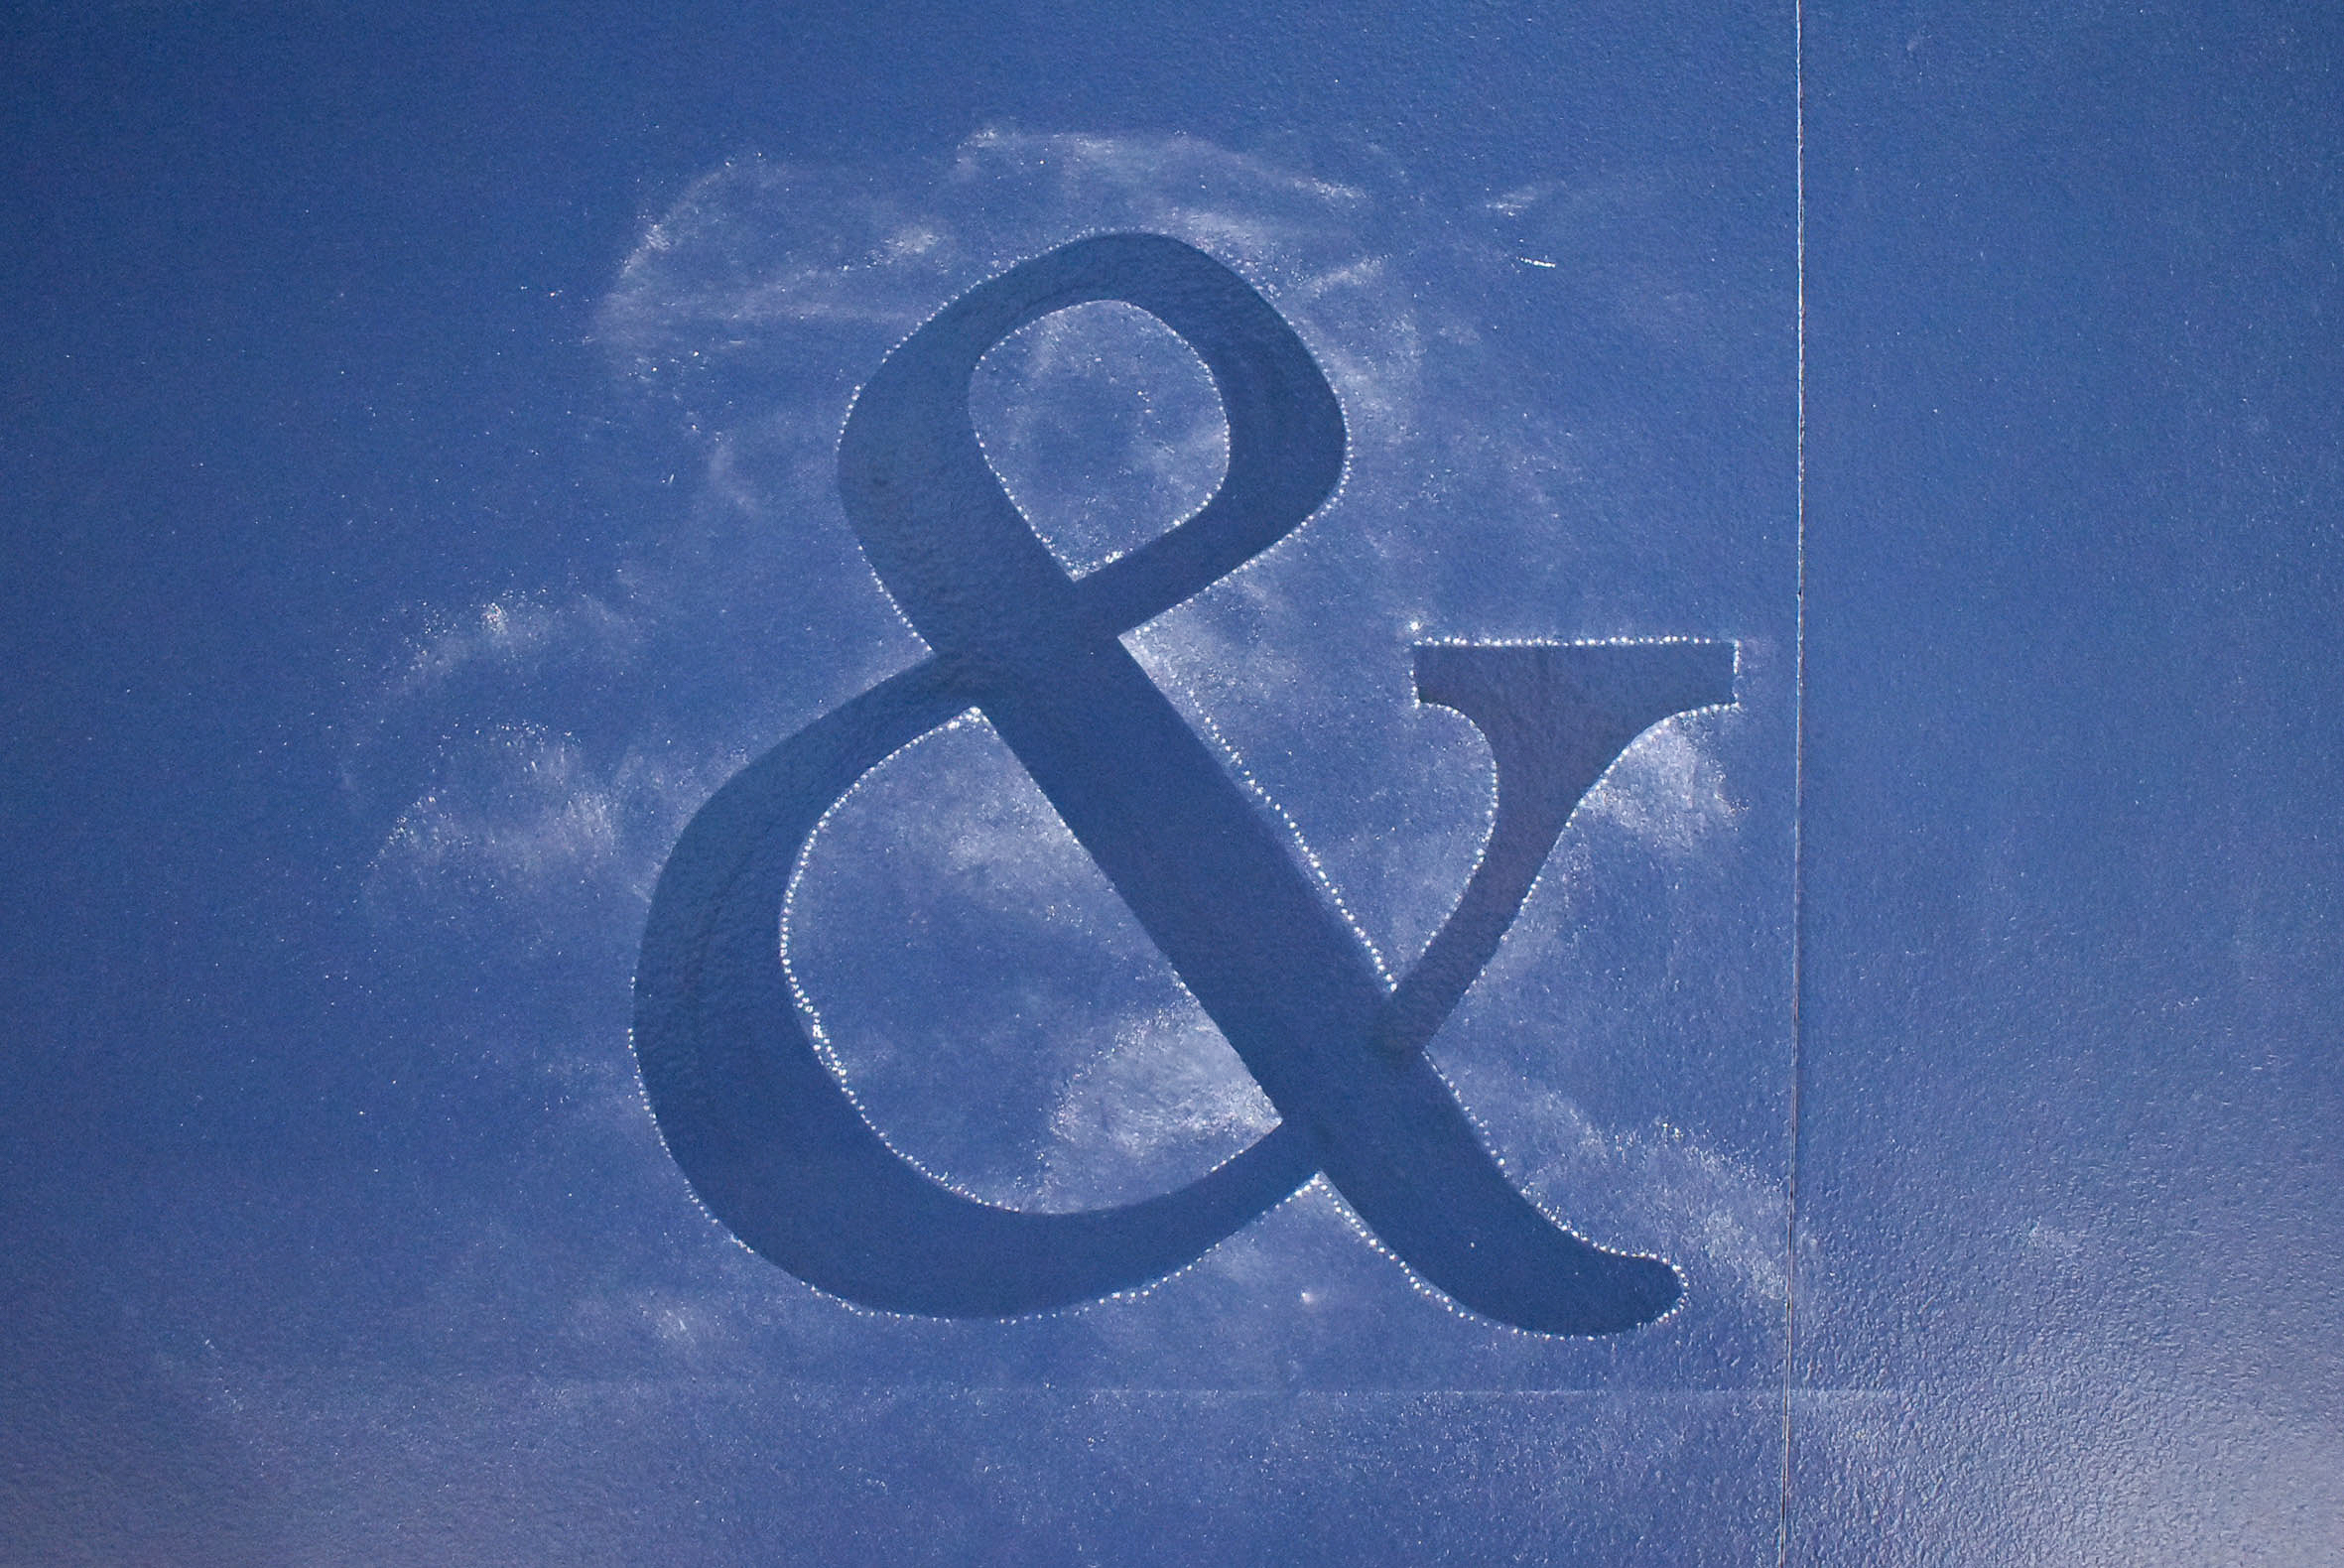
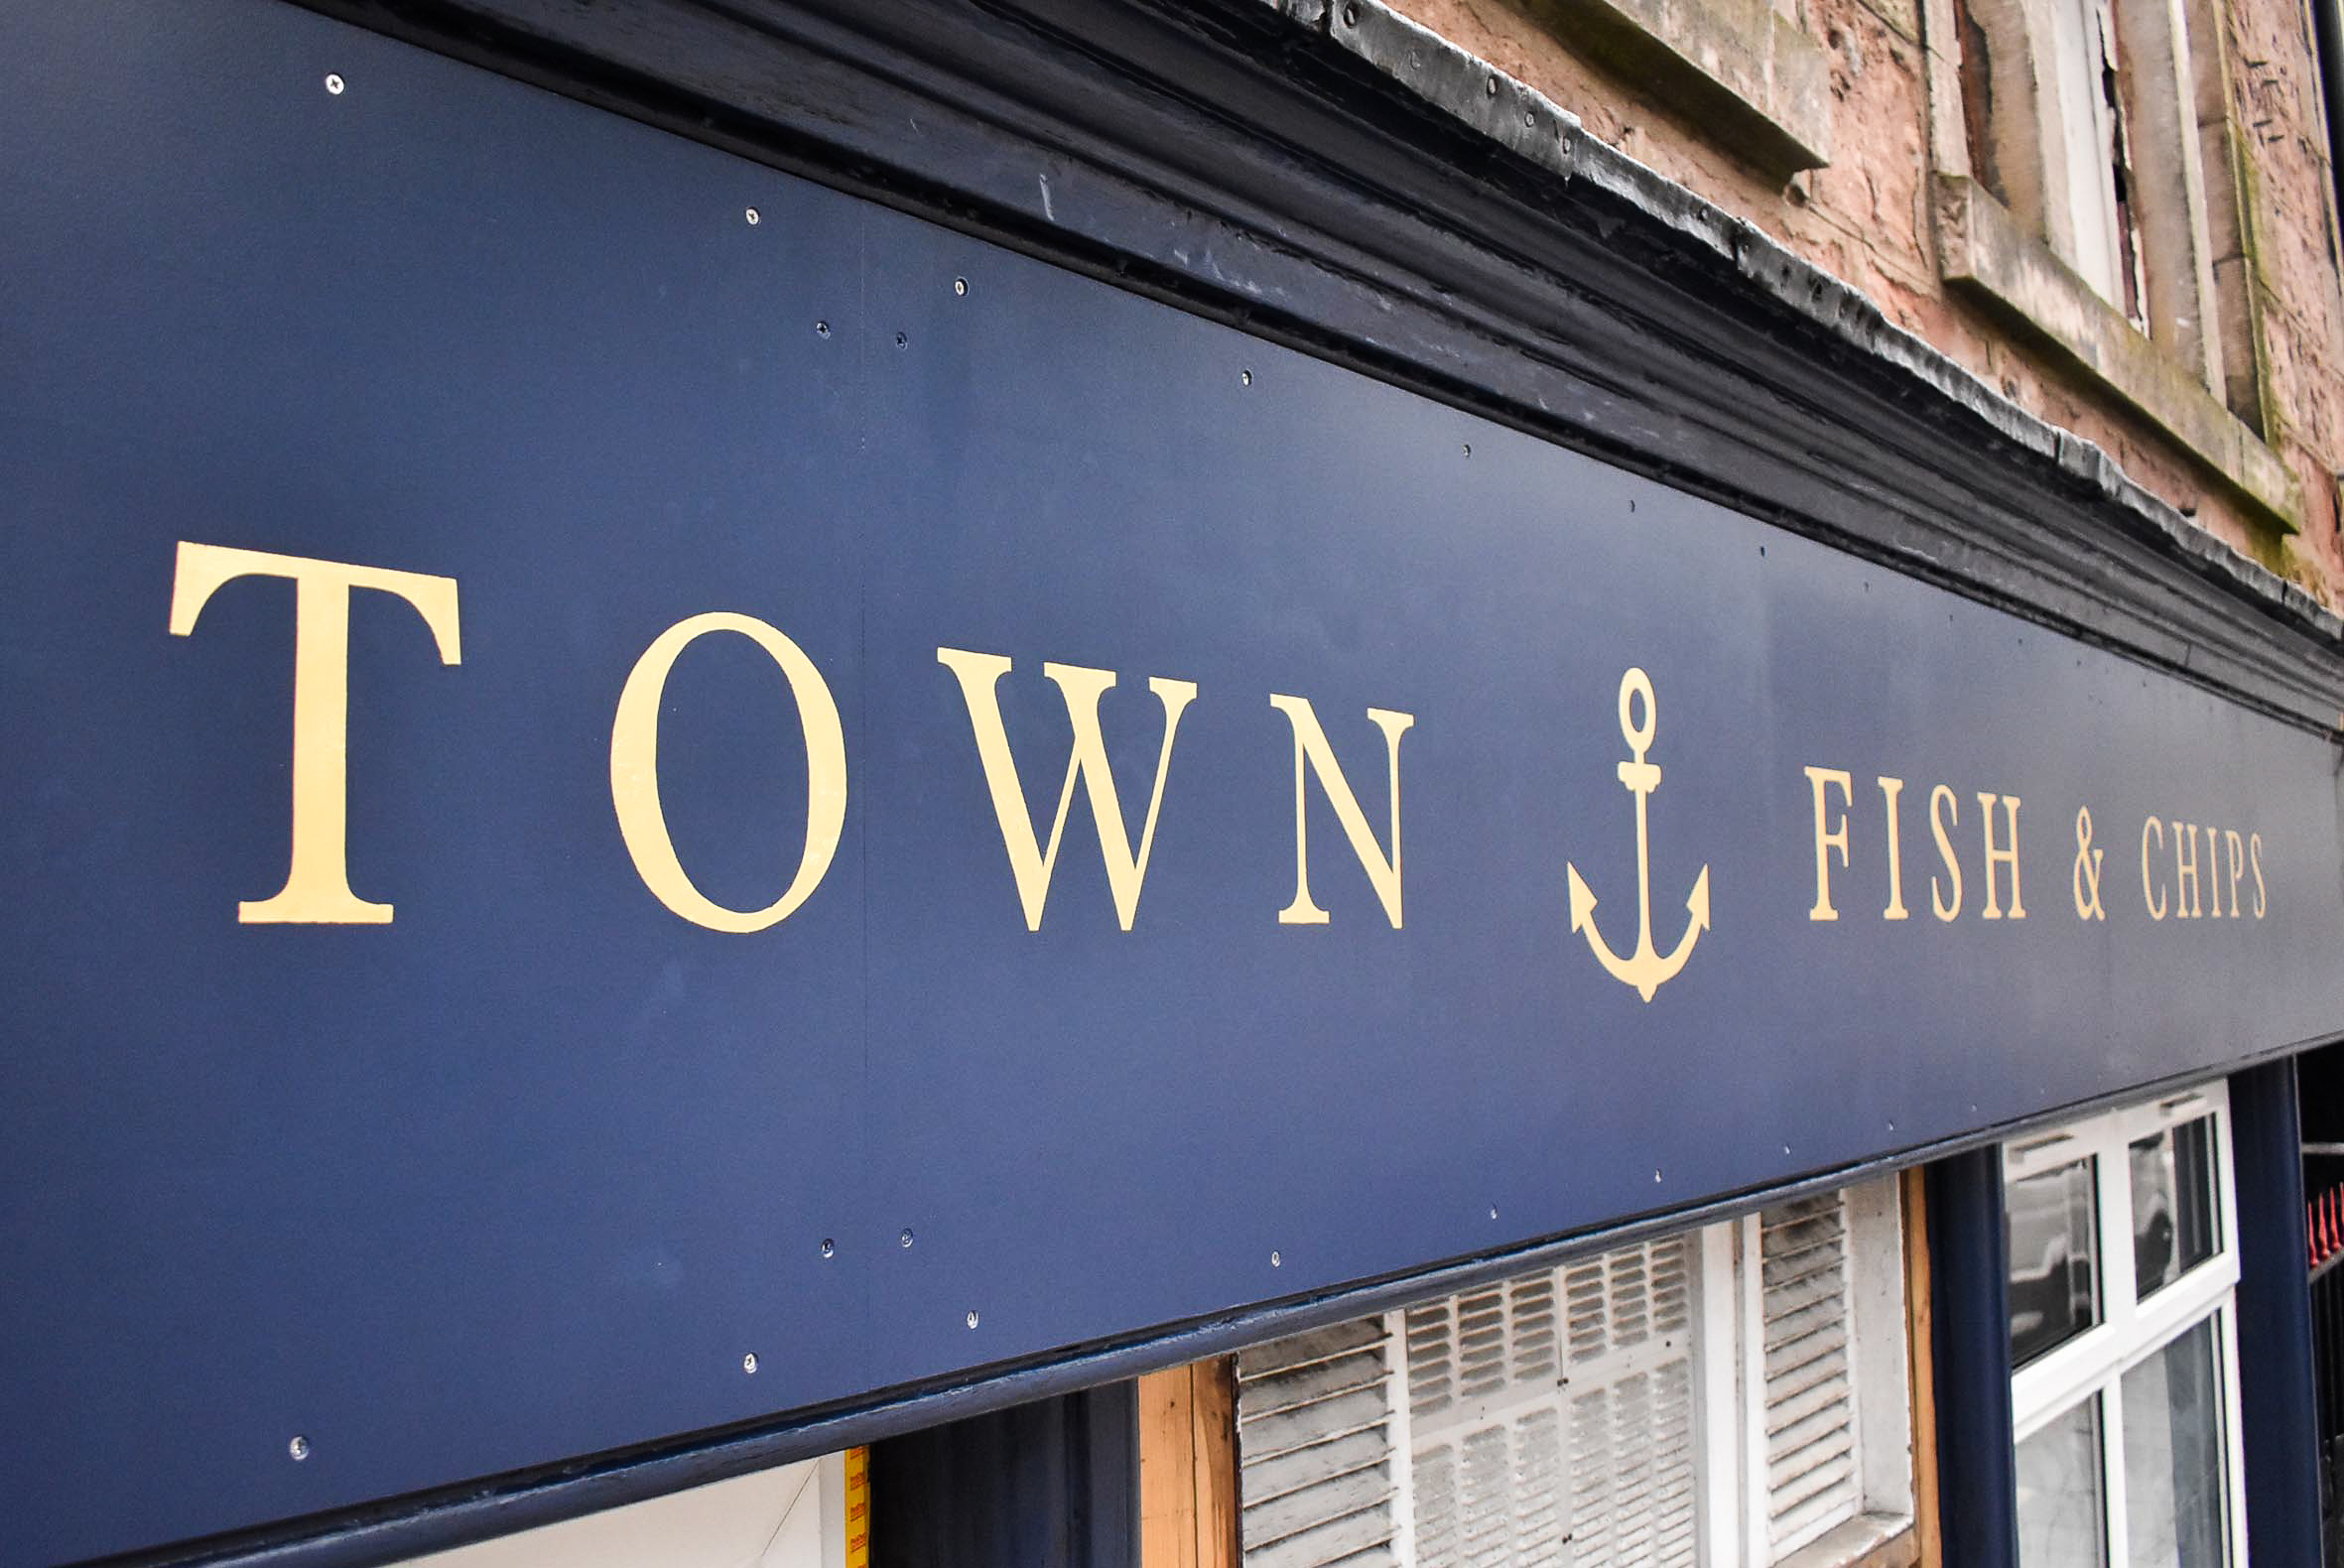
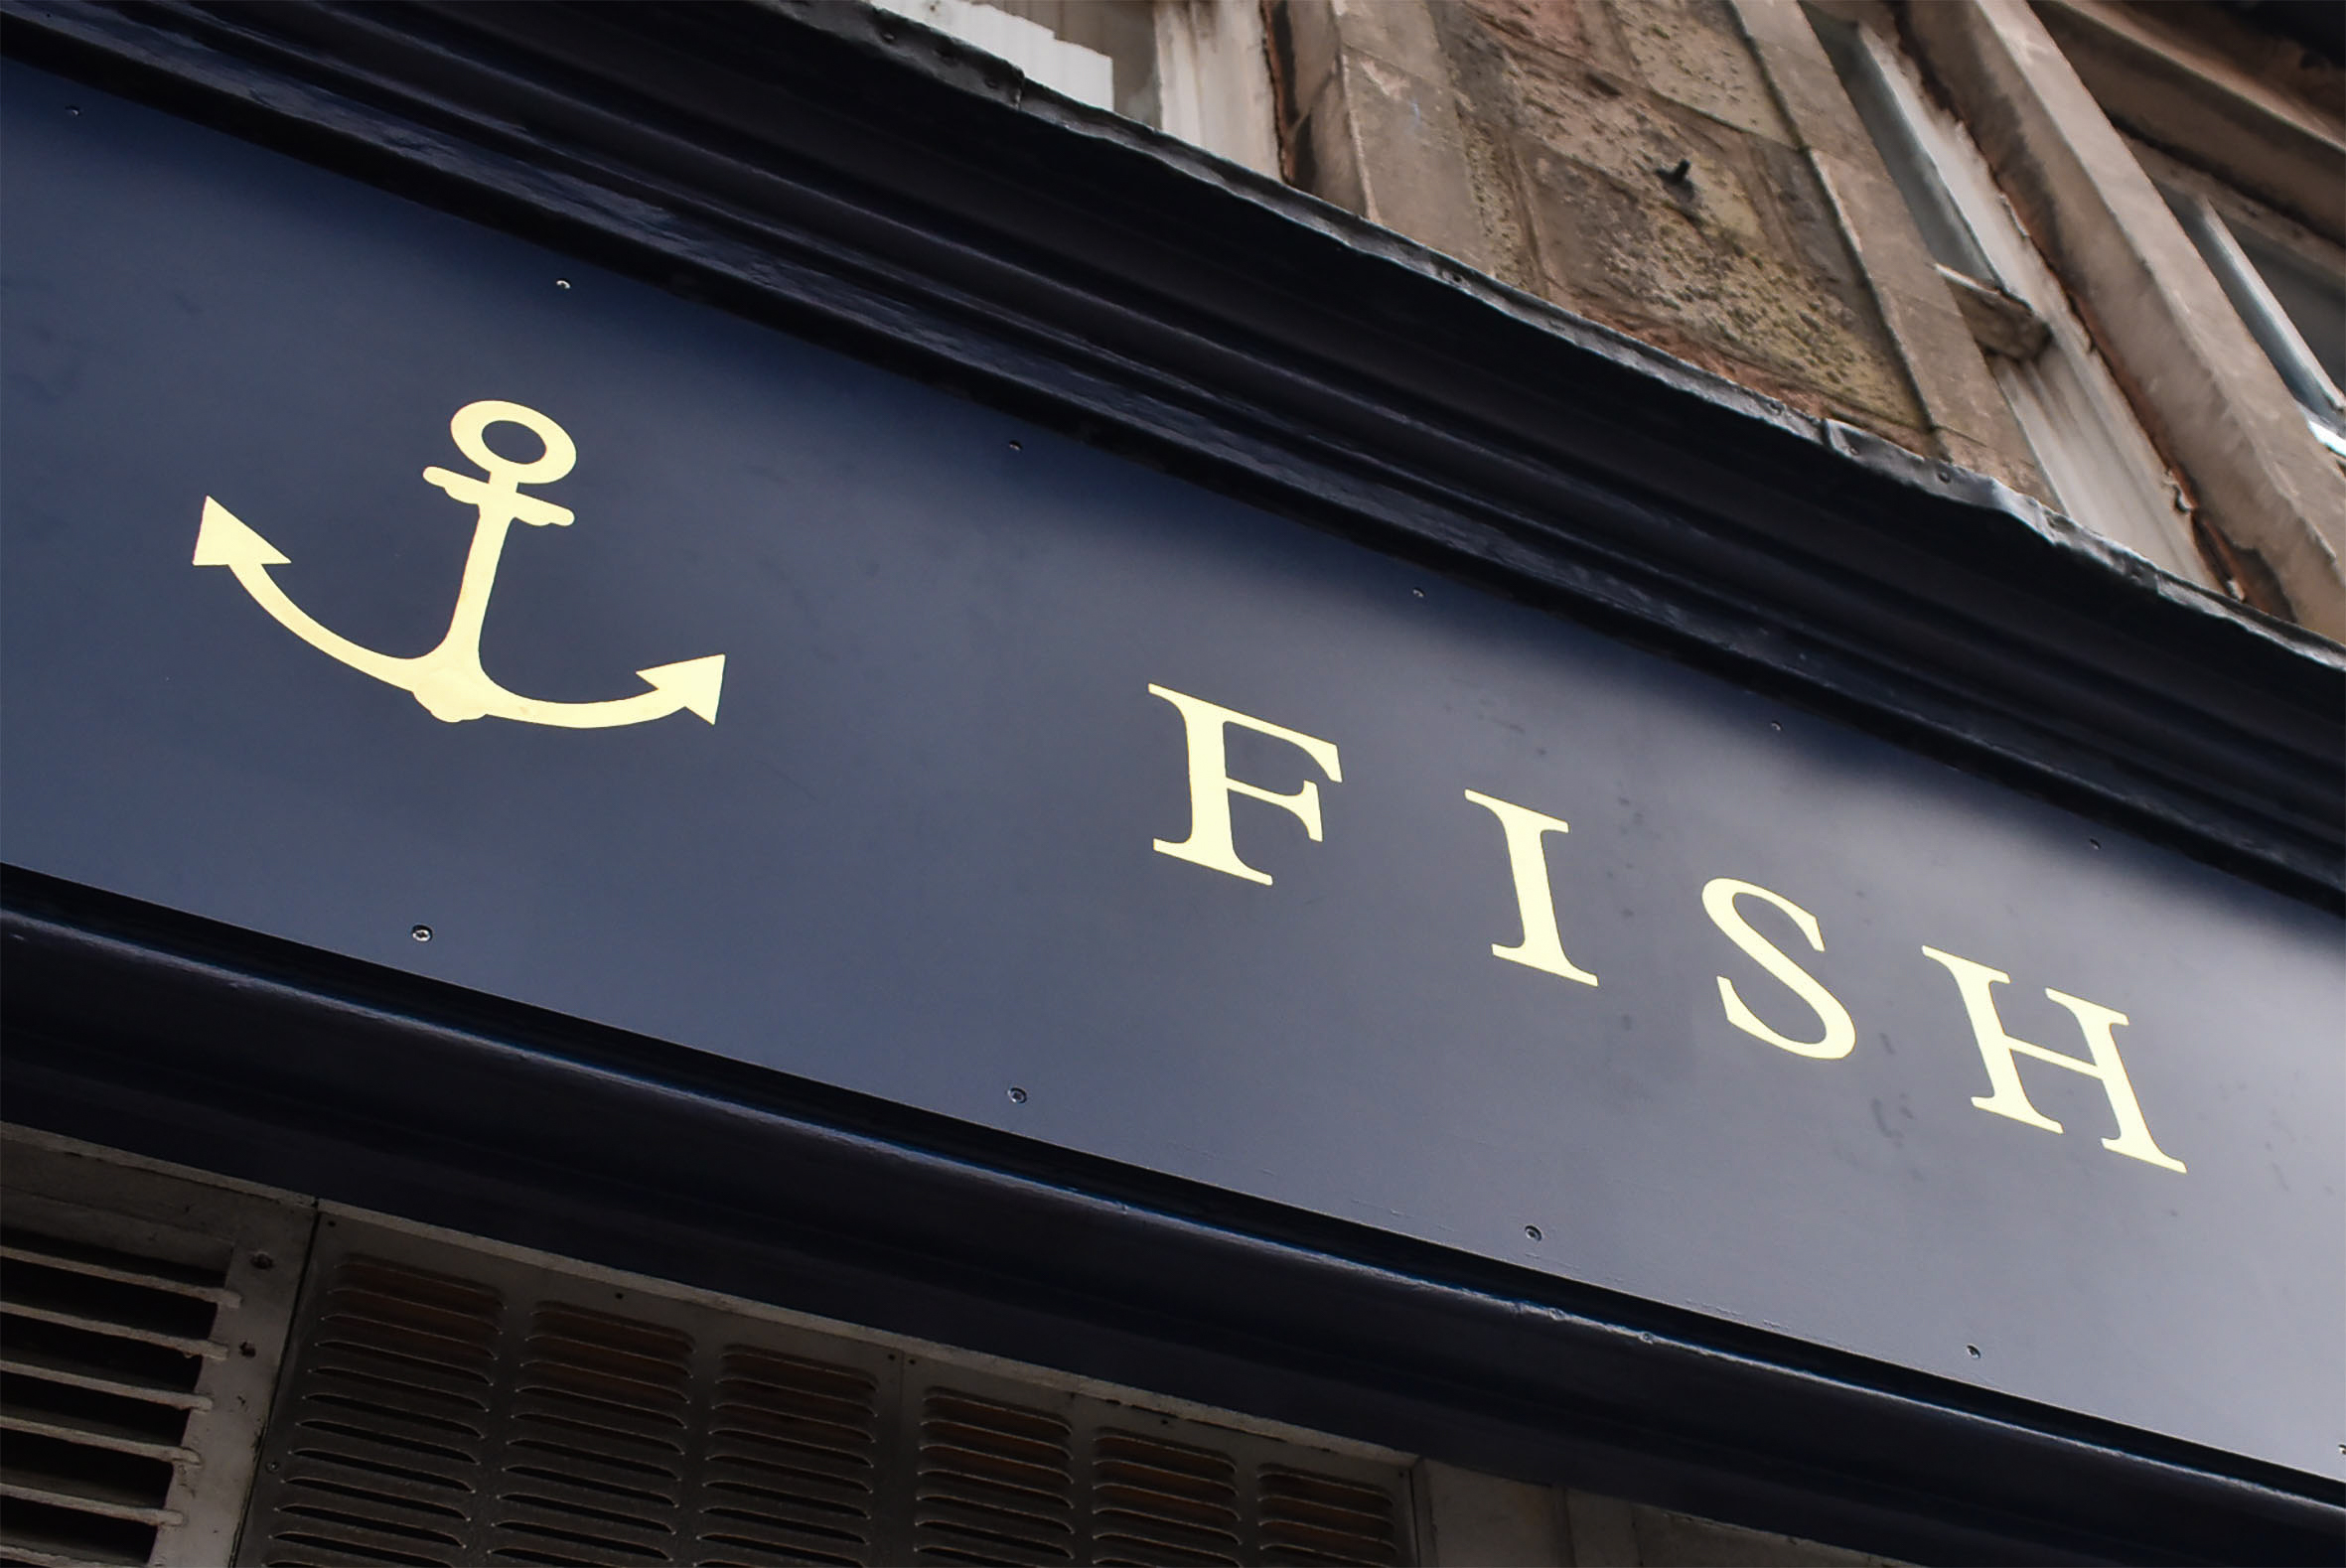
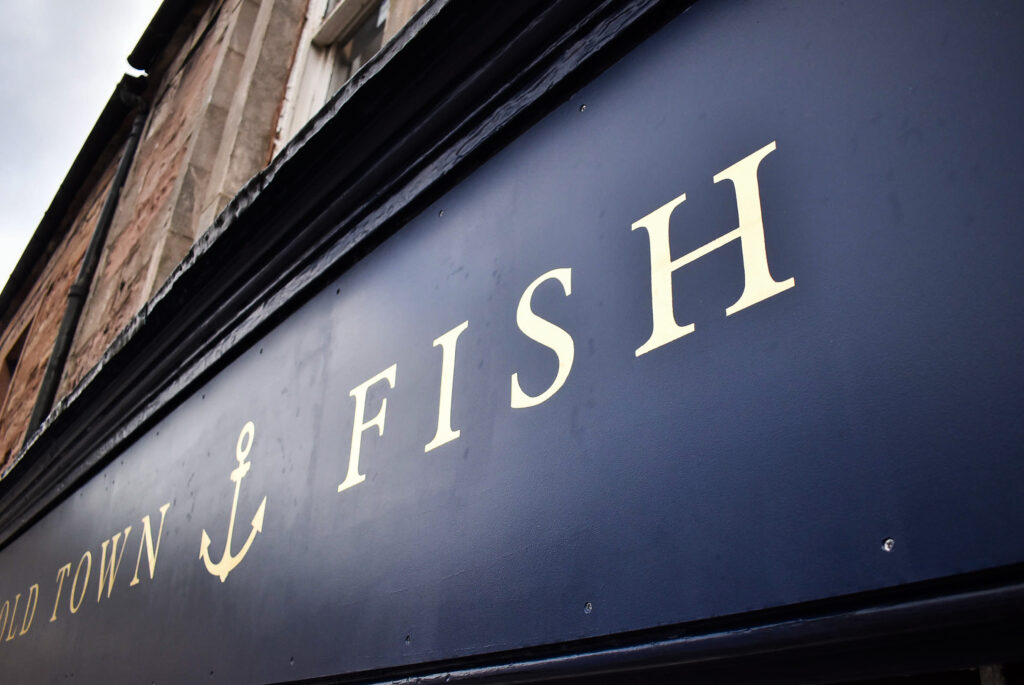
A change in artwork design was made more than three weeks after Charlie’s initial enquiry. The bold font Charlie had approved was replaced with a more traditional style of Roman letter, and an anchor was added between words on the fascia.
Changes were also made to my accommodation for two nights, the start date (due to a road closure), and subsequent amendments to the fascia sign’s dimensions. Charlie and I remained in regular contact, and I advised the consequences of each amendment before rearranging my plans.
Organising the project entailed much more than hand lettering. I’d contacted Highland Council and the Inverness Business Improvement District team for advice on where to park my van for two nights. I had a lot of gear to carry to the shopfront site. In addition, I searched for nearby accommodation whilst conscious of Charlie’s expected date for completing the fascia panels painting and scheduling my other clients’ projects.
My quote was revised on two occasions before Charlie’s approval on 23rd April. With our contract agreed and Charlie’s advance payment, I ordered the hanging sign from John before booking accommodation and purchasing five books of gold leaf.
John was quick in delivering the hanging sign. I estimated two weeks for painting and gilding, with enough time included to allow the satin paint to harden. Two coats of Zinsser Bullseye 123 served as a basecoat before approximately five coats of blue were rolled and brushed on top of both sides of the sign. The blue was solid, but some coats of paint left a streaky finish. I sanded and coated again until I was satisfied.
I was concerned I’d mark the immaculate but soft finish on the sign faces during the gilding process. The hanging sign was stored safely in my studio until nearer the departure date to Inverness. Timing was neat for gilding the hardening sign faces.
During the short few days to allow the painted hanging sign to cure, I further tested on another painted sample panel. This time, I chose not to use French chalk as a resist.
Ordinarily, gold leaf will stick to most surfaces where there isn’t a resist. Removing the excess gold leaf once the gold size (a varnish-like glue) is dry can present a big headache. However, following further experiments, I found the excess gold leaf didn’t stick hard to the satin finish painted surface.
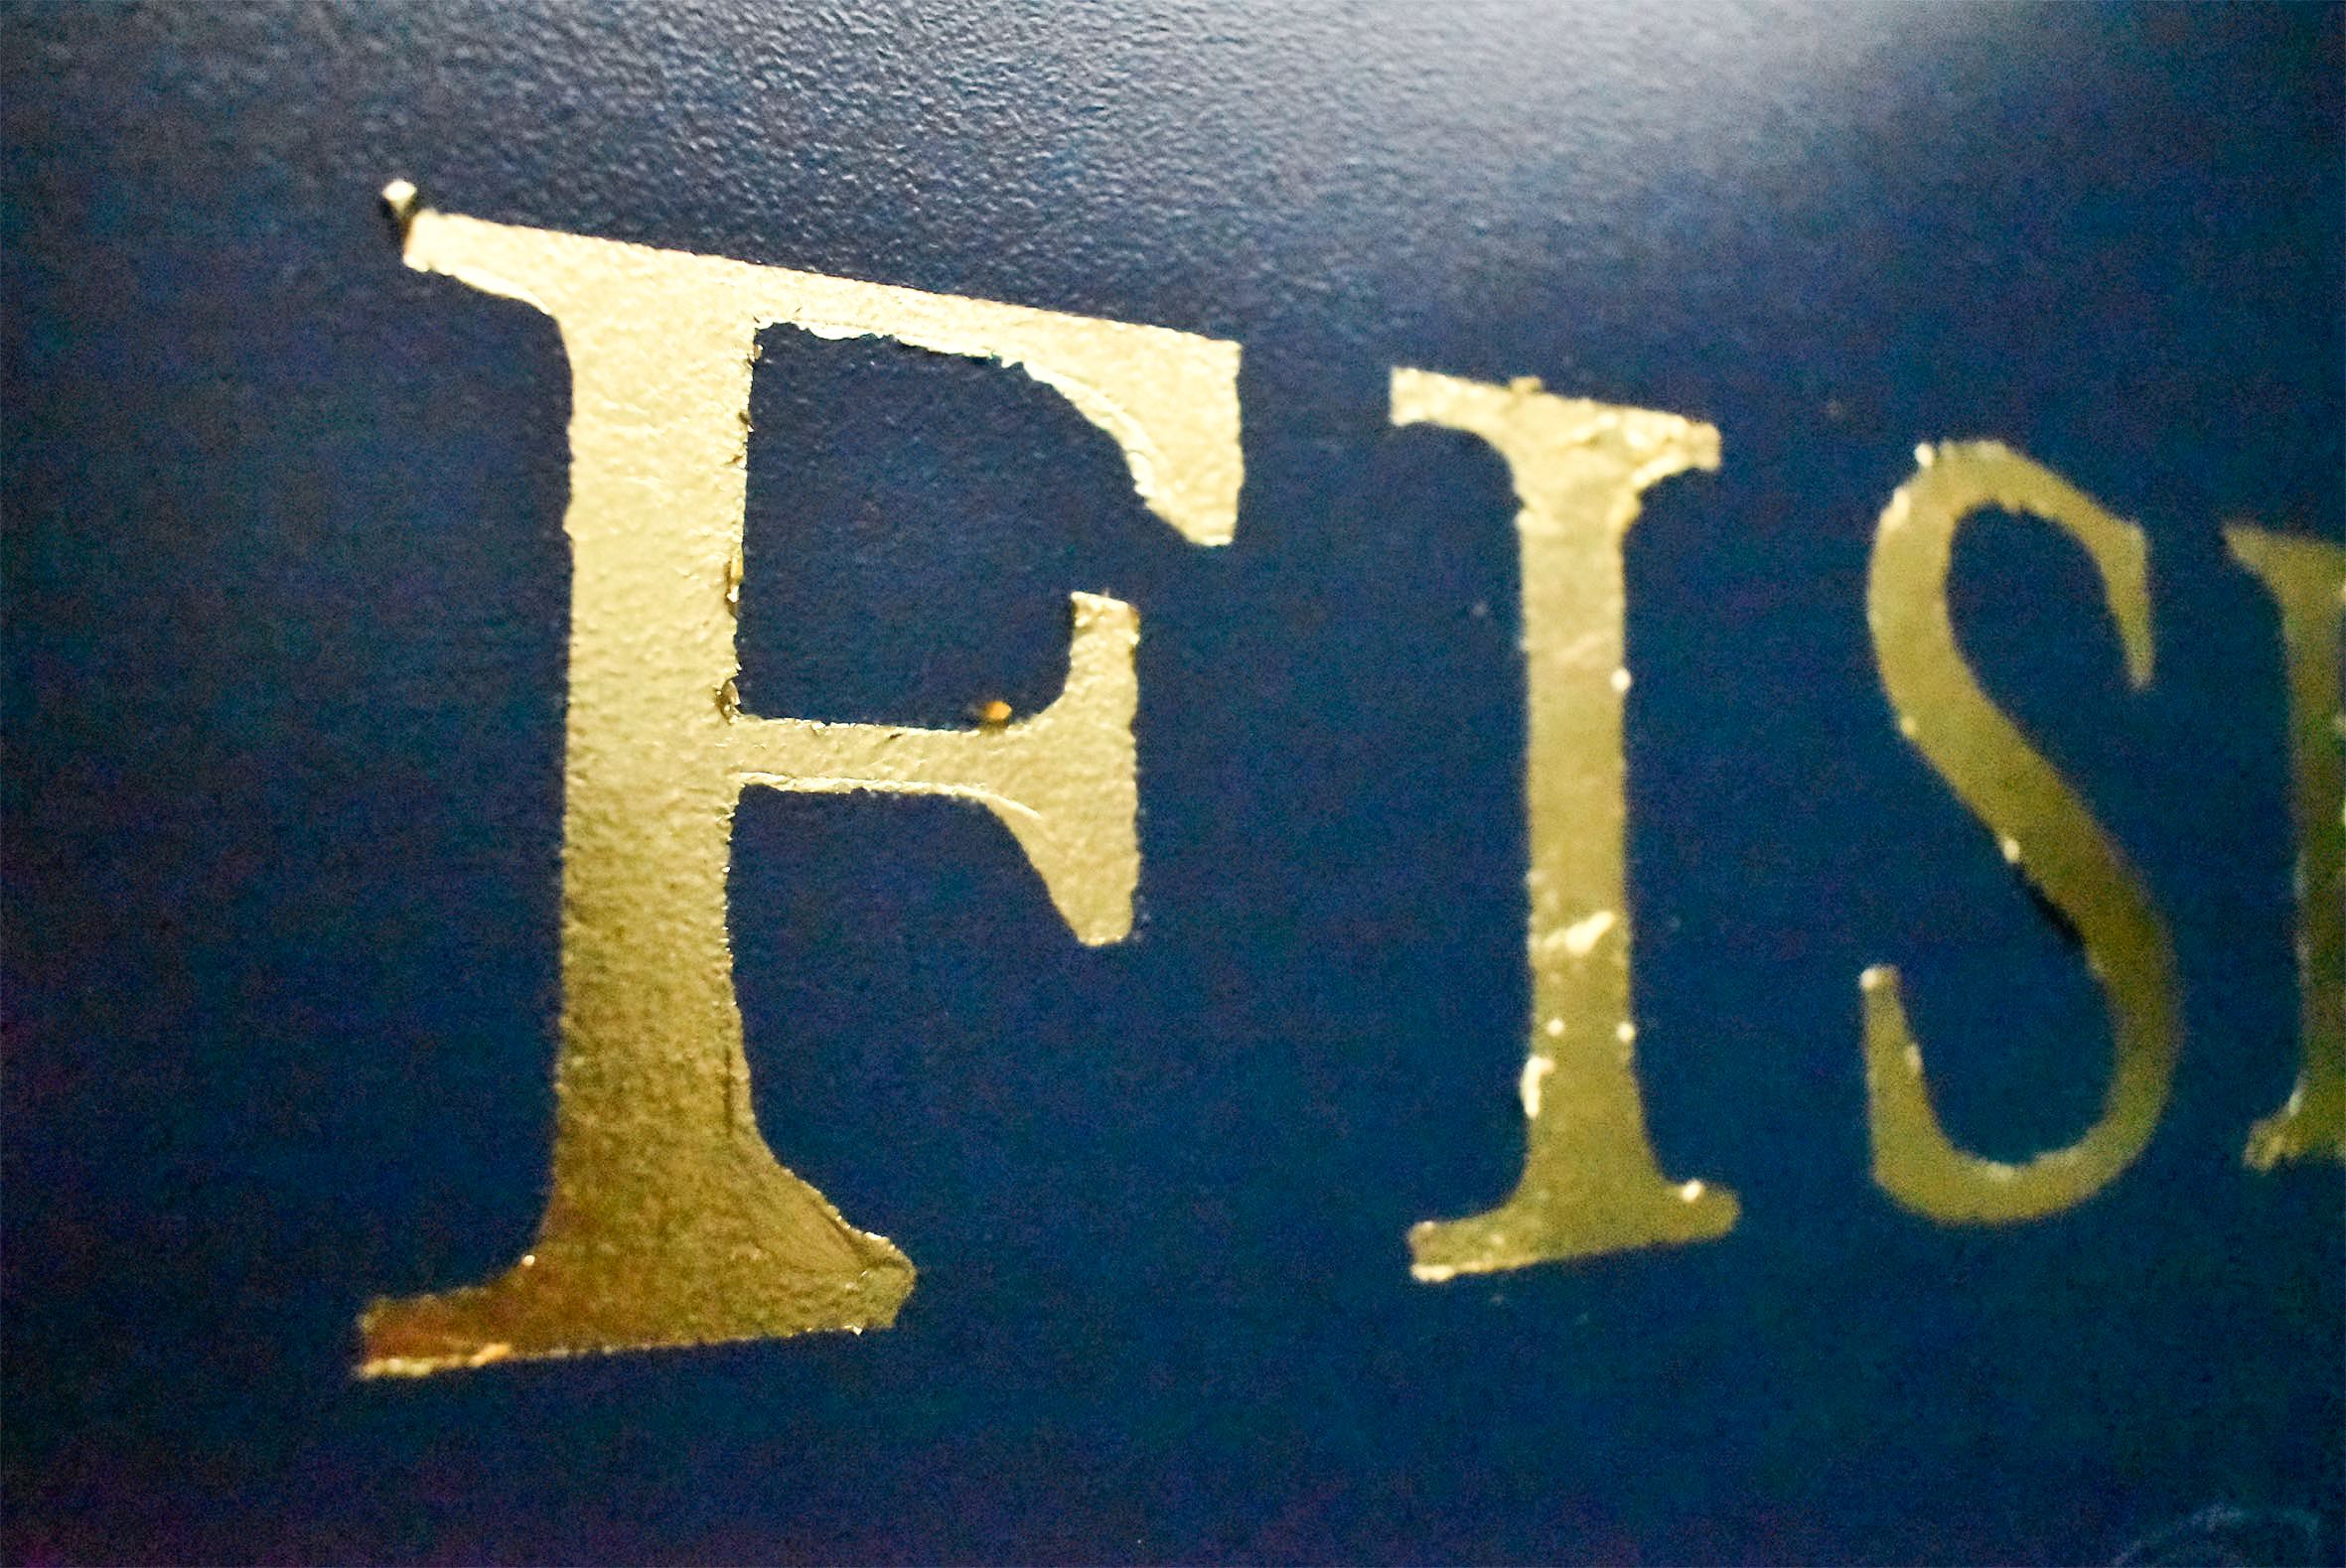
Gilding both sides of the hanging sign required care. Tentatively, I hand lettered with the gold size on the first side of the panel. Once the size was at an adequate level of tack, the gold was rubbed on top.
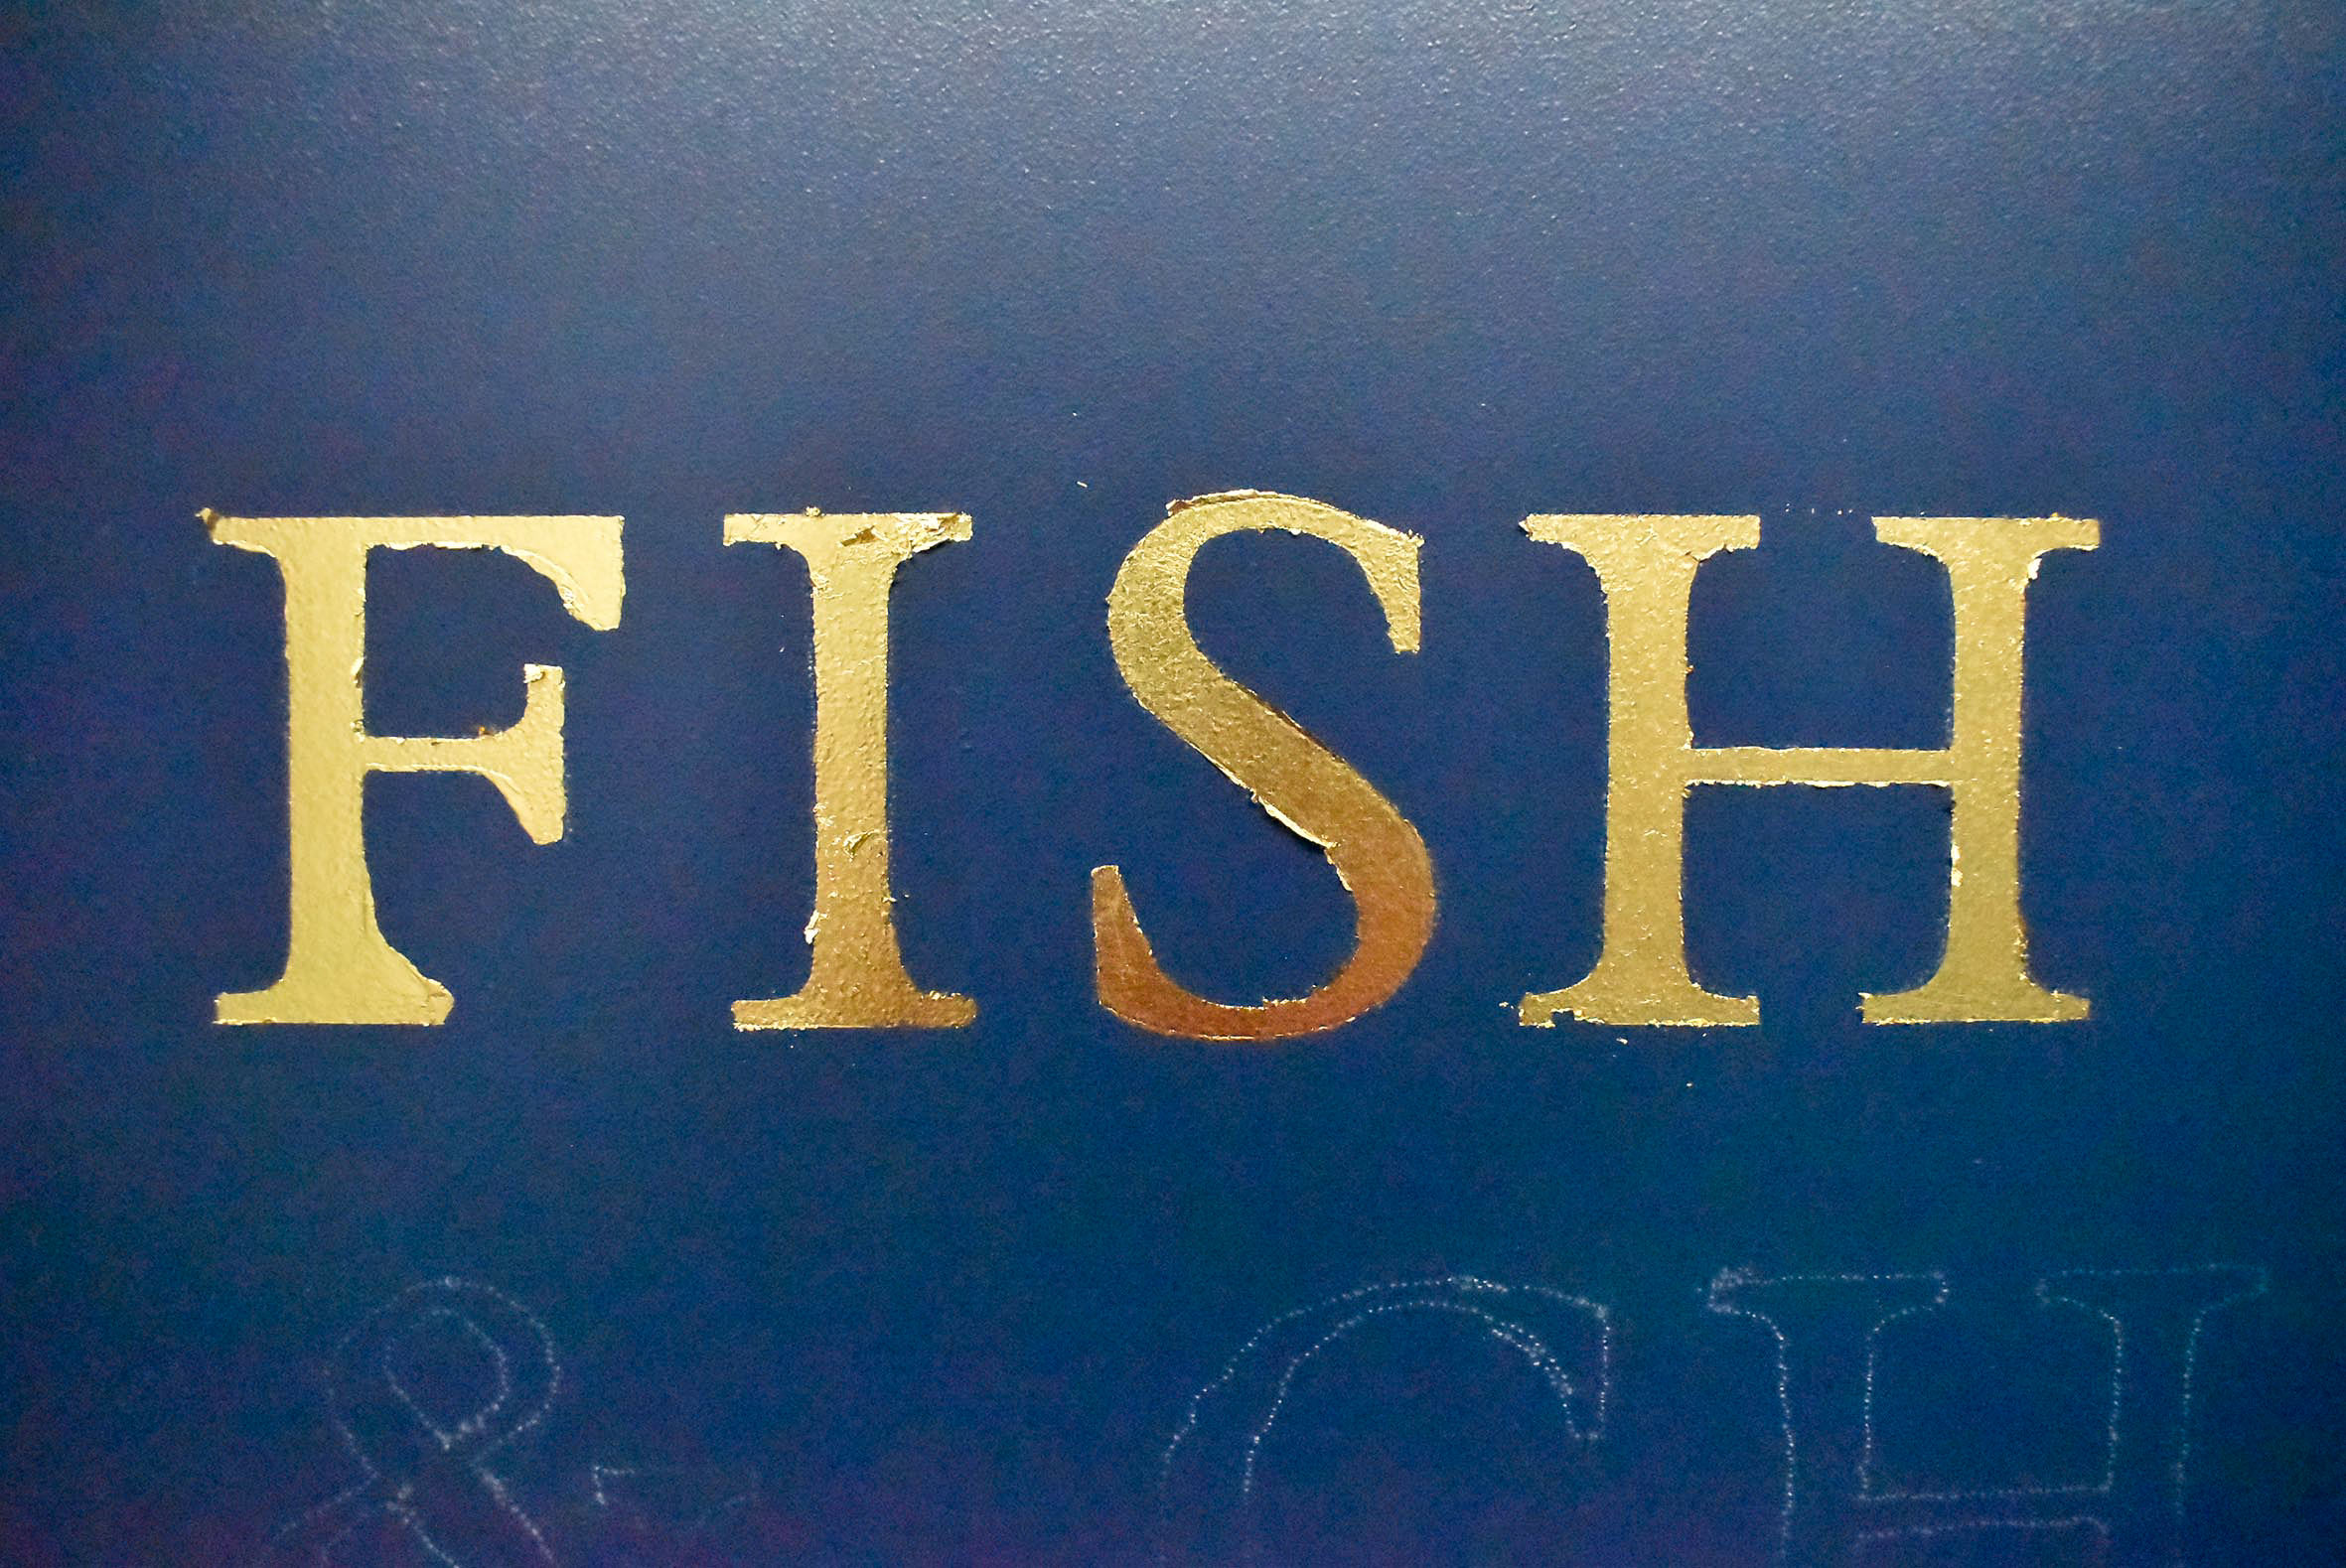
After applying the gold leaf over all the tacky lettering, I allowed a few hours to be confident of the dried gold size underneath. The excess gold was then gently brushed off the surface to reveal the hand lettering below.
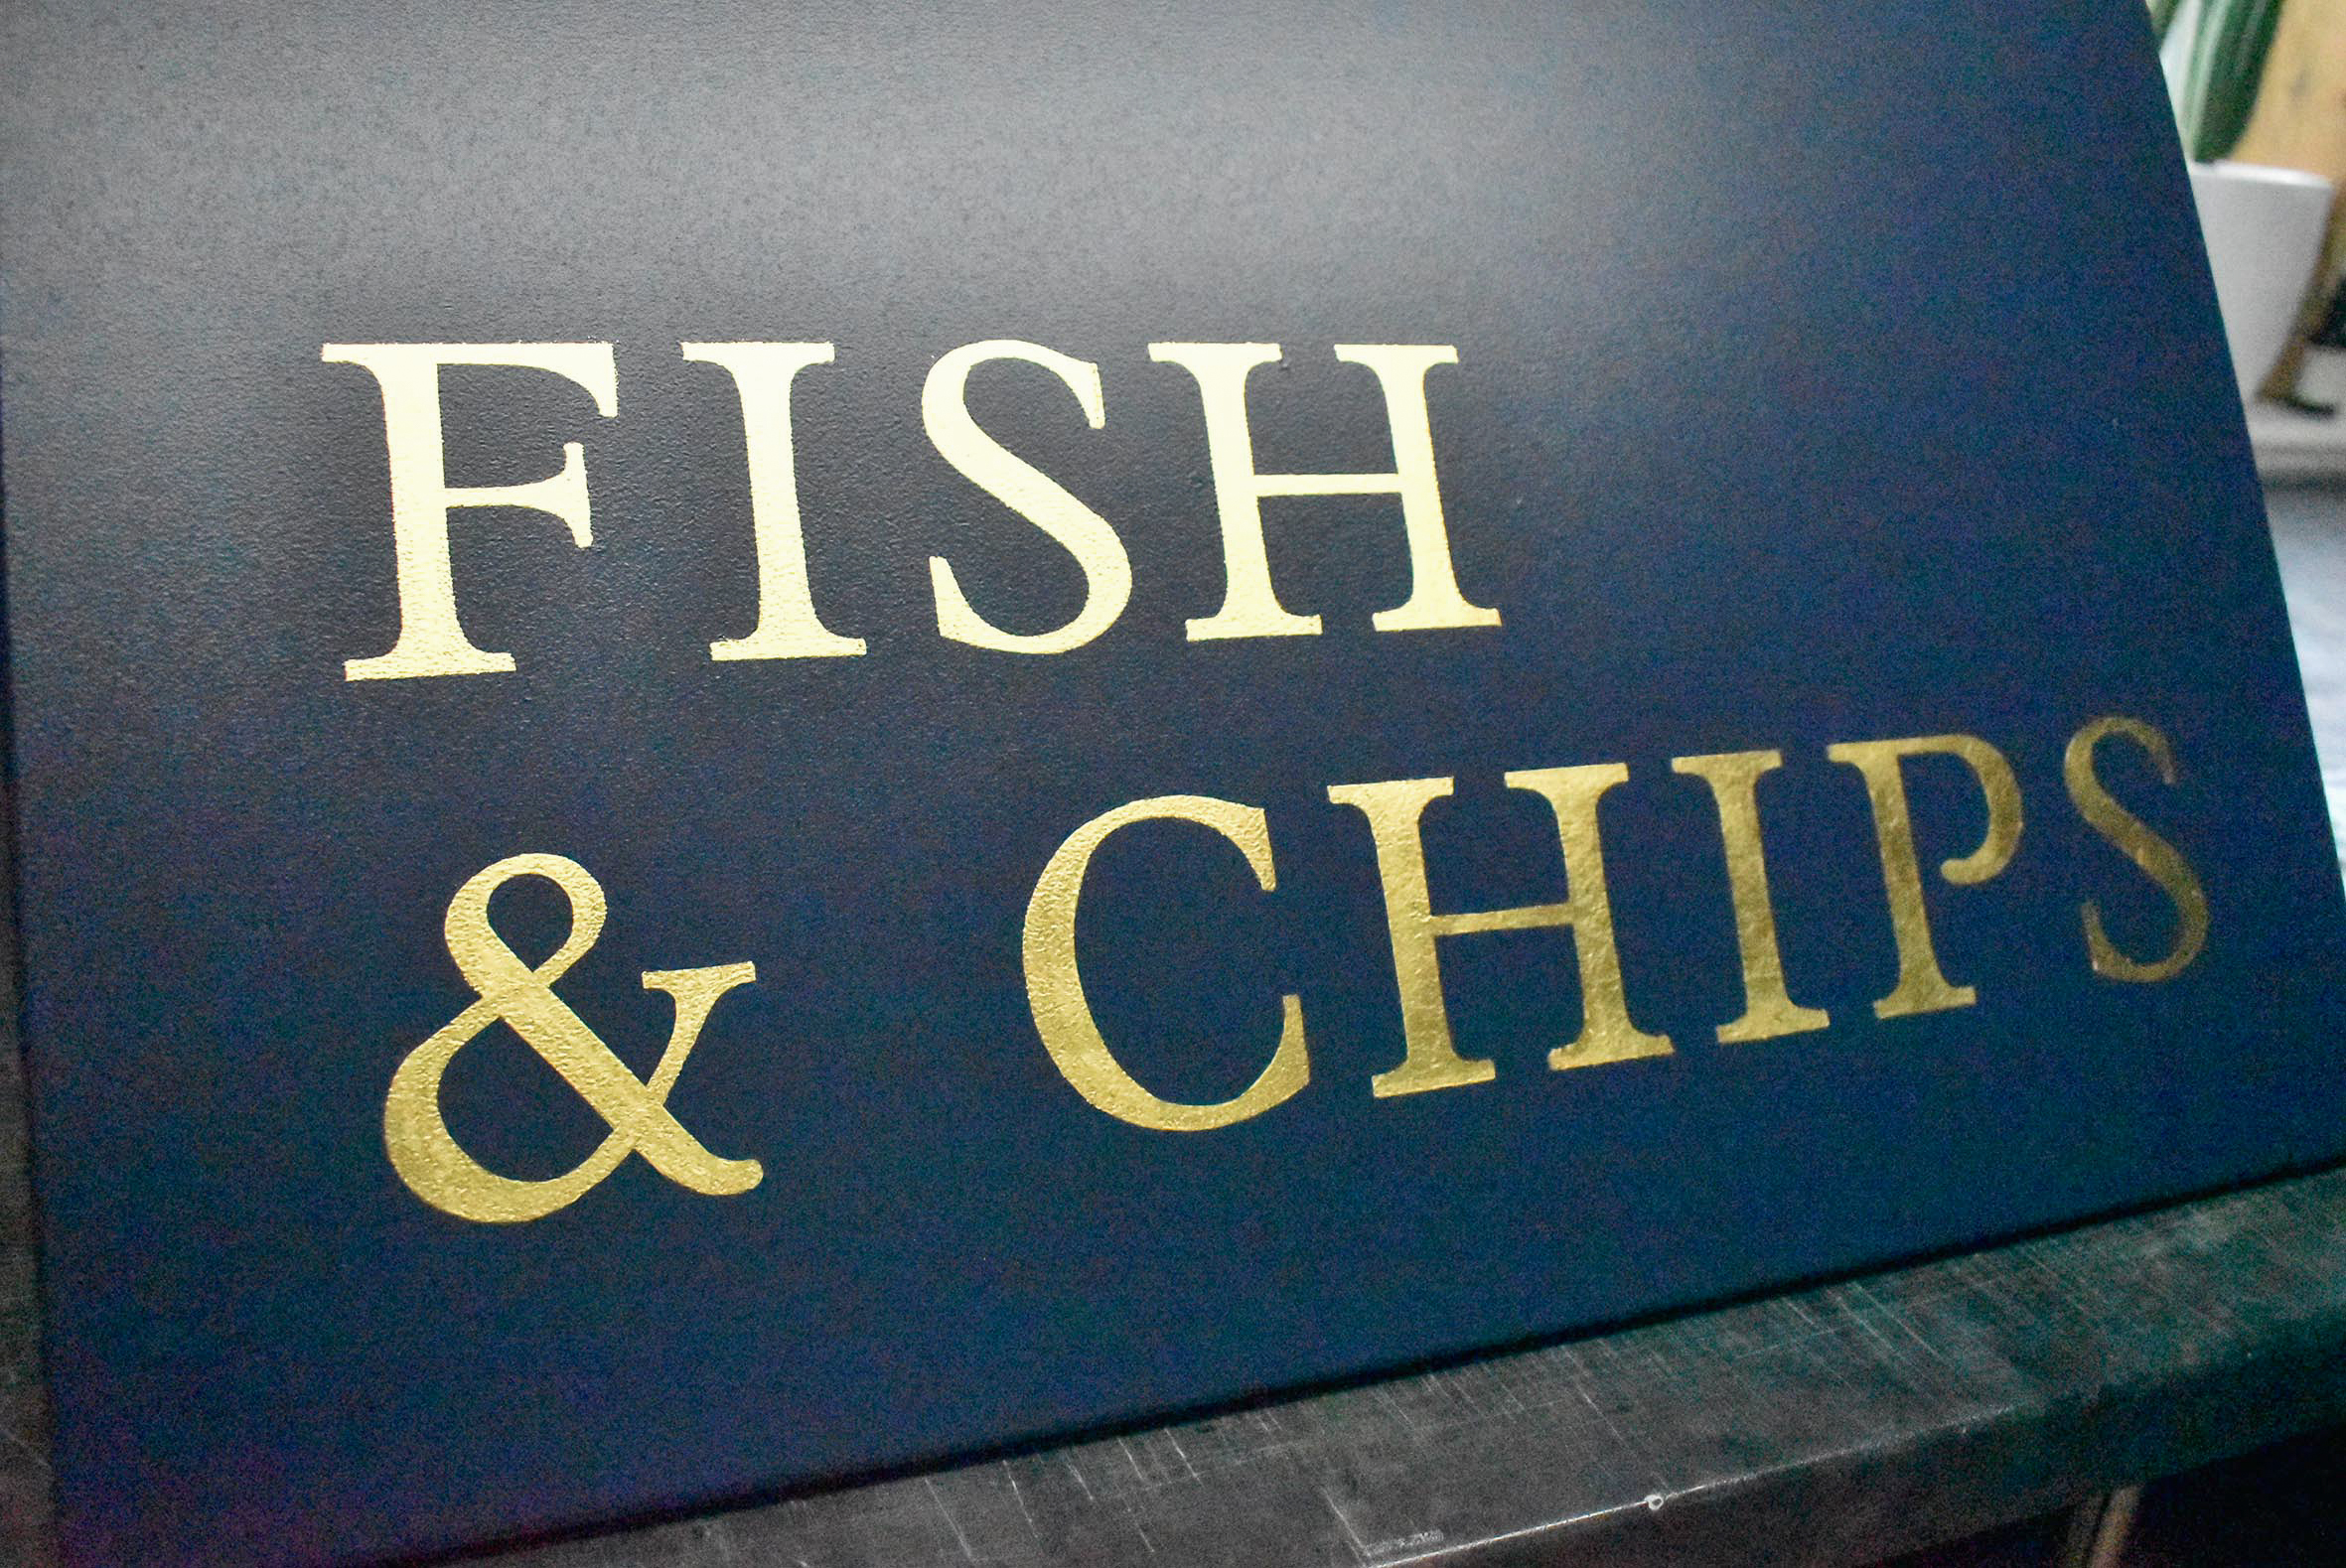
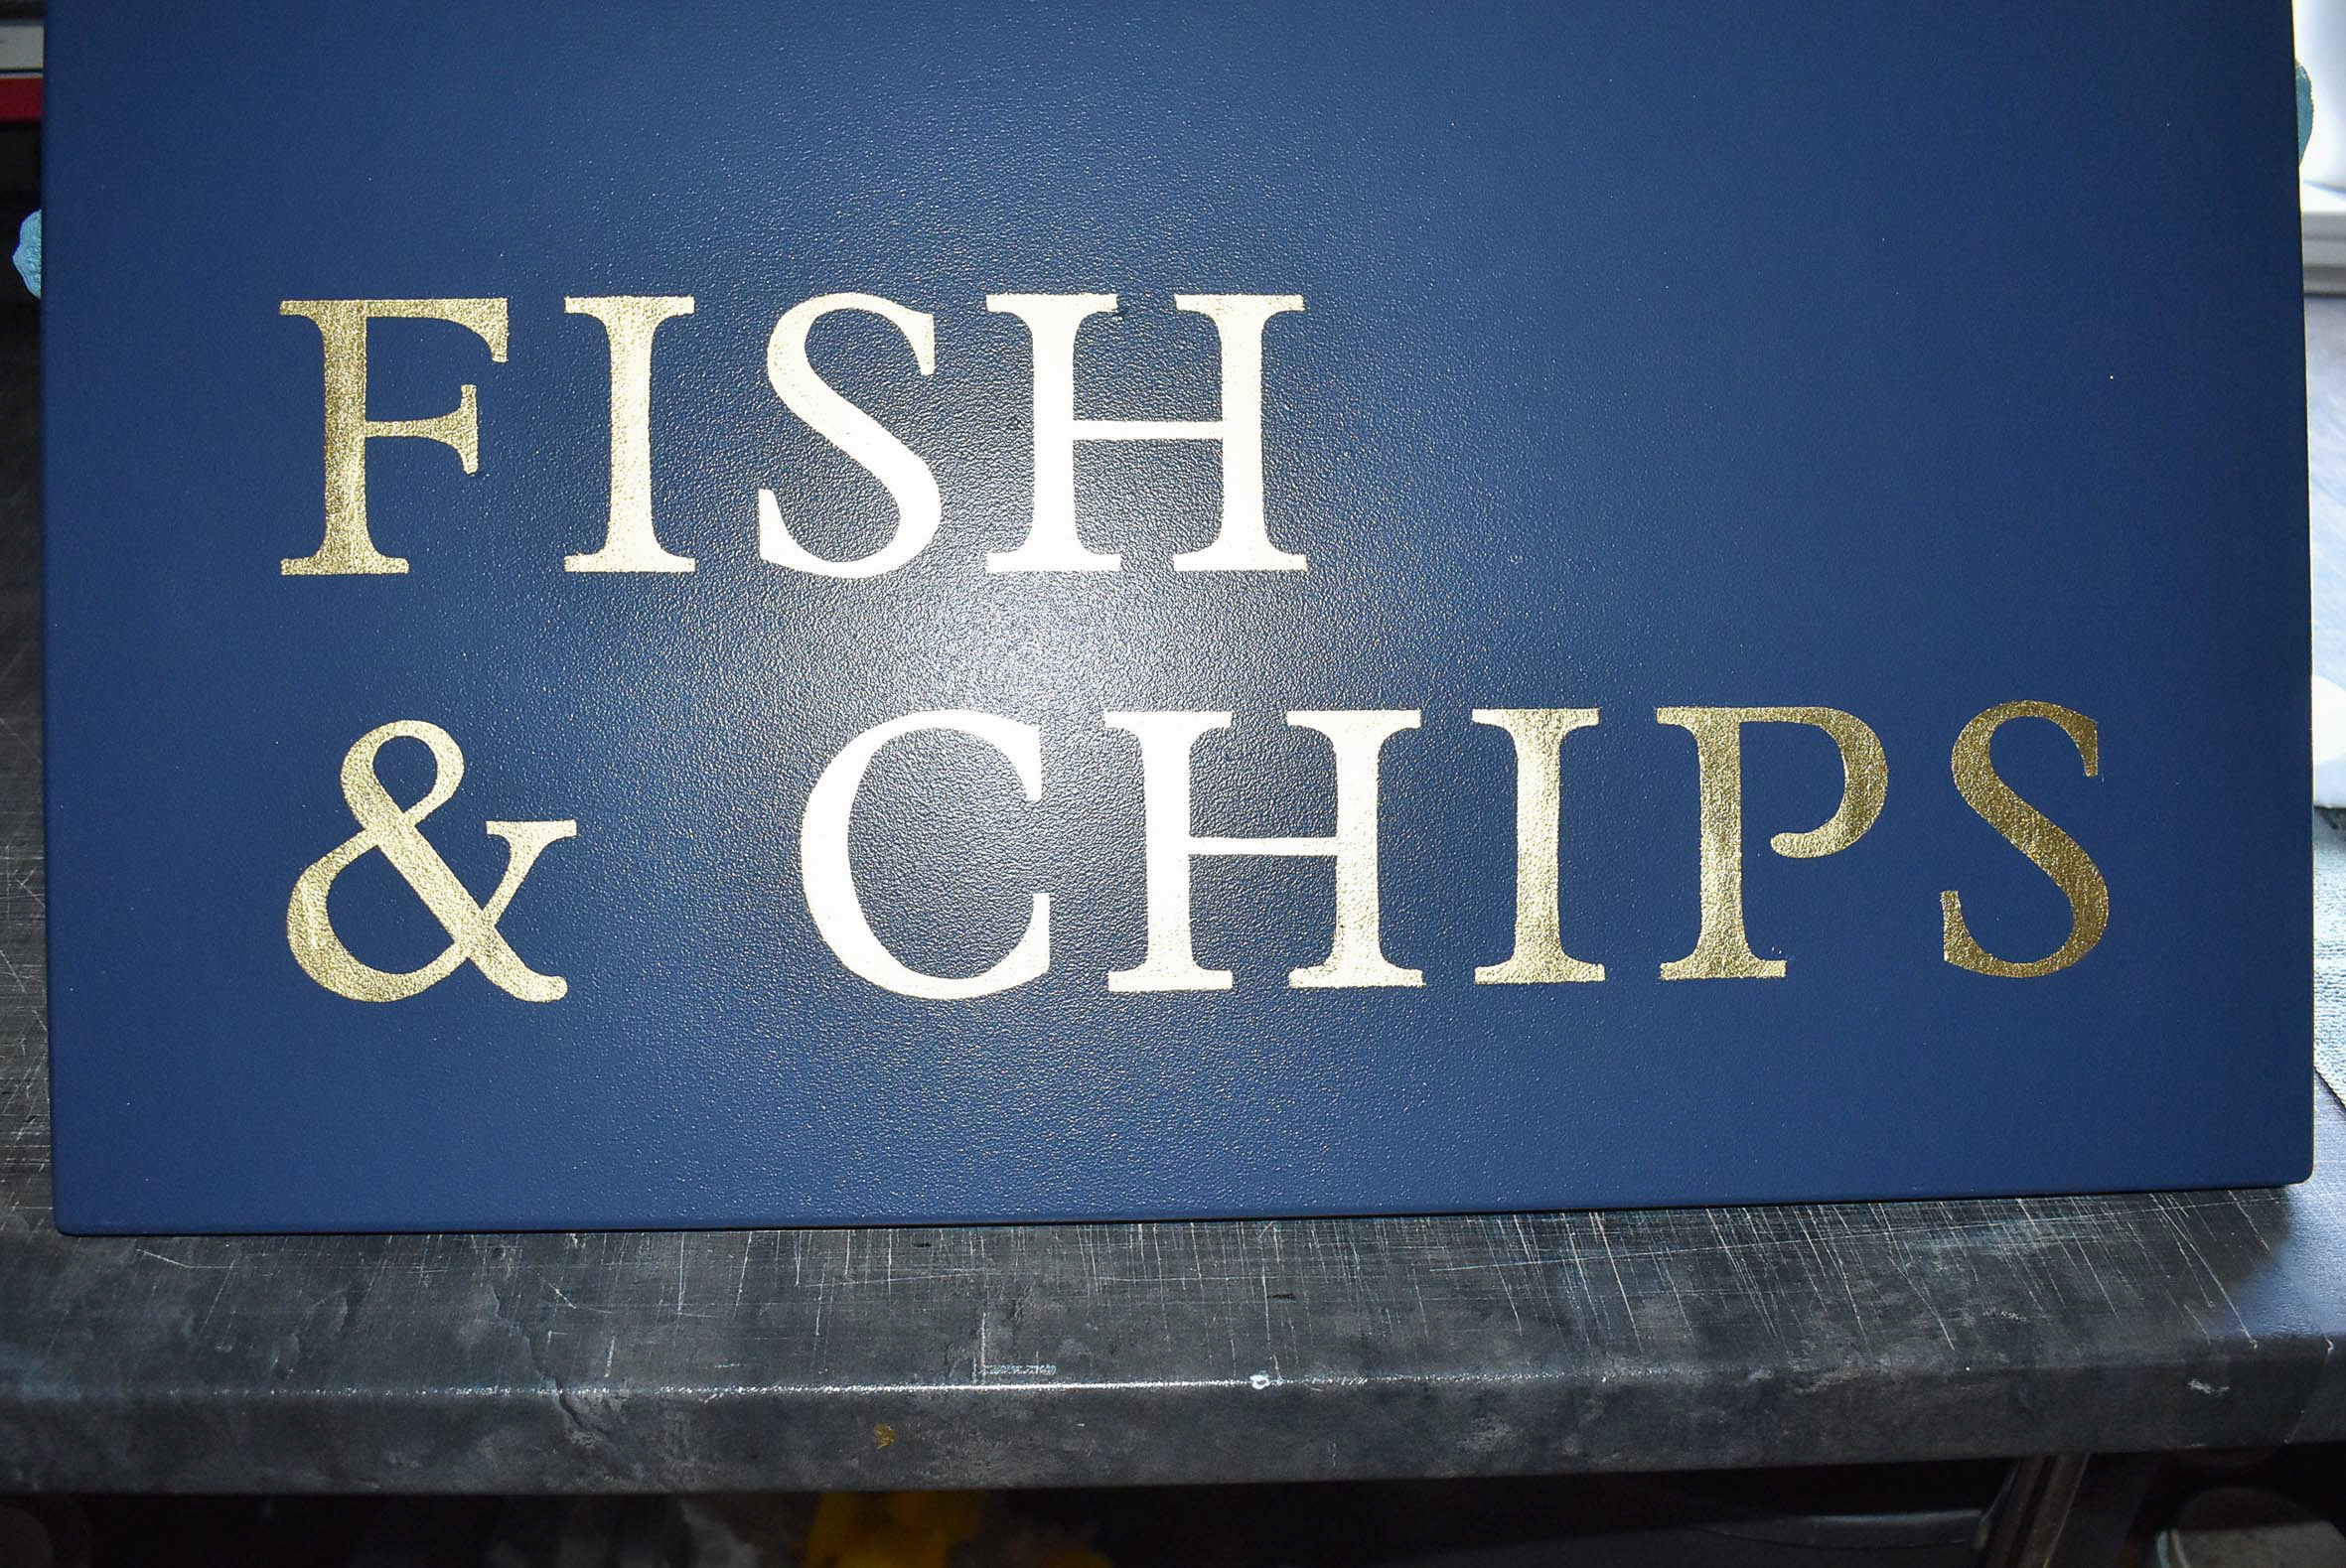
I completed gilding the second side of the sign the day before driving to Inverness. Diligently, I packaged the sign with a combination of foam edge protection and rigid boards before securing it inside my van. Marking the delicate gold finish in transit would be disastrous.
Gold leaf projects usually involve an array of tools. In addition to the hanging sign, my van was also loaded with my signwriting kit, my gilding toolbox, tower scaffold, tarpaulin, as well as my belongings for the next three days accommodation. Not to forget the precious cargo of 23.5ct gold leaf.
I set off for the one hundred and ten mile drive on a sunny Saturday afternoon.
On arrival at lively Church Street, Inverness, at 5:30pm on Saturday, 16th May, I drove past Old Town Fish and Chips. After parking further up Church Street, I phoned Charlie then parked my van directly in front of the restaurant. Fortunately, the loading bays opposite were suspended from 6pm on Saturdays through to early on Monday mornings. Ideal.
I found my accommodation for the following two nights, which was a short walk from my van. After weeks of thinking about how I’d tackle the fascia gilding, I was eager to get started.
At 6:30am the following morning, I began unloading my tower scaffold from my van. The rain was blowing through, and the sky was pale grey. Undeterred, I strapped a tarpaulin roof around my scaffold to shelter most of the rain off the fascia.
Disappointingly, the painted fascia surface was smeared, and it marked easily when wiped with a cotton cloth. I tested a small corner of the fascia with my French chalk. Fortunately, the chalk brushed off without permanently marking the paint.
My paper pounce patterns were carefully tacked onto the fascia. I took my time to reposition the patterns until I was happy with the overall spacing of the lettering and anchor. Two weeks previously, I supplied a final revision of scaled artwork with dimensions for each of the six metres length fascia signs’ three adjoining panels. I planned for the lettering and anchor to avoid the butted vertical edges of each panel.
With the pounce pattern tacked in place, I transferred the pounce powder chalk onto the fascia to reveal the first half of the skeleton letters.
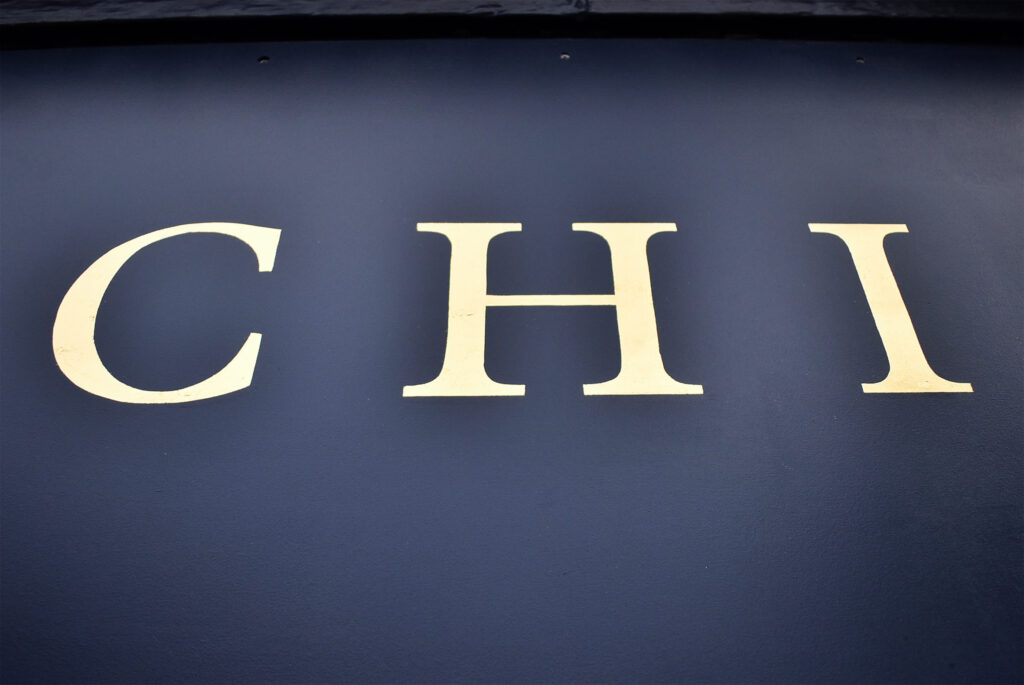
Over the following ten hours, I carefully transferred the entire pattern and gilded the fascia. The gold size was at tack after around one hour of brushing. This process involves patience and repeatedly checking the tackiness of the previously hand painted letters. Once the tack feels right, it’s time to apply the gold leaf.
The breeze was a persistent problem throughout the day. It was difficult to select and hold the leaves of gold whilst the whistling wind blew through my scaffold tower. Working in stages, I was up and down both stepladders and scaffold – padding the chalk resist on top of the pounced skeleton lettering, signwriting with my gold size, gilding, removing excess gold leaf, and cleaning furry edges with my cotton buds.
Through perseverance, I was happy to complete burnishing all the gilded lettering and anchor by around 6pm. My scaffold tower was dismantled and stored inside my van, as well as all my tools.
Tired, hungry and happy, I looked forward to tidying edges the following morning.
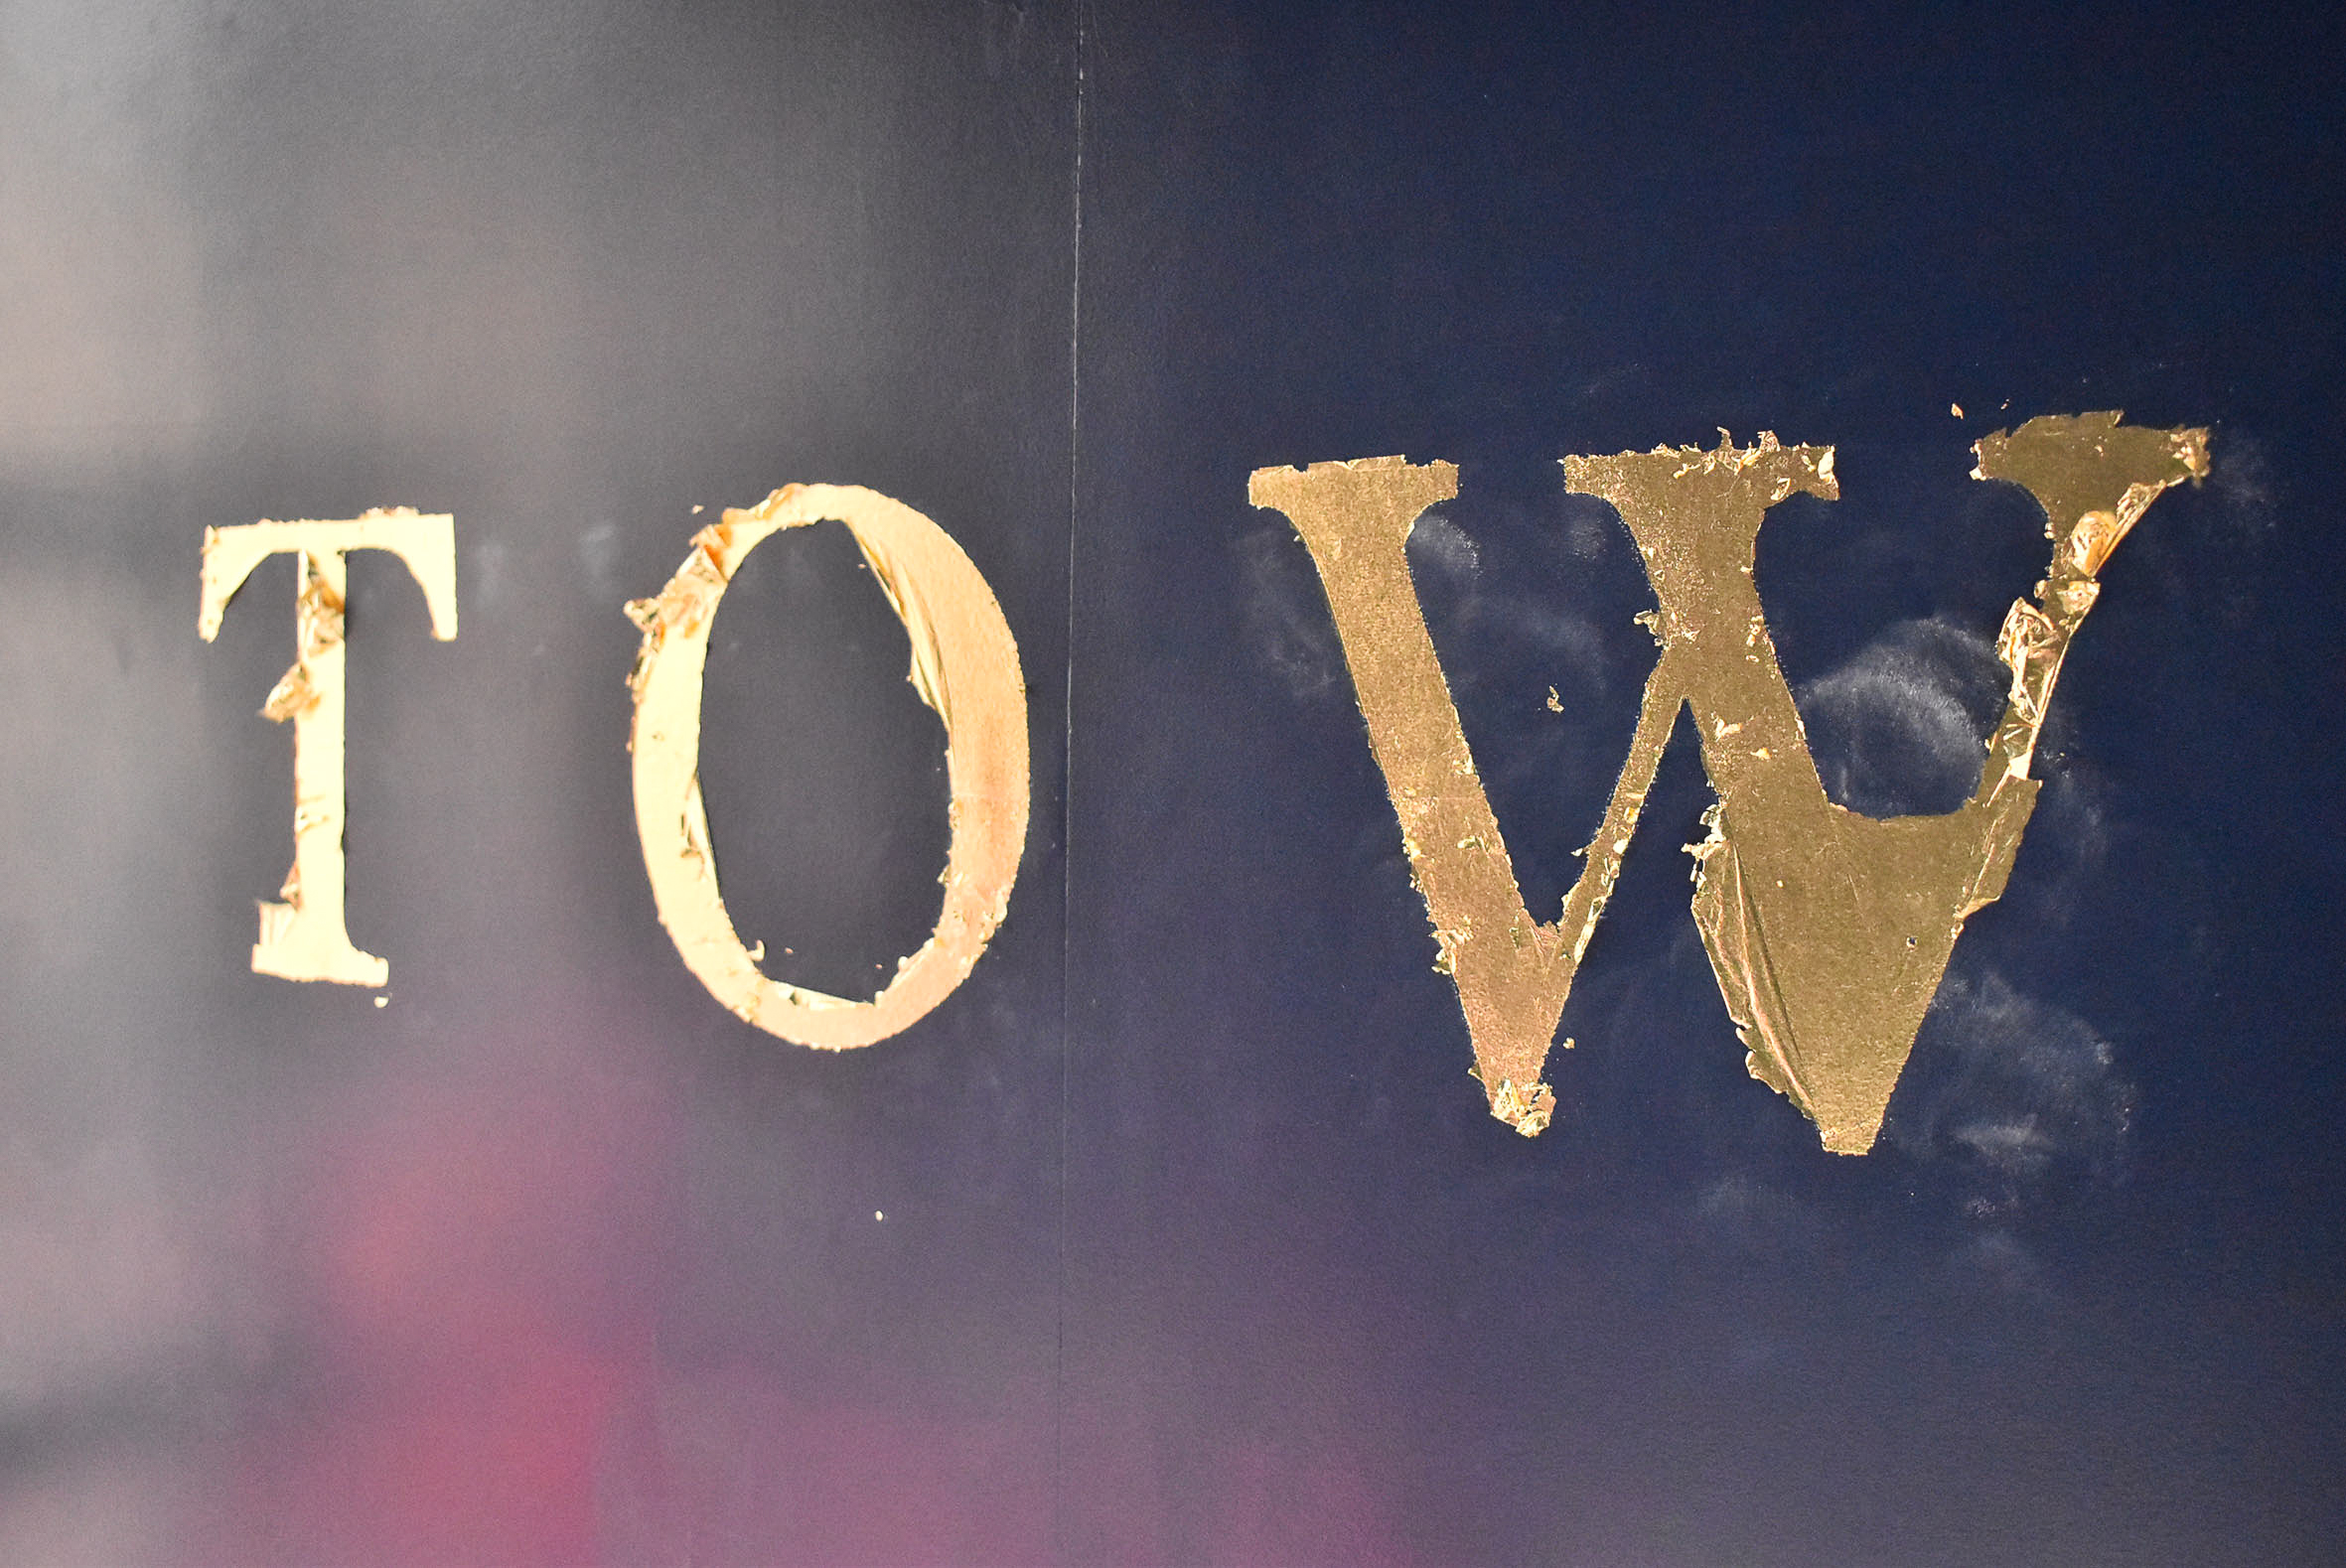
At 7am, I strolled towards the rare sight of a striking gold leaf sign in Inverness city centre. The gold was enhanced by the Monday morning rays of sunshine. The fascia lettering was pinging off the dark blue satin finish.
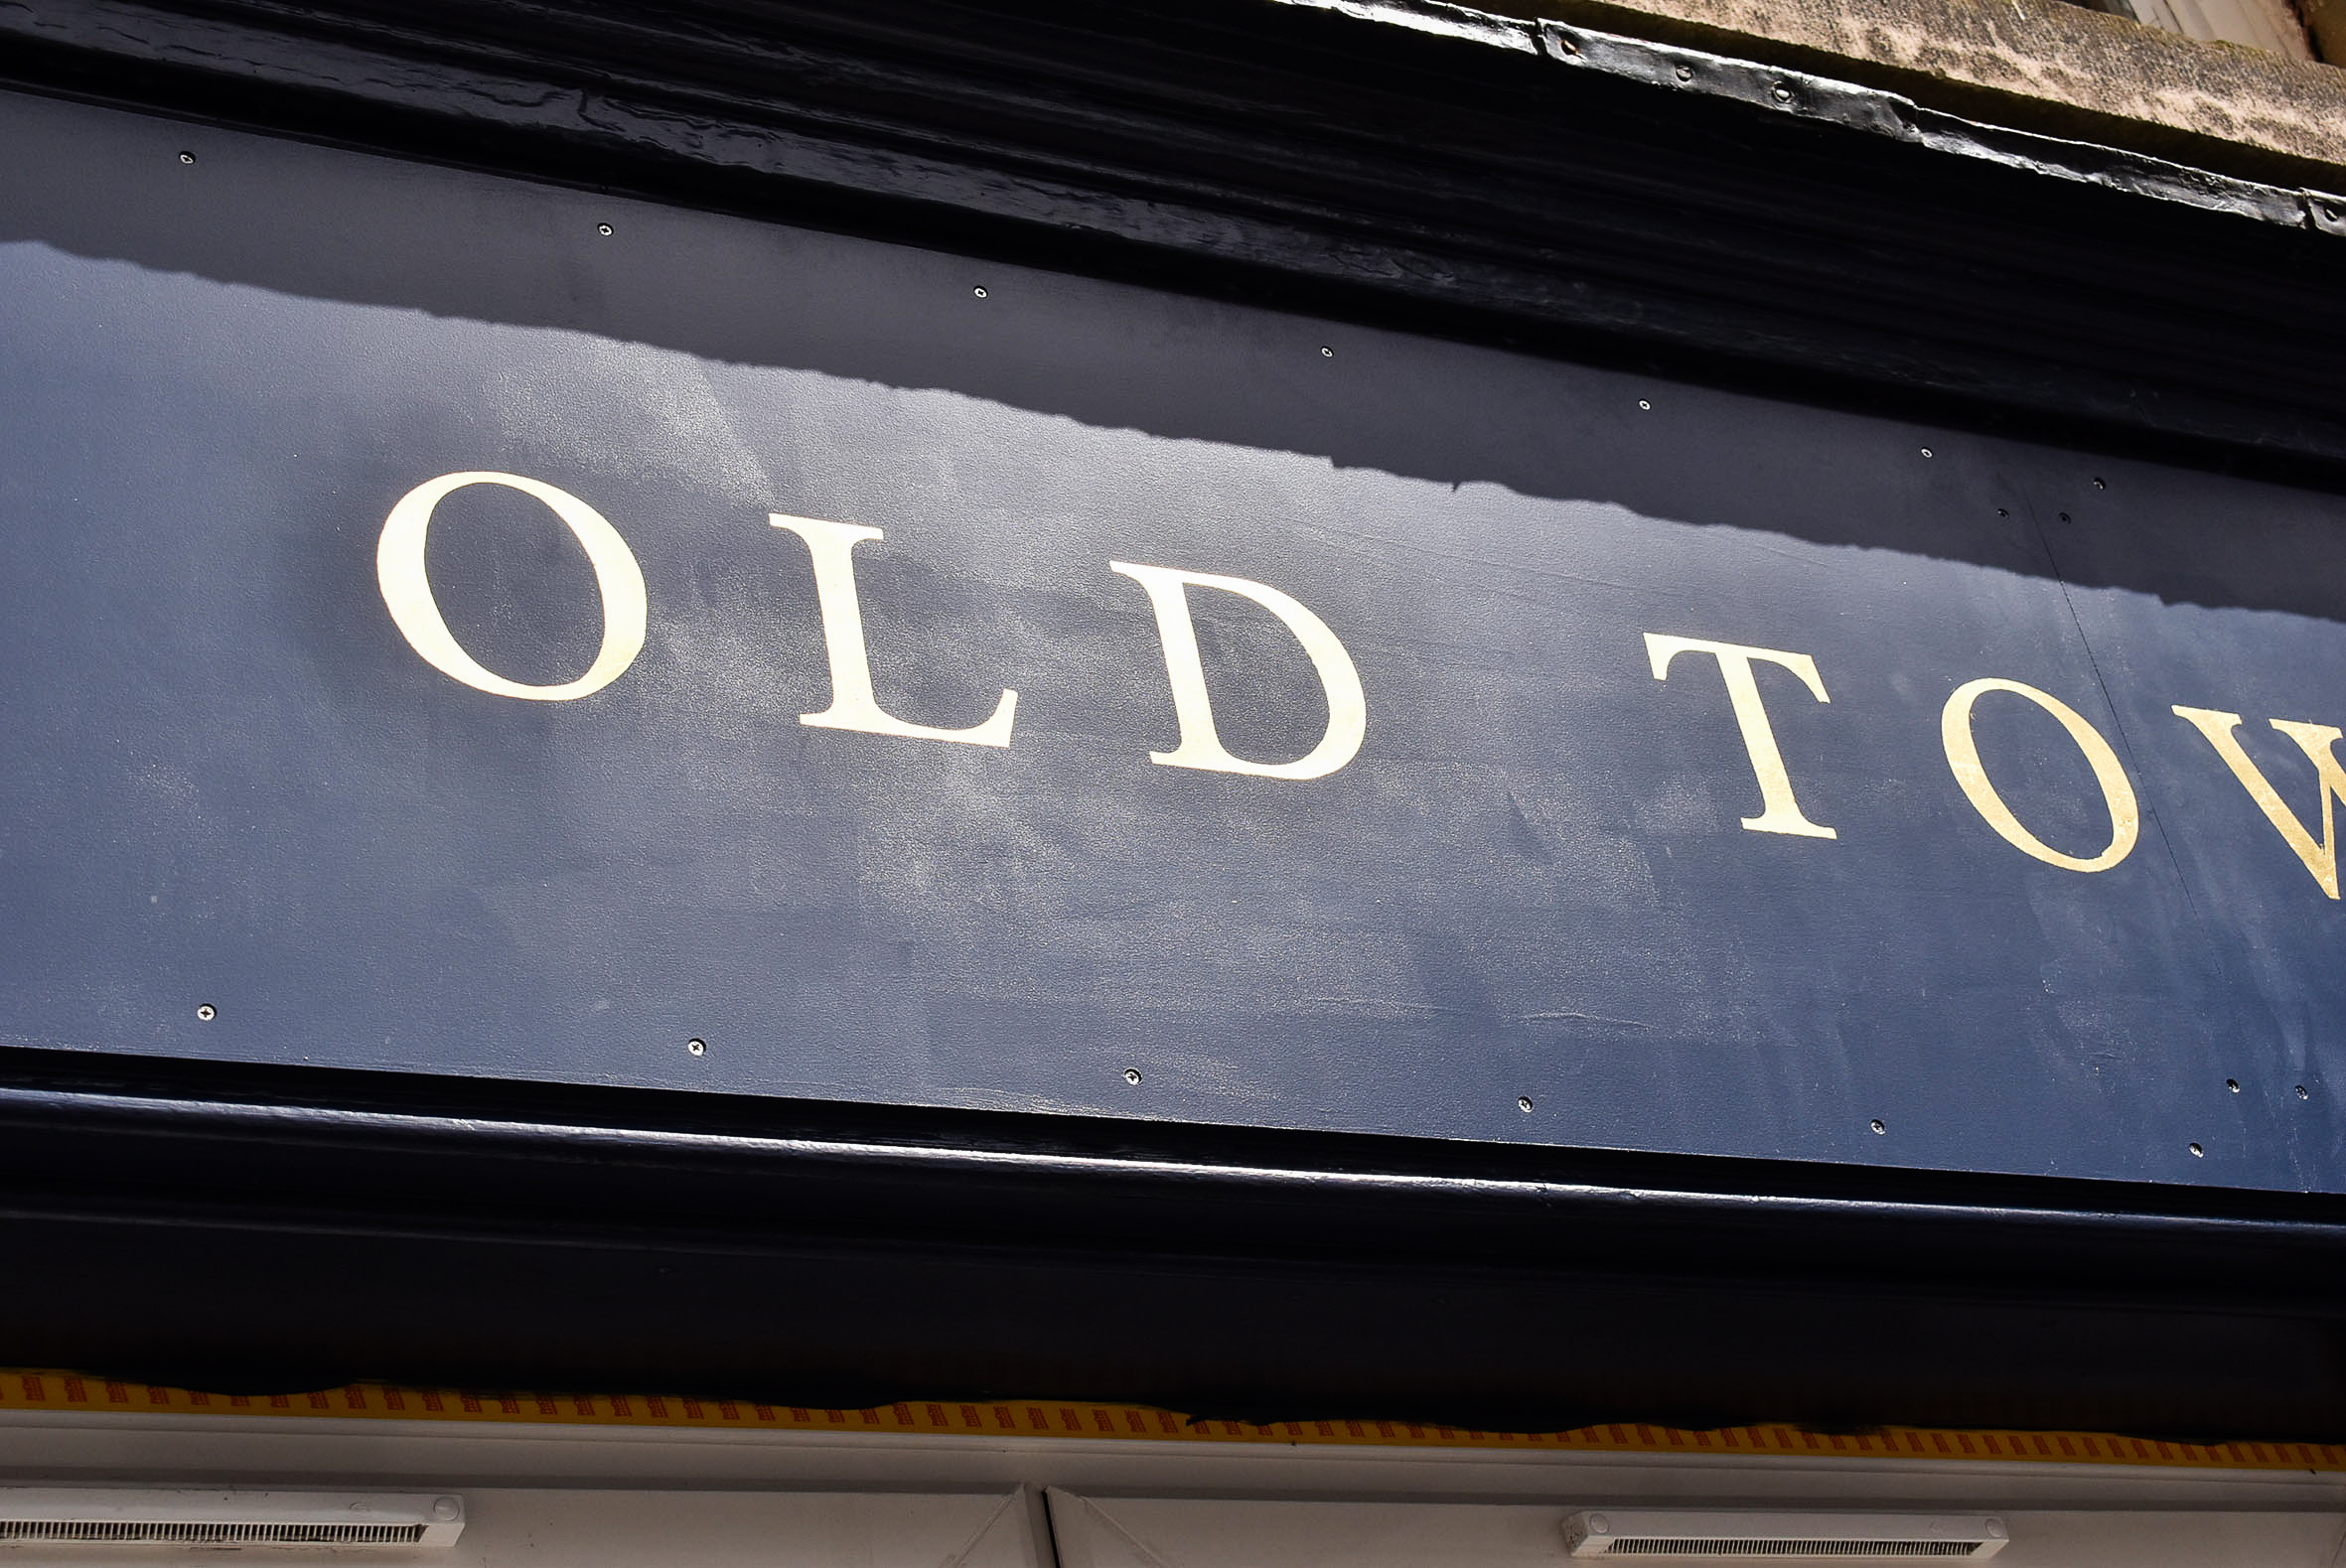
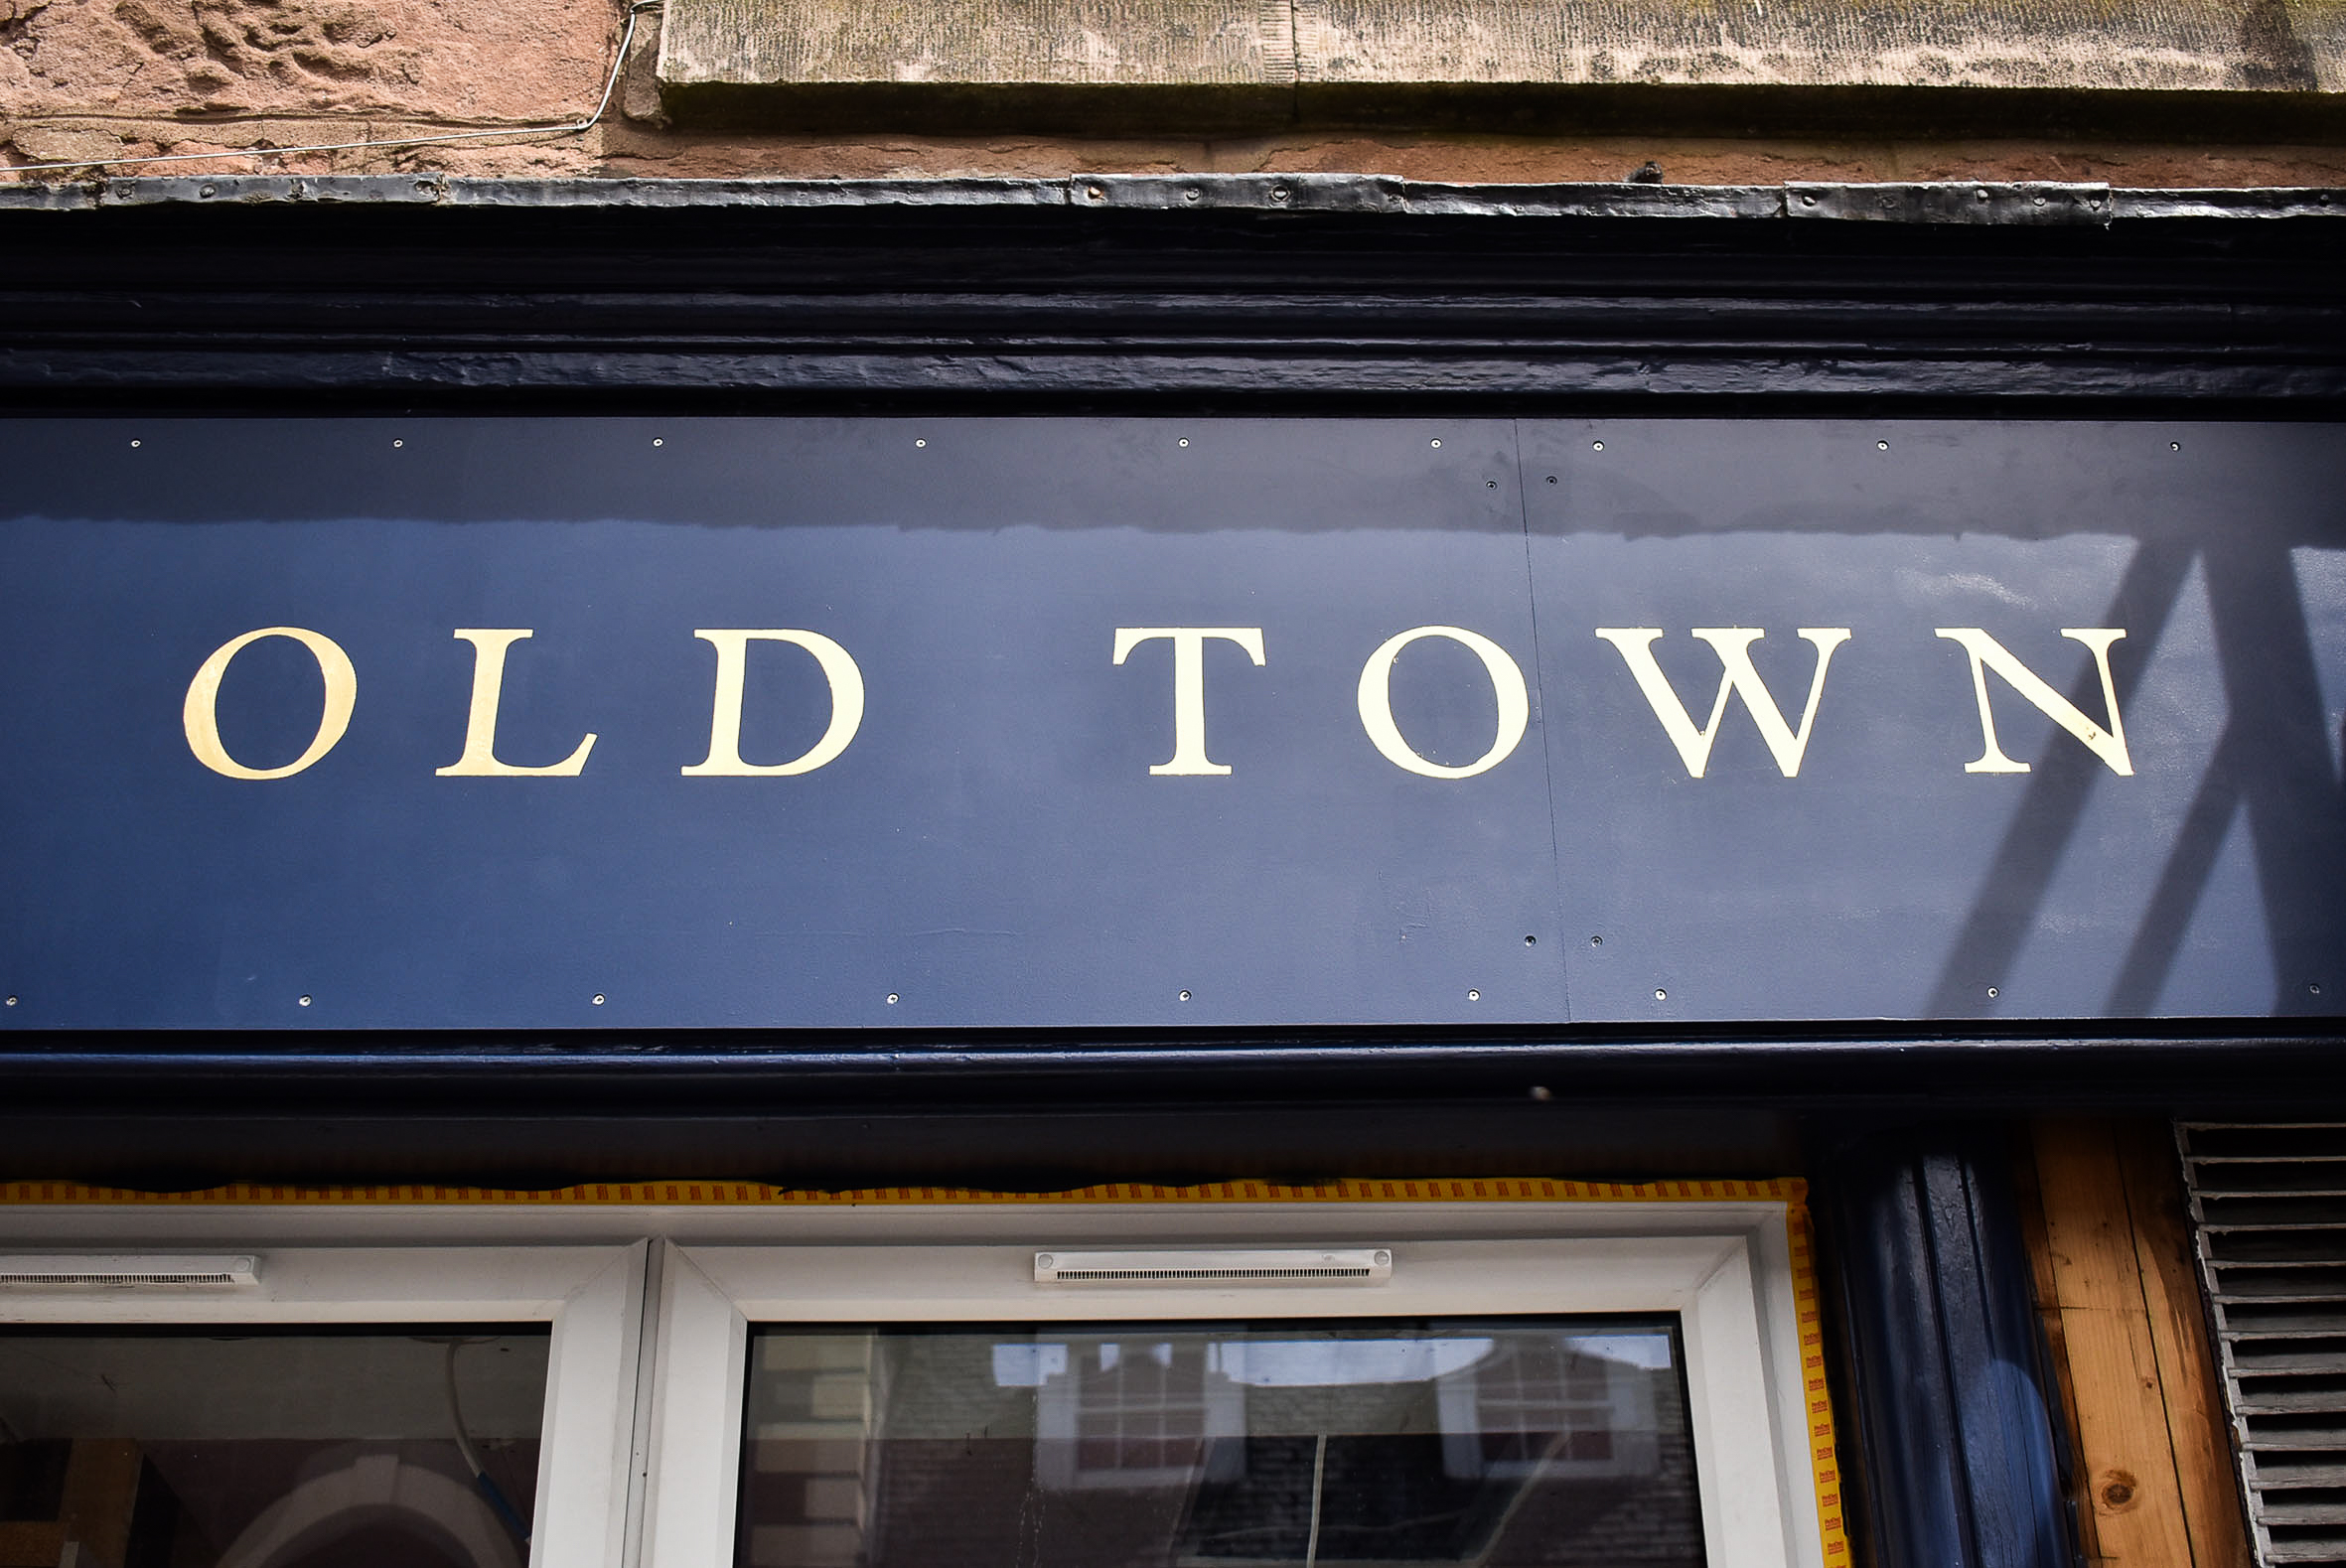
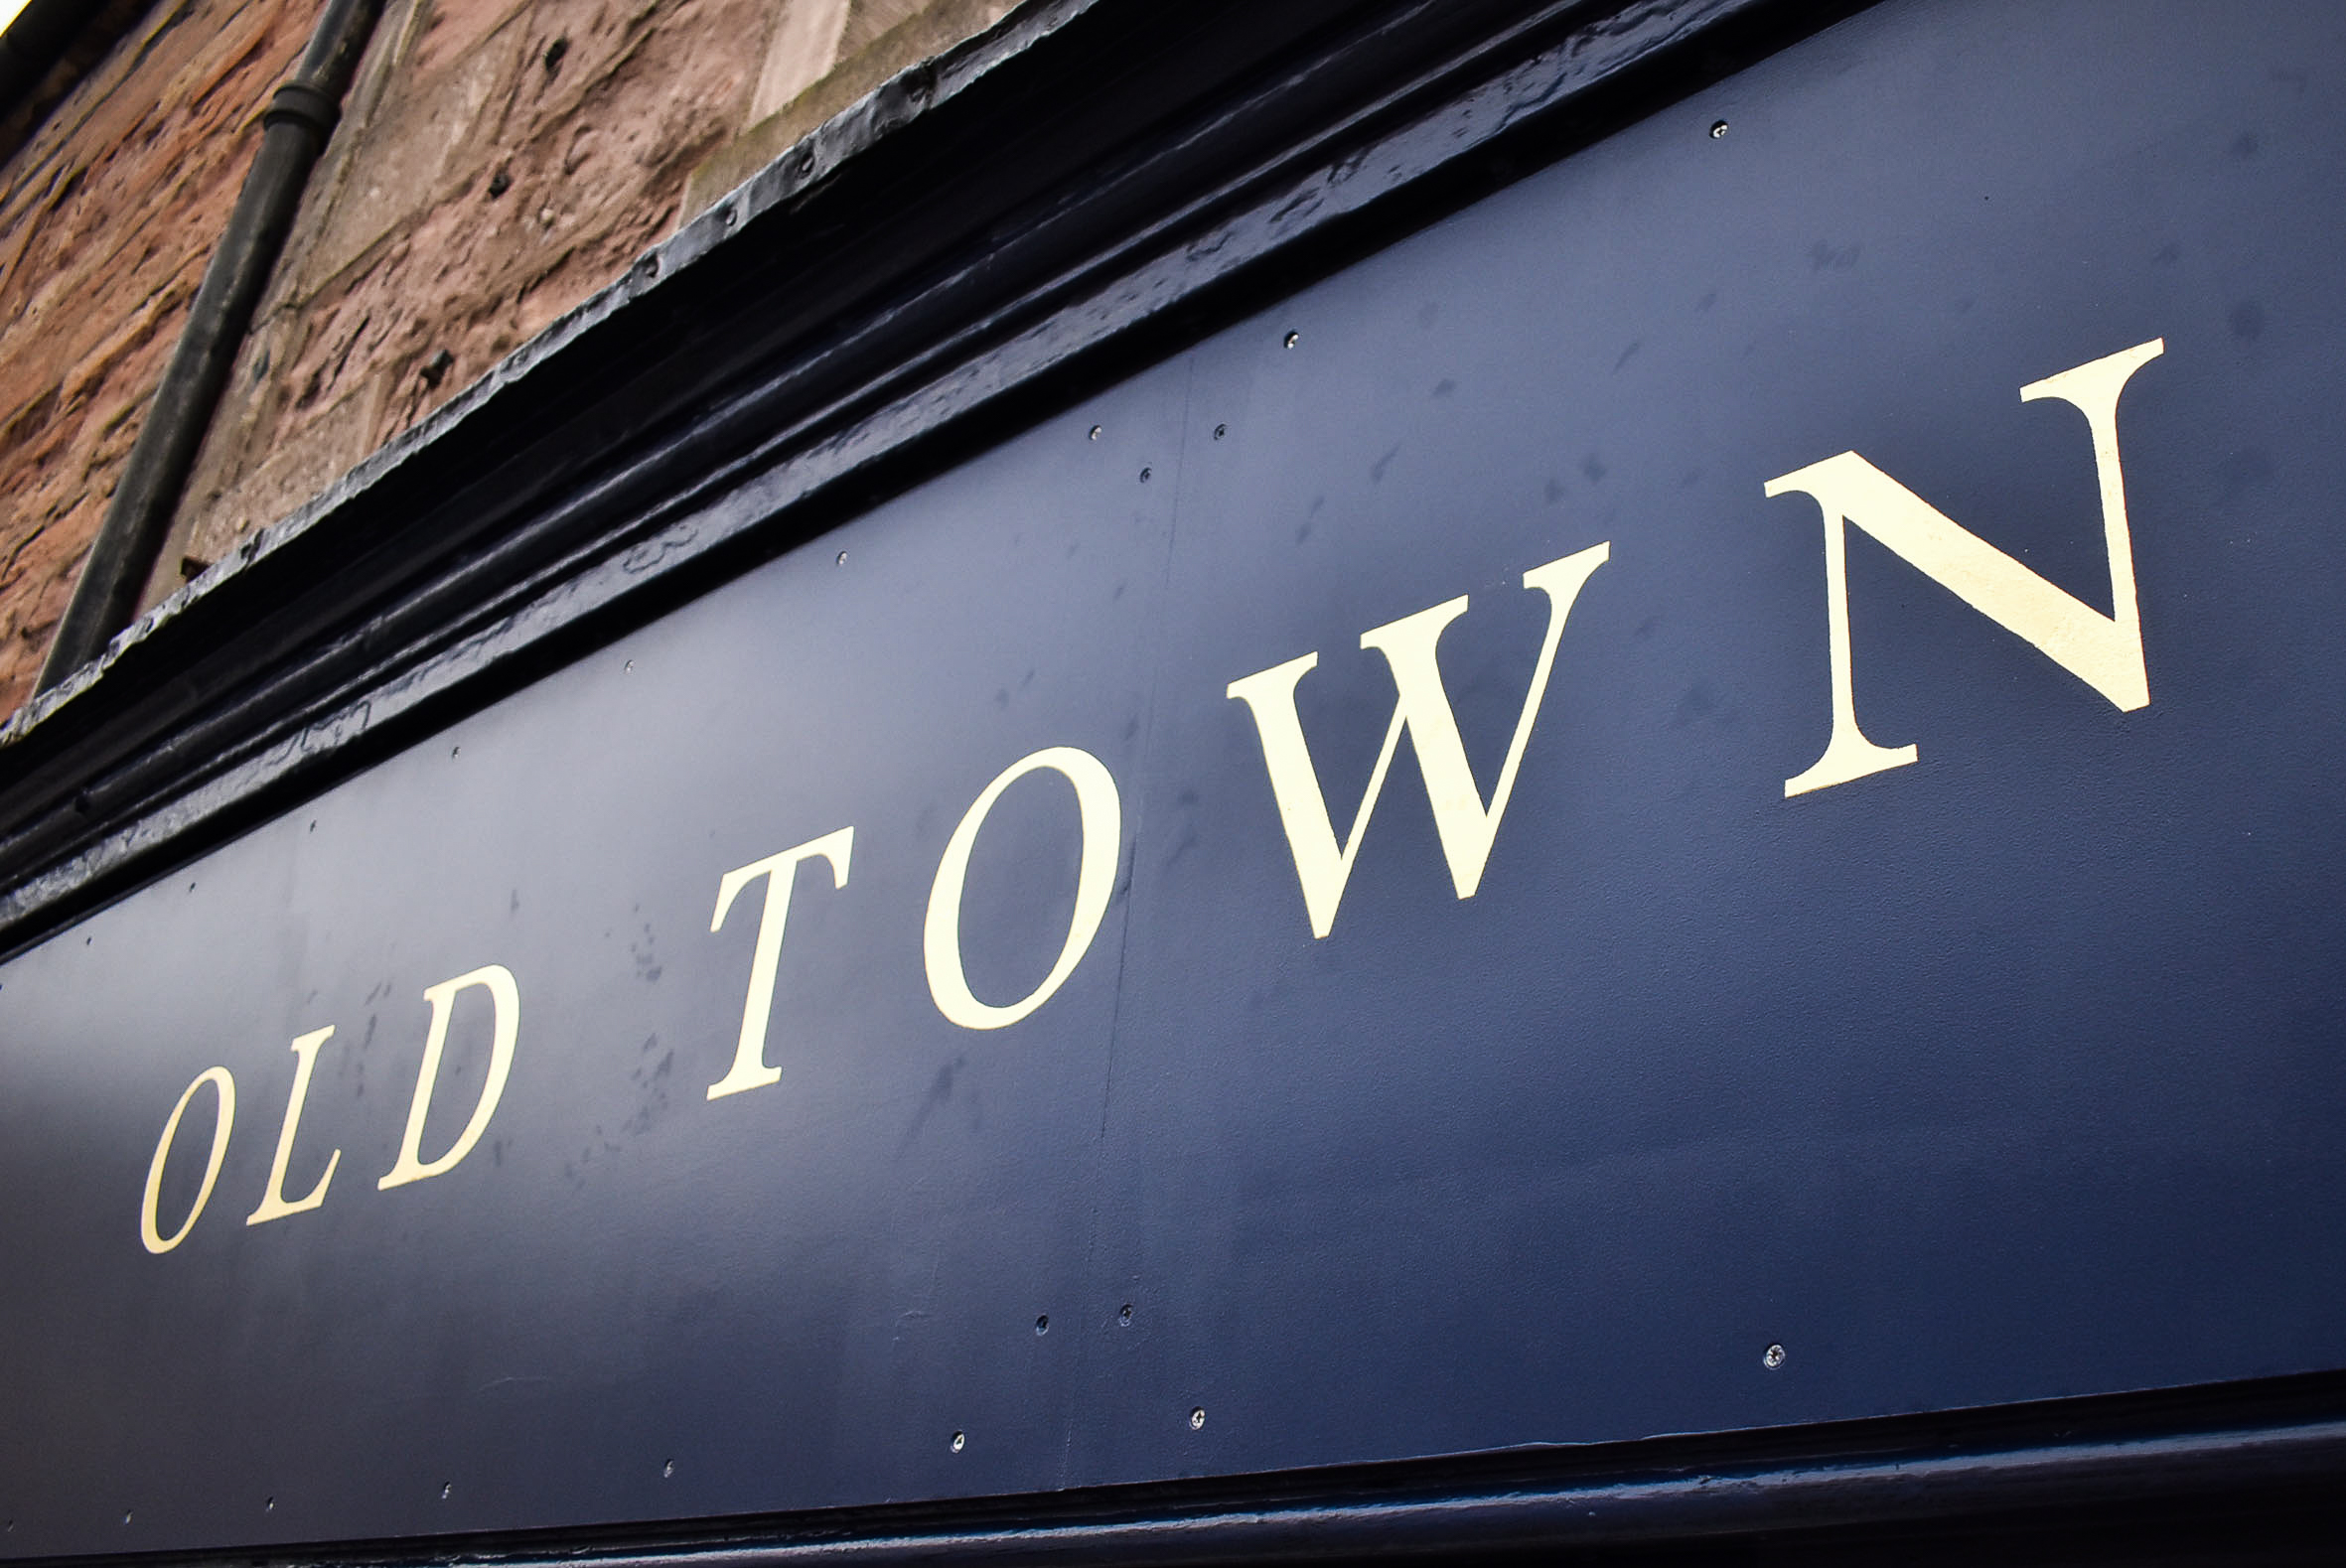
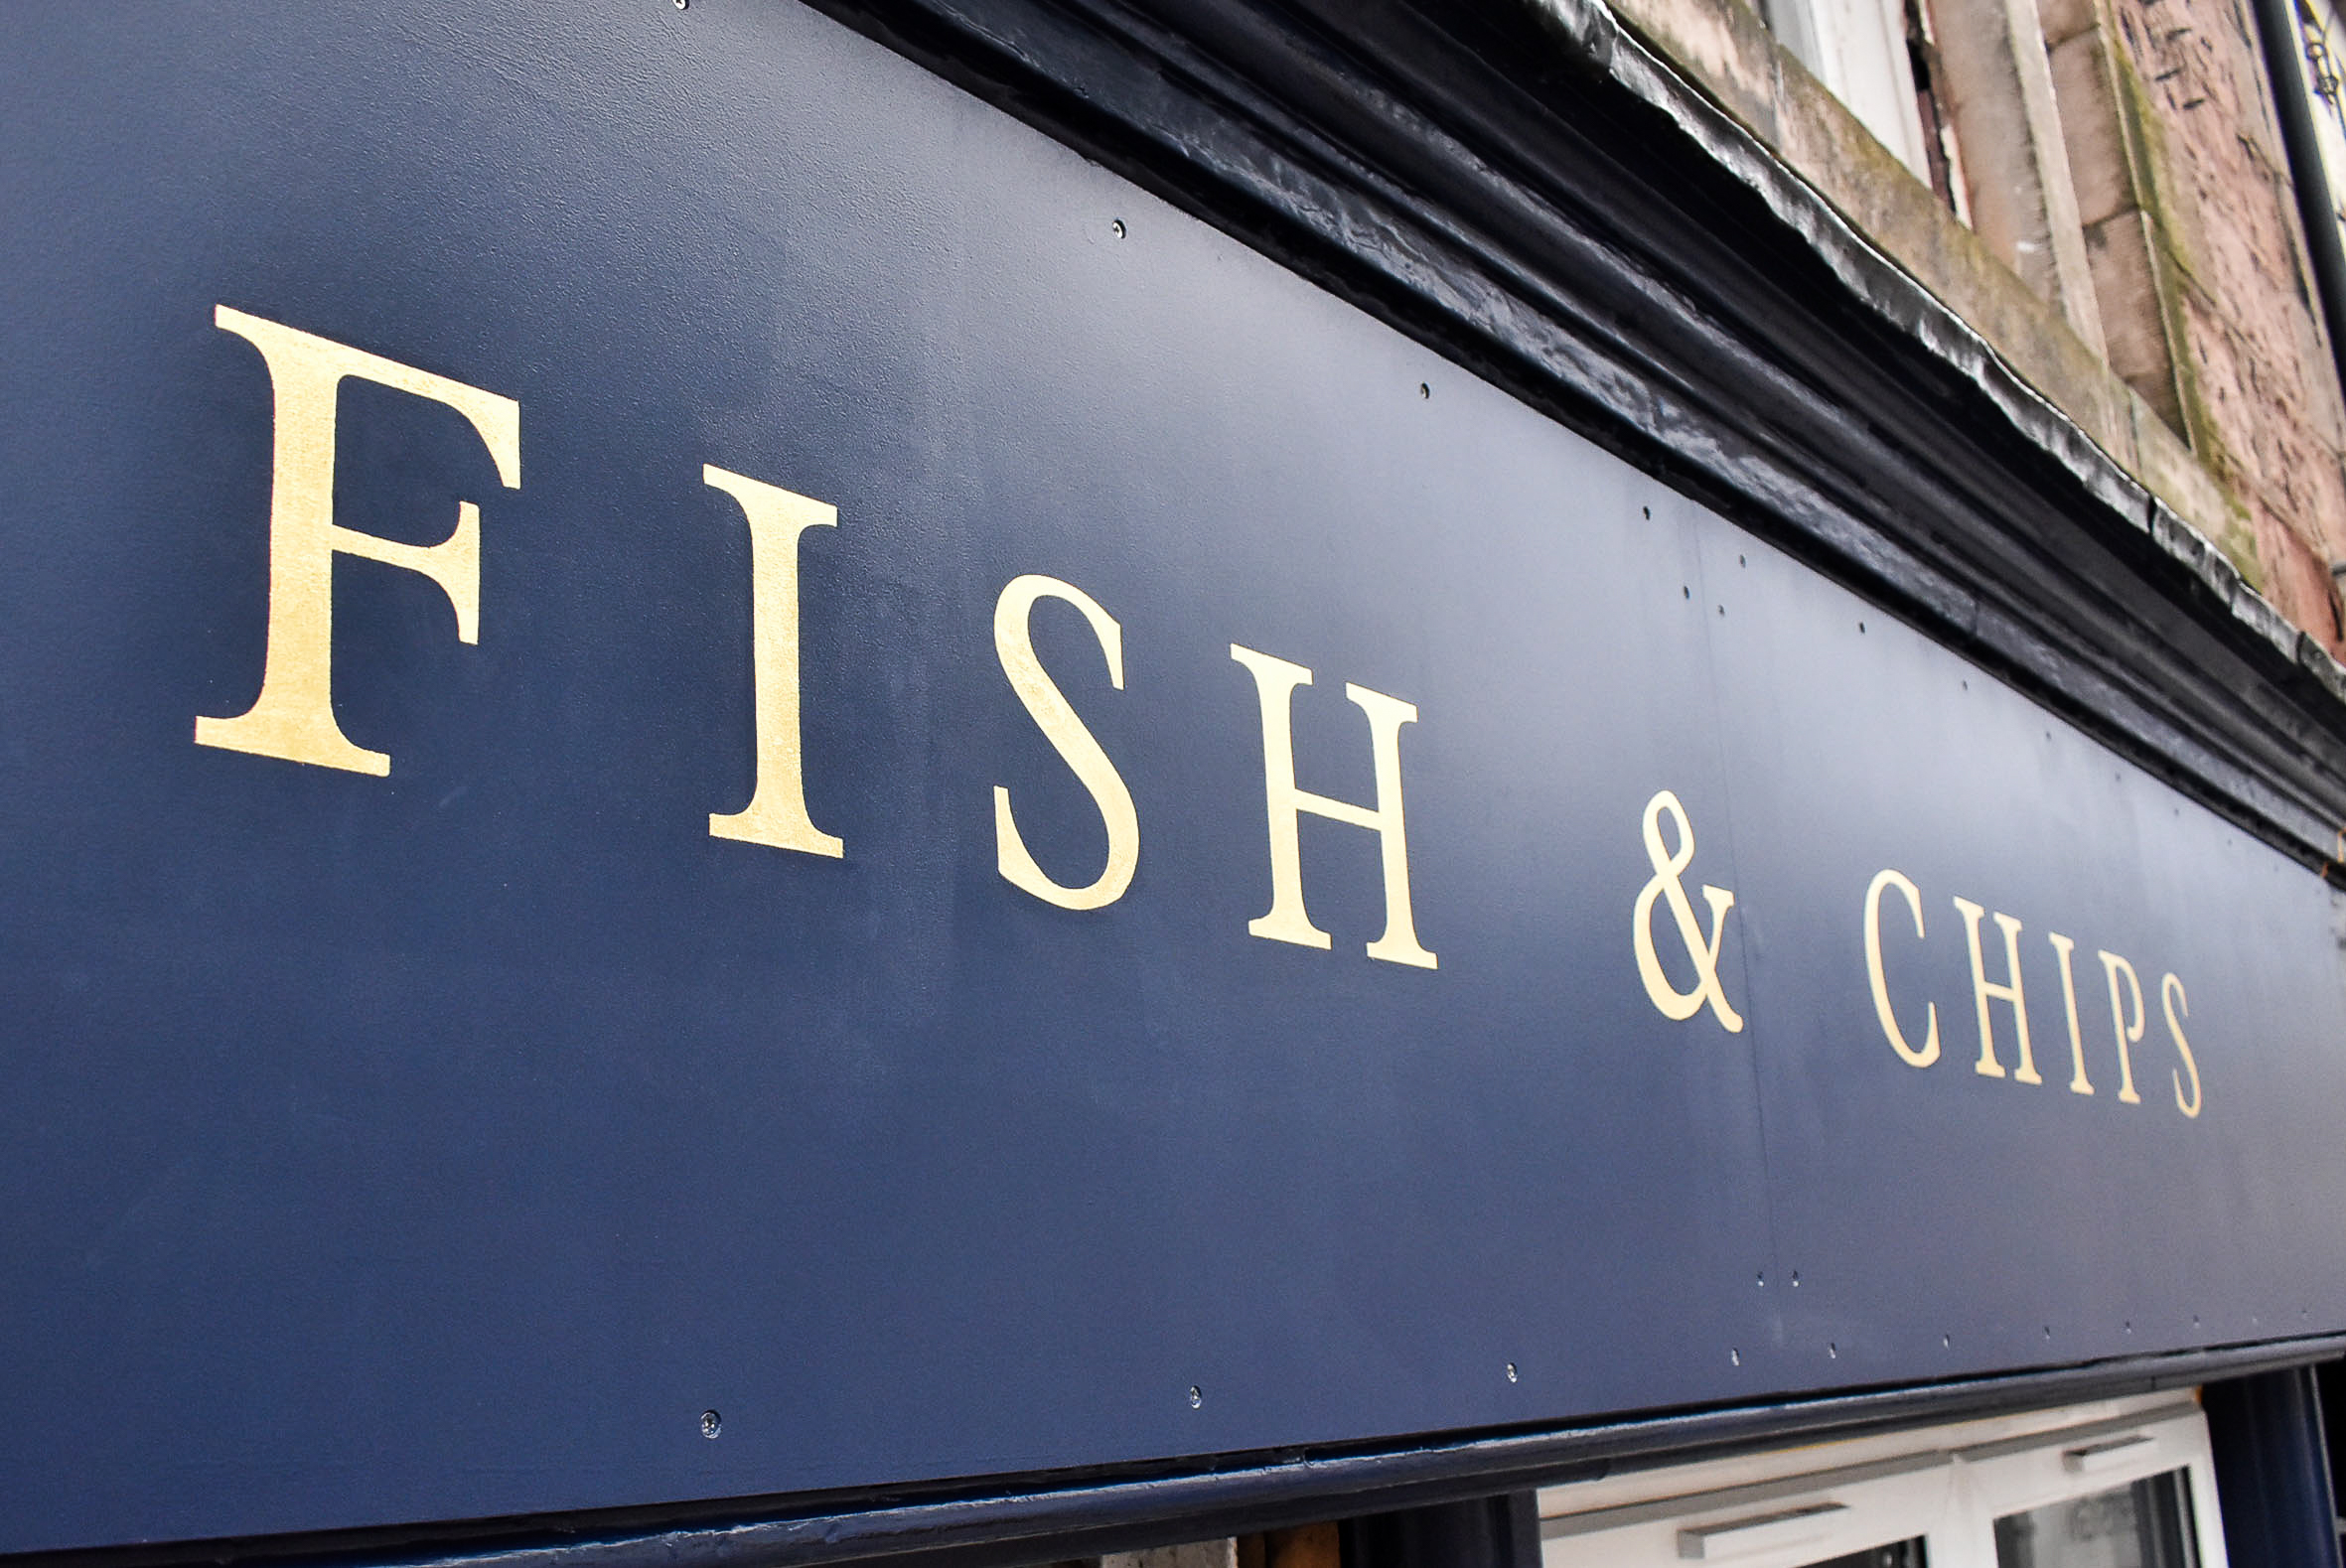
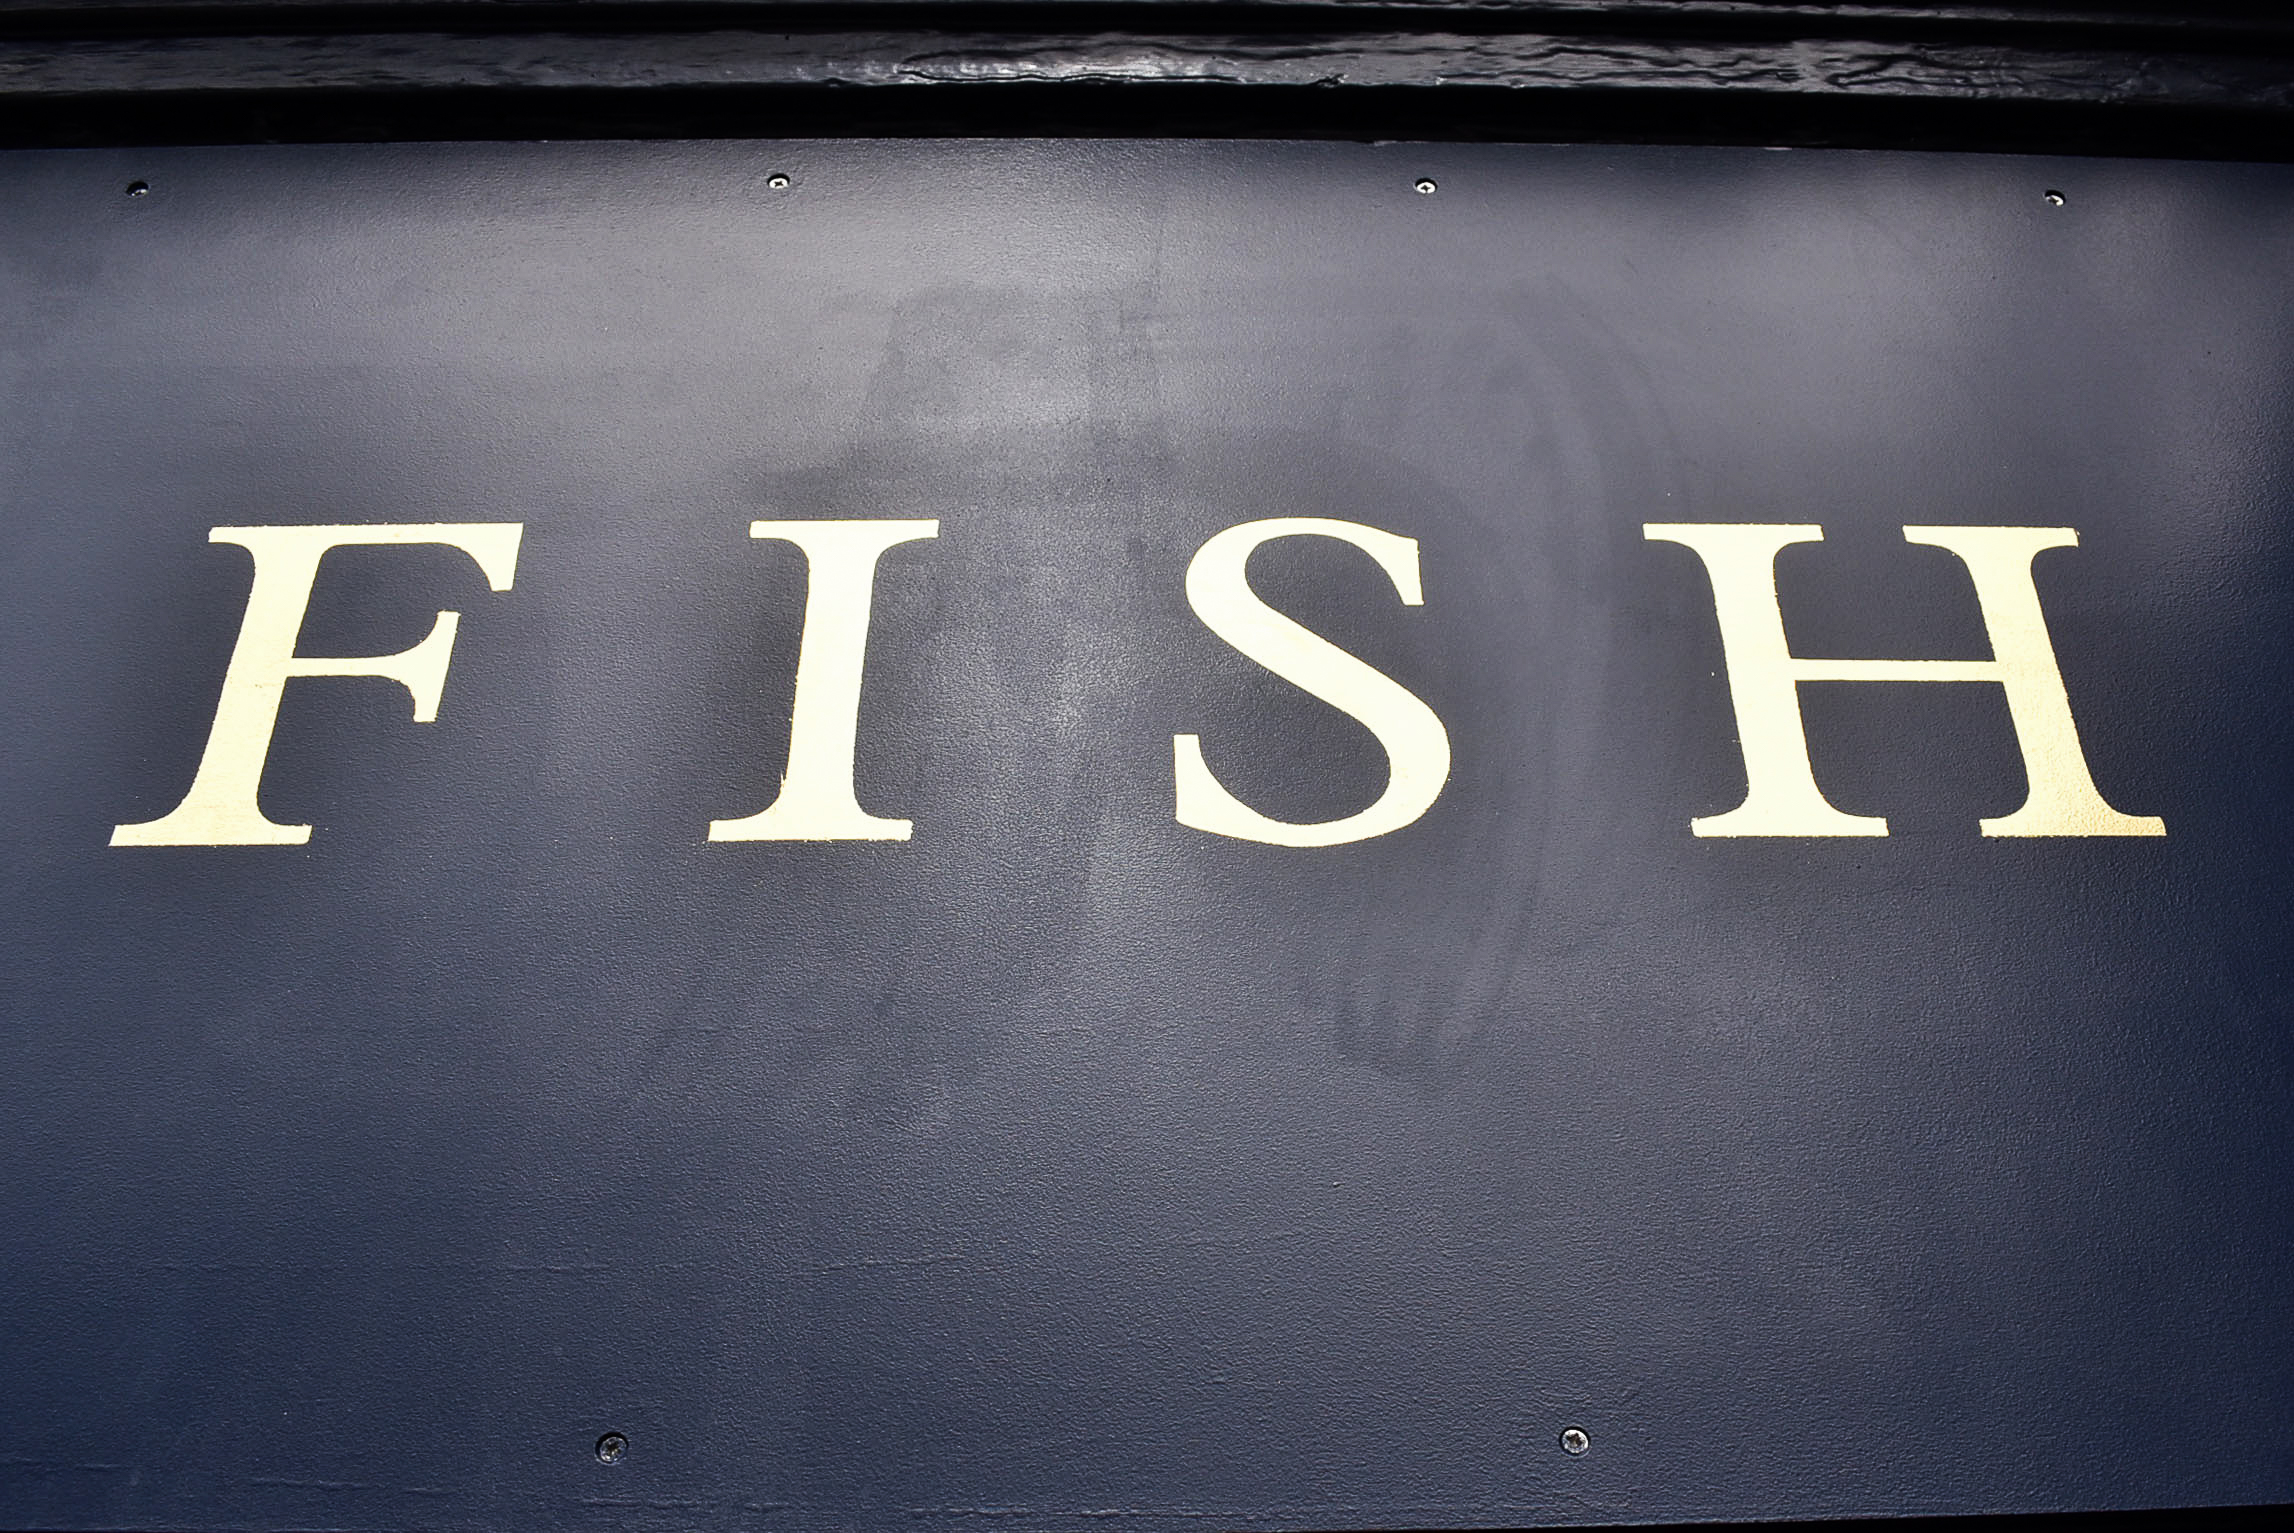
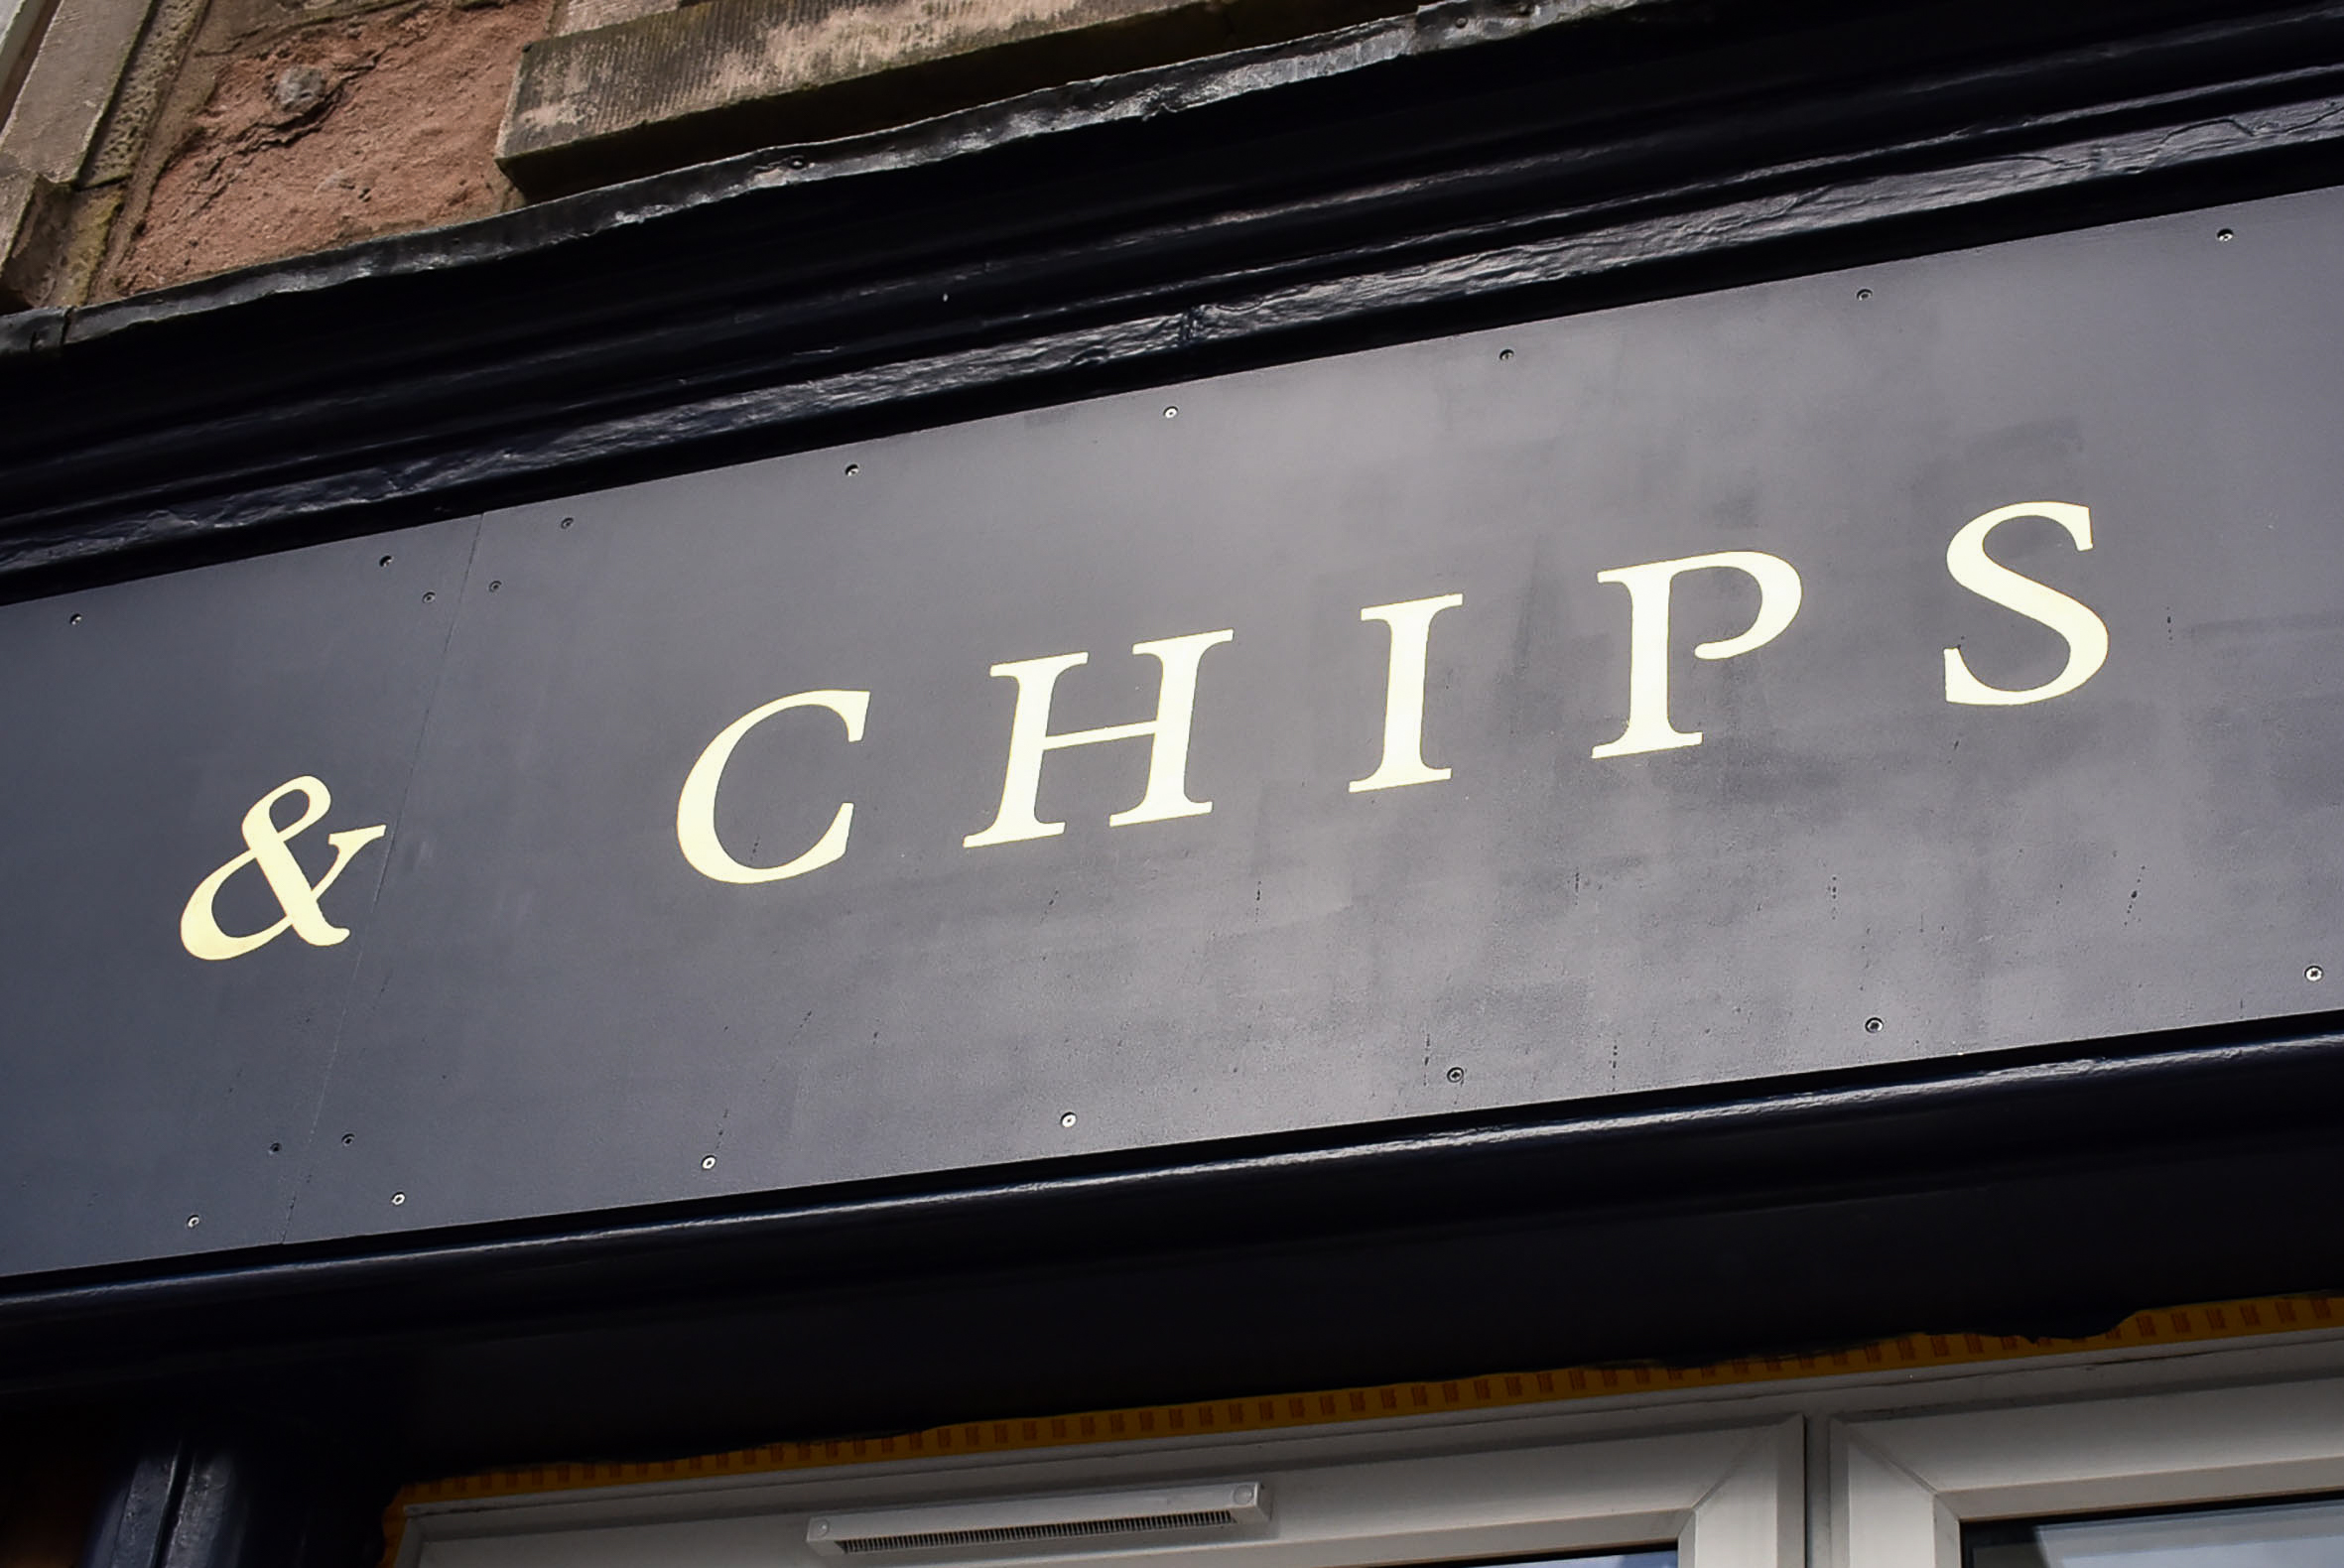
With a few gentle additions of gold leaf to remedy some very small holidays (missed areas of gold) in the letters, the gilding was now over. All that was left was to tidy some strokes of the lettering by painting the dark blue on top of the letters’ furry edges.
Charlie arrived not long after I’d finished. We were both delighted with the result.
Looking for a signwriter in Inverness or across the Highlands? Get in touch to discuss your project.