
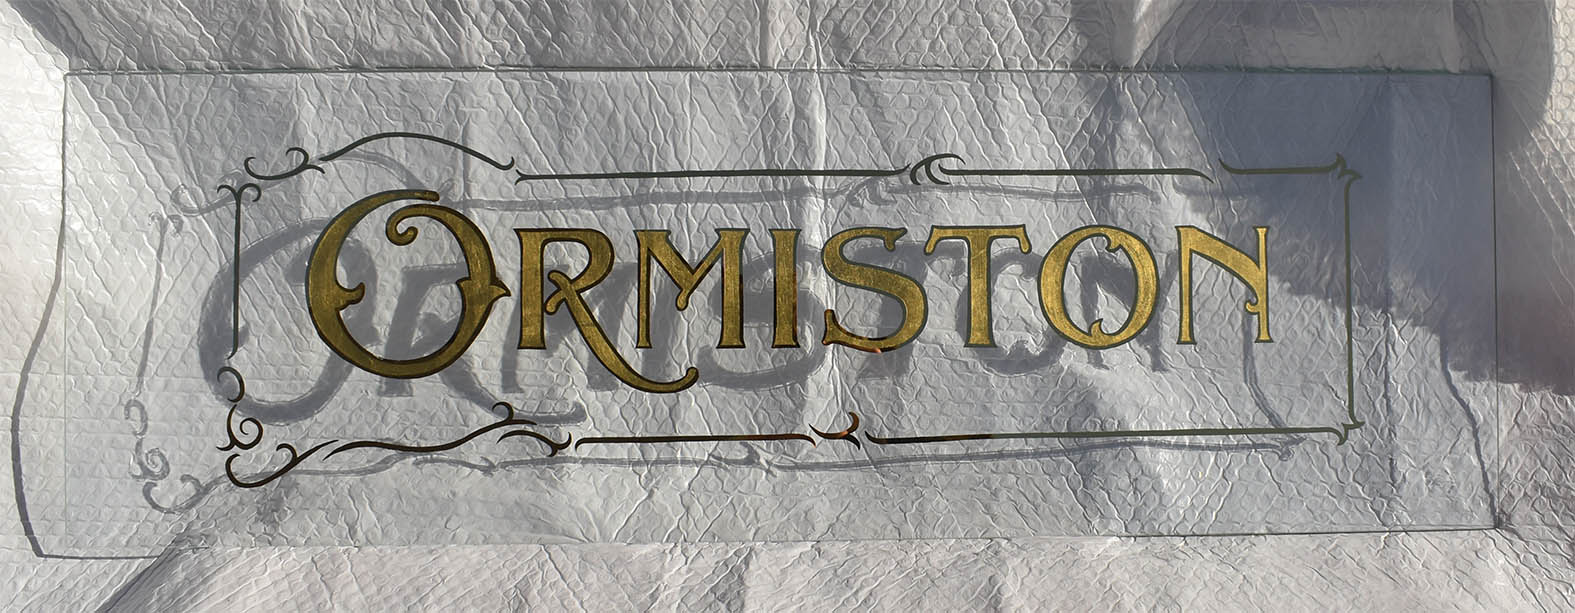
A gleaming new pane of reverse gilded glass replaced the original Art Nouveau era lettering on a house in Montrose, north east Scotland.
Hand lettered above the front door, the house name’s sign was in poor condition. Redrawing the lettering and reverse gilding a new gold leaf sign improved the house name’s legibility, rejuvenated the entrance, and honoured the original signwriter’s art.

In summer 2025, Malcolm Macleod phoned me and described the appearance of his house name, Ormiston. We were both unsure how the lettering came to be. What was left was sadly now cracked and faded.
From Malcolm’s description, I gathered that an outlined letter existed, backed with black and all painted in reverse. These details assured me that the lettering was reverse gilded, gold leaf. At this stage, Malcolm’s description of the outlined lettering was a puzzle. The inspiration for the style of lettering would eventually unravel.
Based on Malcolm’s information, I explained his options and estimated costs.
The first option was to remove the existing lettering and border with a new Stanley blade and lots of soapy water or glass cleaner. The age of the glass and gold leaf posed a risk for a ghost remaining on the scraped glass. The ghost is a faint imprint where previous artwork was positioned.
This dilemma presented the unknown. Scraping the gold leaf off could result in a permanent ghost. The pane would then have to be removed and replaced with new glass. On top of that, the original art piece would be lost forever.
Replacing the reverse gilded lettering in gold leaf and on top of the ghost was not an option.
Many years ago, I’d learned of jewellers rouge – a very fine (iron oxide) compound, used to polish gold and other alloys. My understanding of jewellers rouge is its ability to remove scratches and faint marks from glass. I’ve never tried it, but I recommended the method if Malcolm chose to scrape off the gold leaf.
Replacing the house name in situ would be costly. If the original artwork was removed and the glass was cleaned to a high standard, my travelling from Dundee to Montrose (around thirty miles each way) over multiple visits, with many tools throughout the gilding process, would become impractical for both of us.
The second option was for Malcolm to contract a glazier, purchase new glass, and I could replicate the original gold leaf artwork in my studio. Understanding the reverse gilded process convinced me the latter option would be easier and more cost efficient.
Malcolm agreed to reply once he’d considered his options.
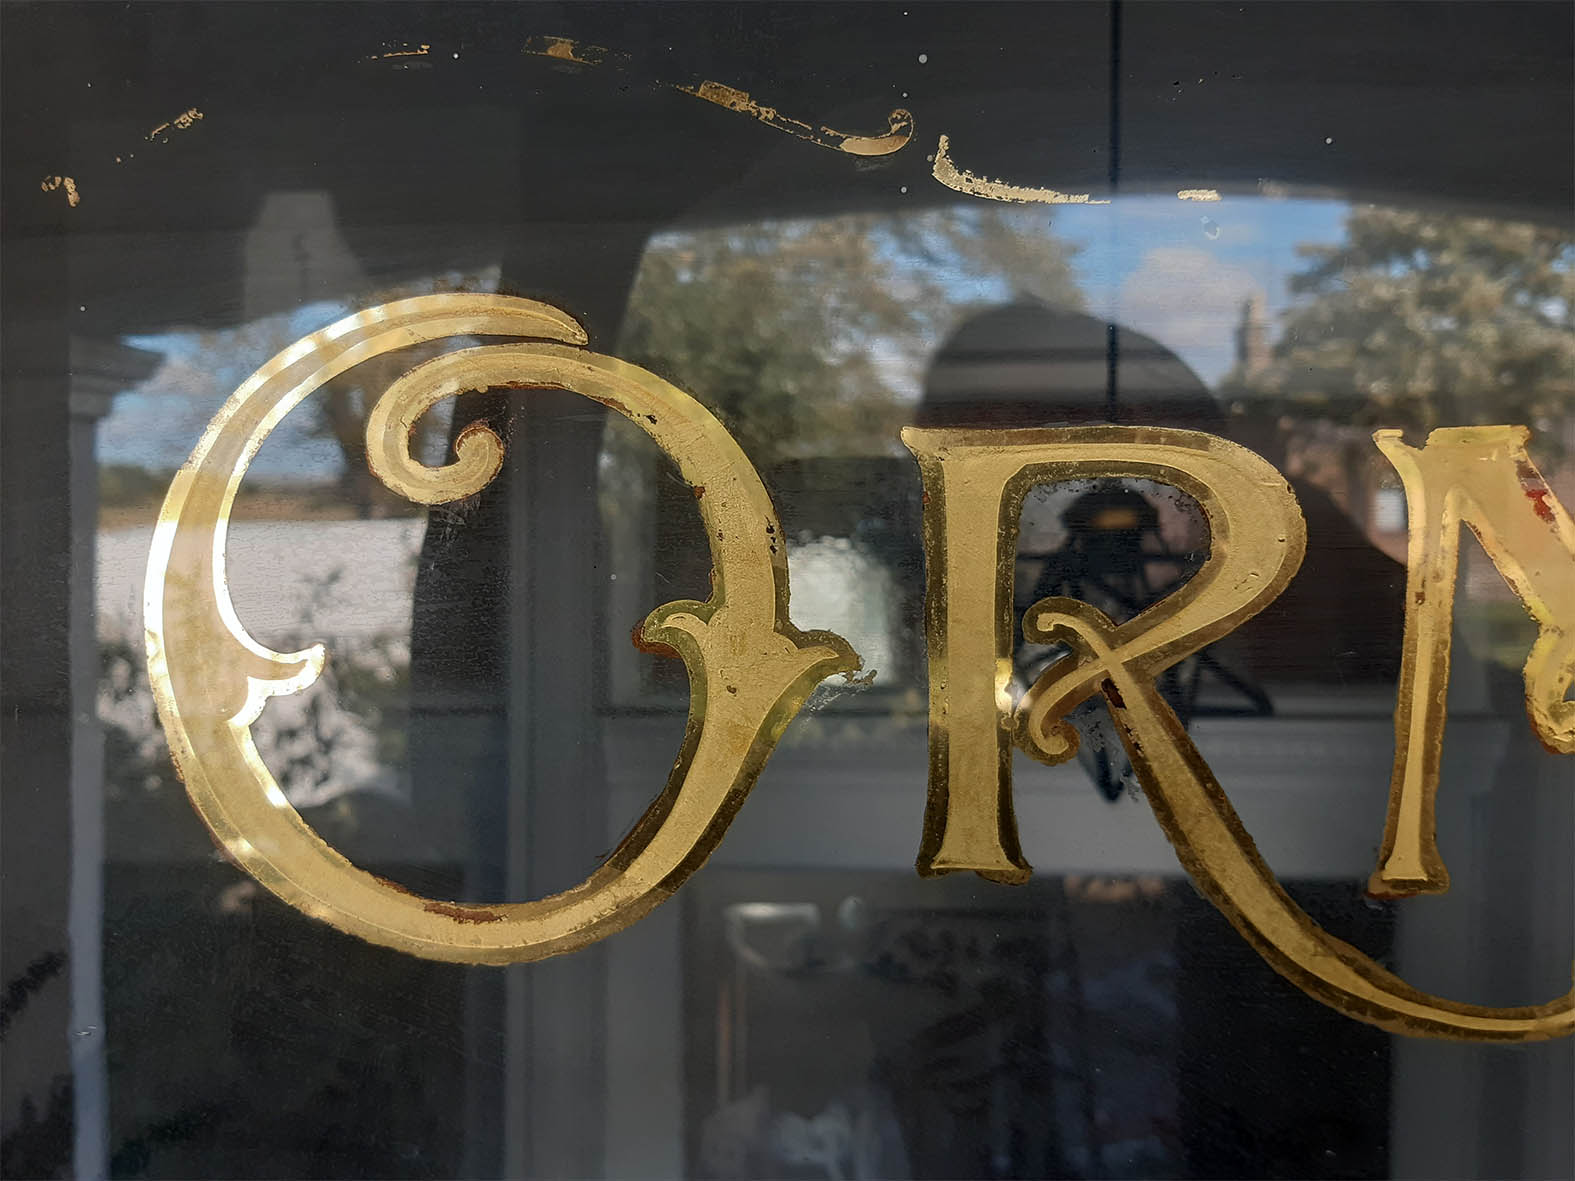
A few days later, Malcolm emailed photos of the Ormiston pane. Despite its deterioration, I was impressed.
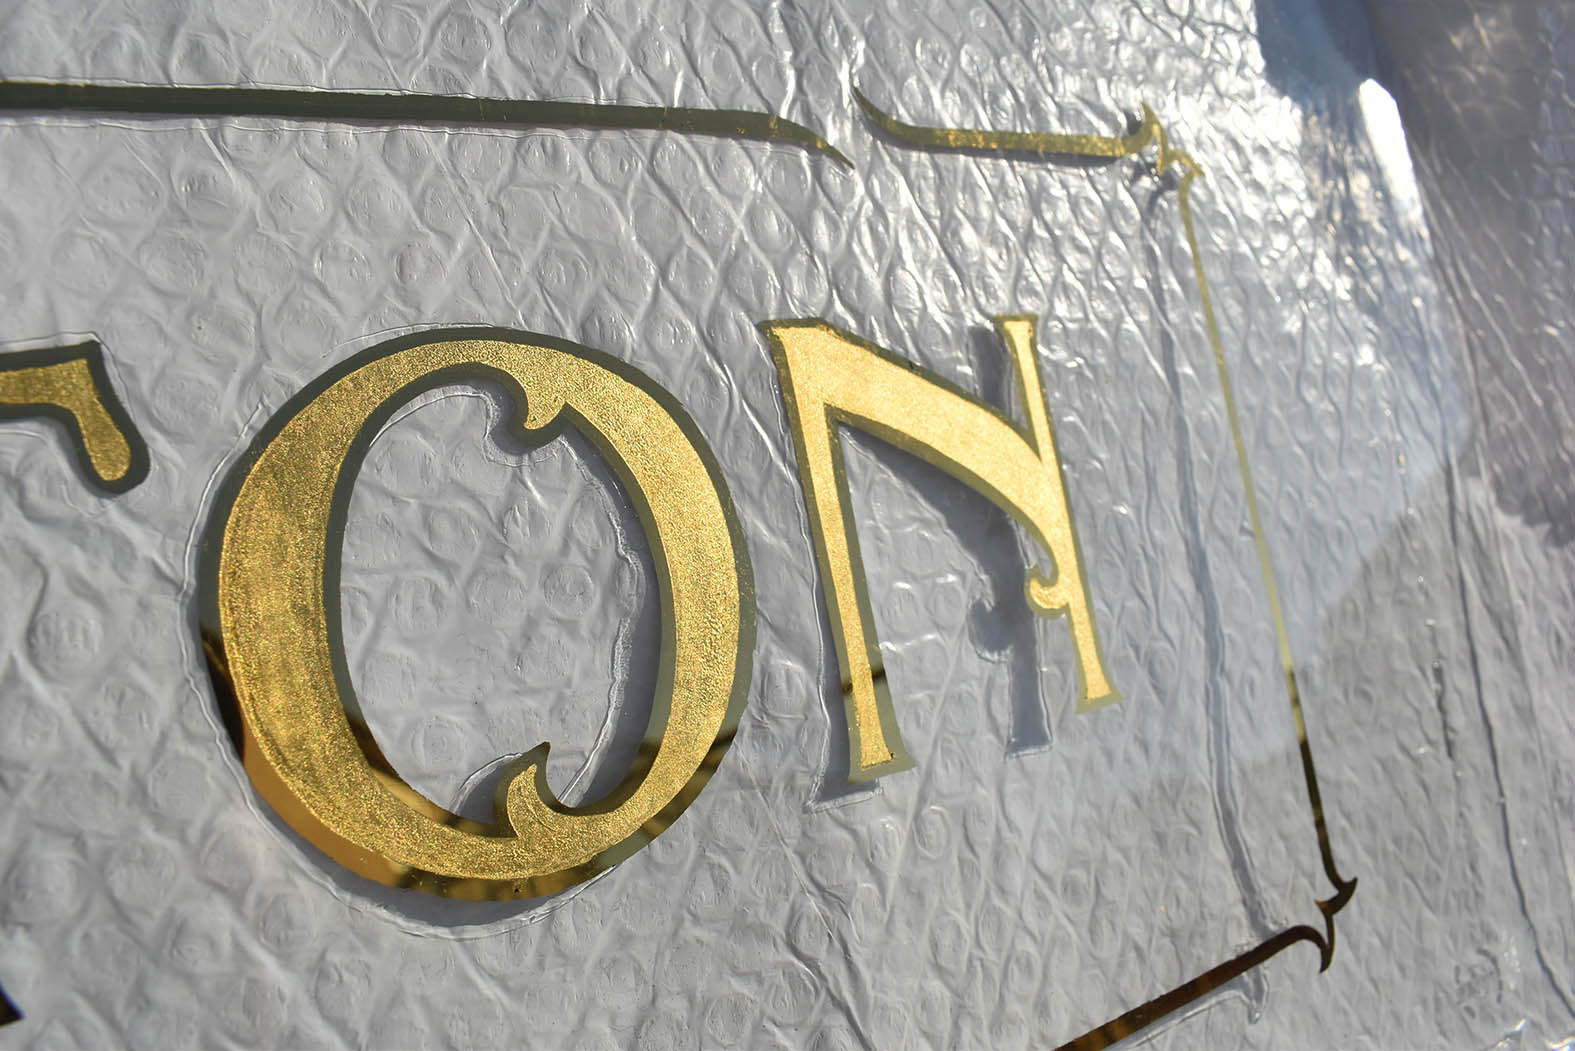
To my delight, the faces of the letters appeared to be matt gold. The neighbouring mirror finished remnants of outline and decorative border were clearly reverse gilded gold leaf. This original gold leaf sign in Montrose (of all places), hand lettered with this technique, was a rare find.
Excited to share my hunch, I replied to Malcolm.

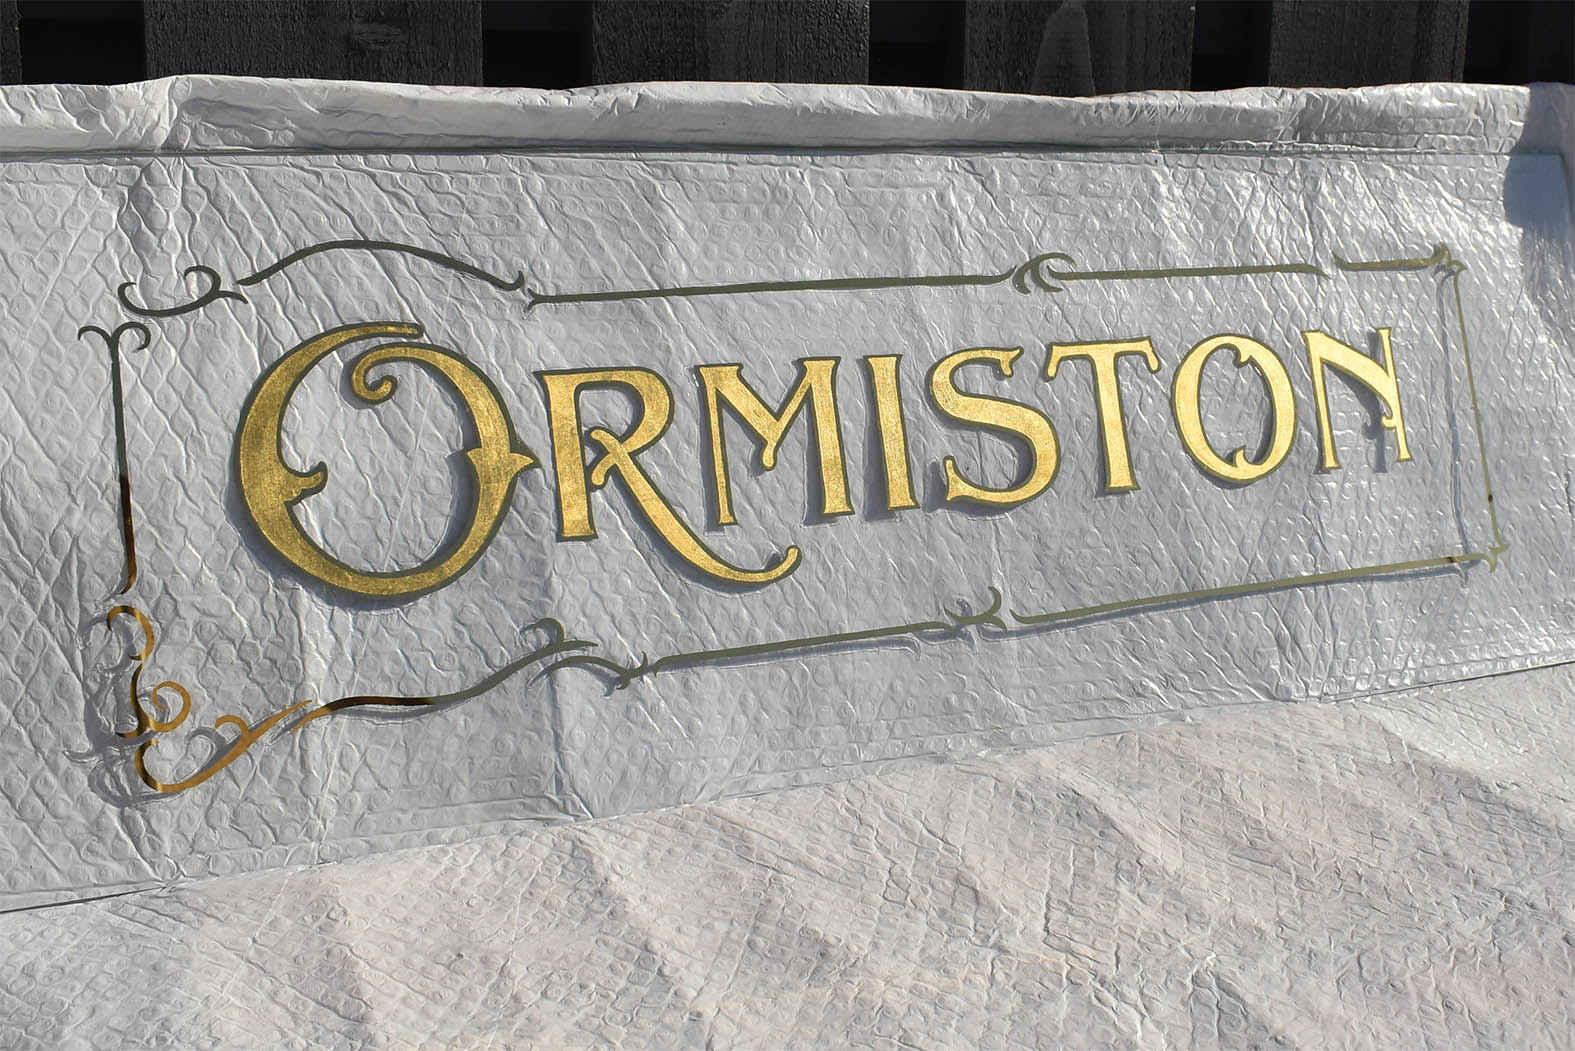
My proposal was to first redraw the lettering in improved form, as well as the decorative border. I was confident I could replicate the artwork as close as I could determine from what was remaining. Along with my detailed scope, I clearly described each stage of the gilding process, as well as my quote and lead time.
I also recommended tests if Malcolm chose to proceed with purchasing a new pane of glass. Some glass panes have invisible coatings. In my opinion, test gilding on the glass surface earmarked for gilding or an identical sample glass is vital in avoiding unwanted surprises.
Malcom replied the following day. He preferred to replace the pane completely, approved my recommendations and my quote. We kept in touch and arranged to meet after he’d contacted a local glazier.
With two sample panes of glass, approximately two hundred millimetres square and both six millimetres thick, we met in Arbroath, around fifteen miles from Montrose. One of the samples was toughened glass. The other was annealed (untreated) glass.
Back home, I drew an upper case Roman ‘R’ (my go to sample letter) approximately one hundred millimetres in height, then reverse painted the ‘R’ with an almost transparent oil based paint on each piece of sample glass. Once the clear coat had dried, I reverse water gilded one 23.5 carat gold leaf onto each pane. No issue became apparent. The toughened glass was the winner.
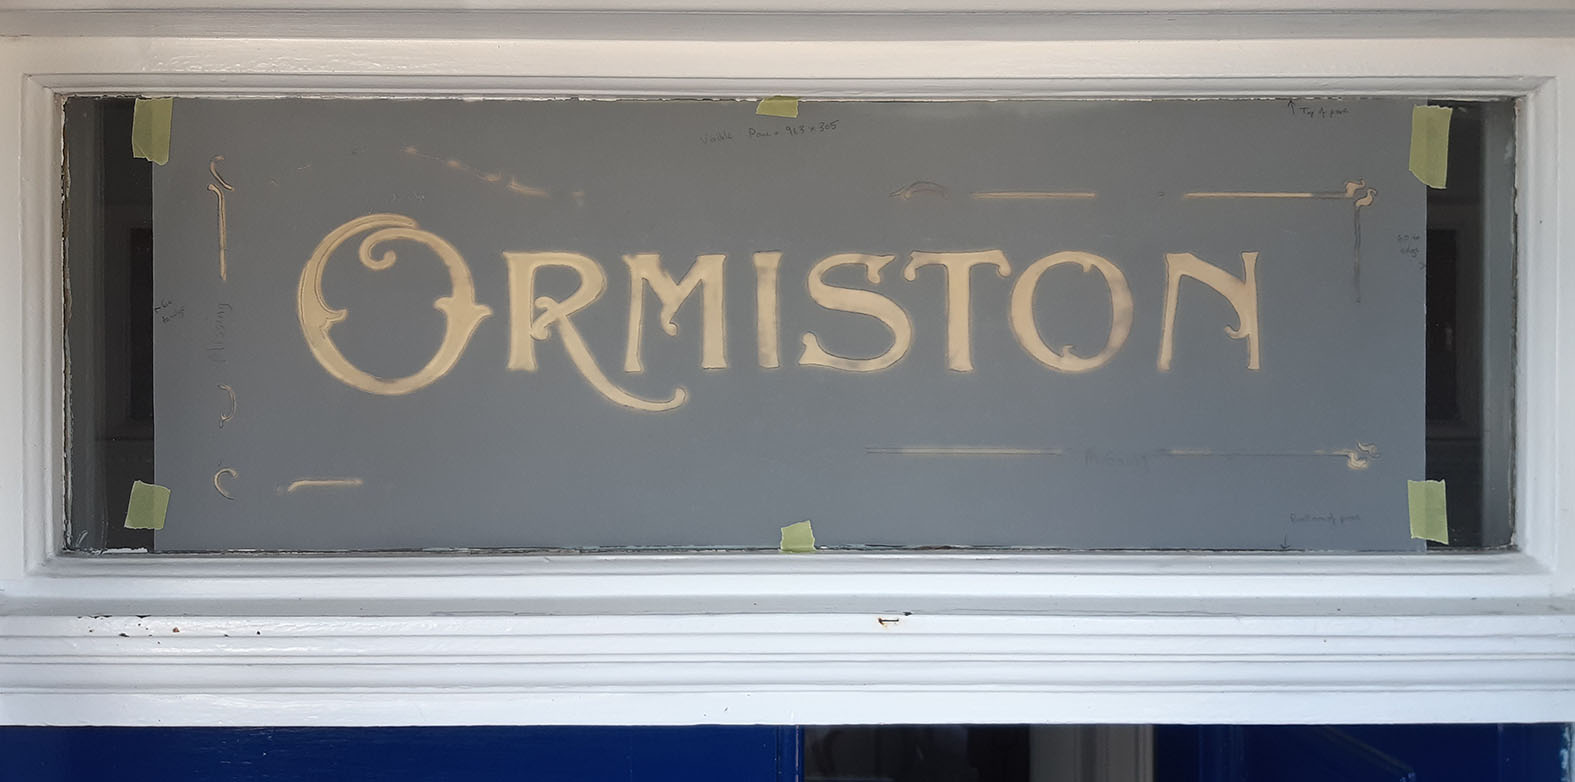
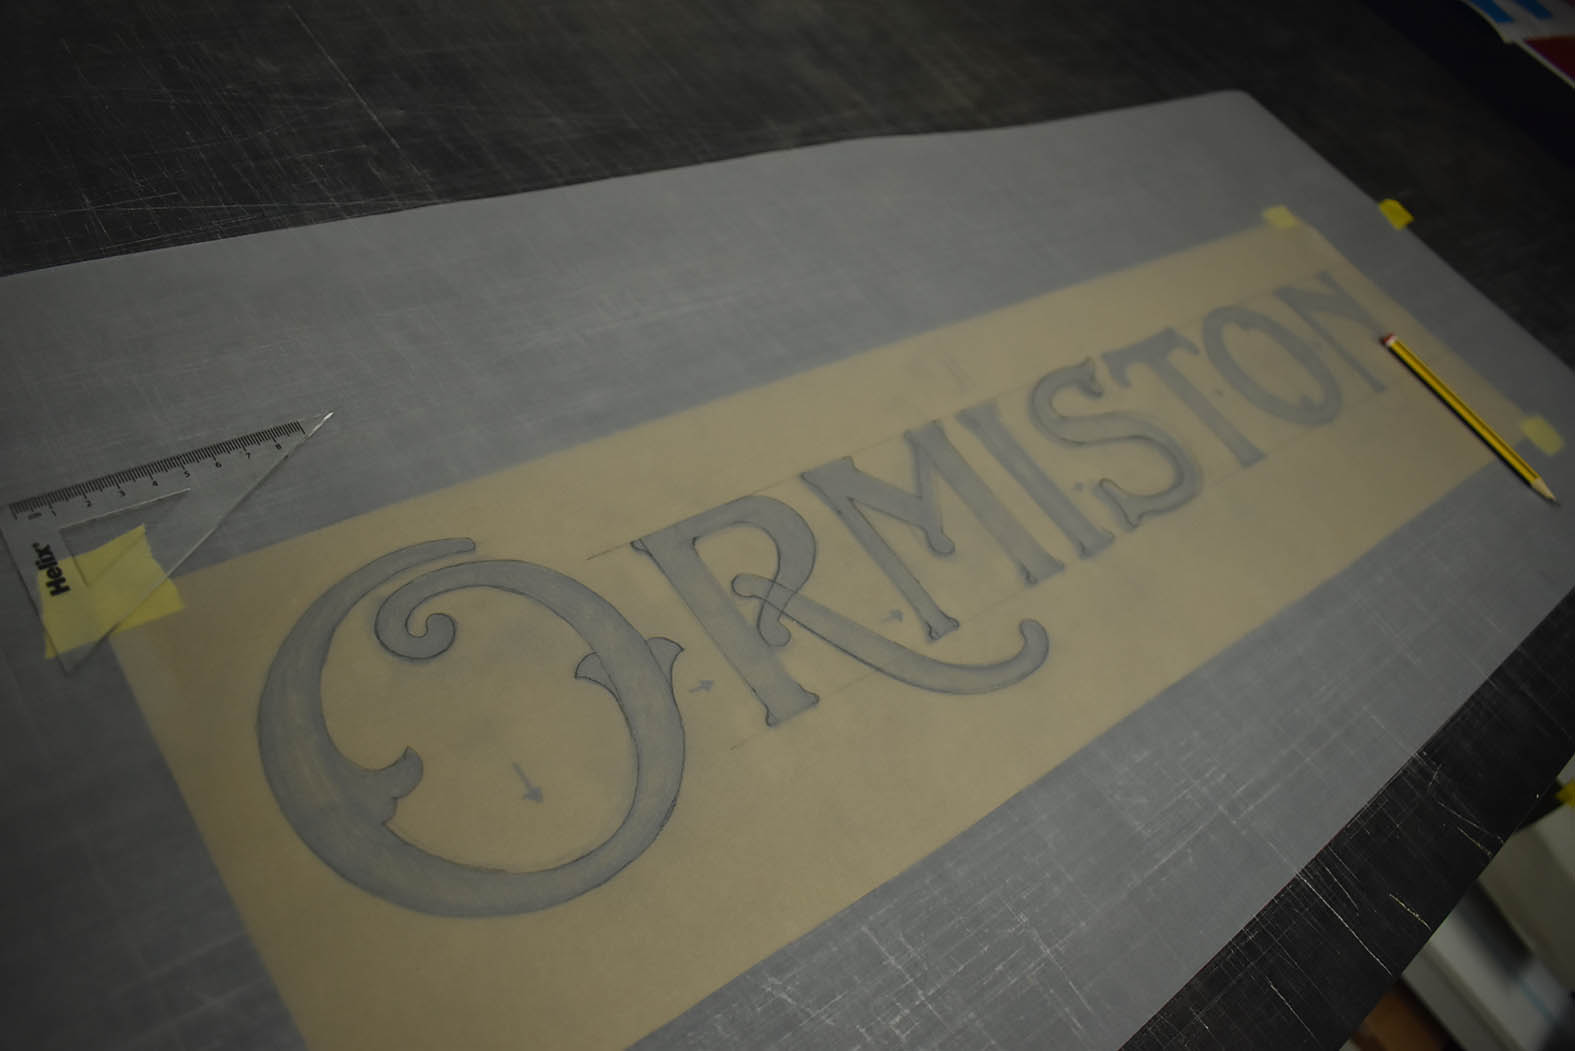
The next stage was visiting Malcom in Montrose. I arrived at his house on a sunny Friday afternoon, equipped with a roll of tracing paper, a straight edge, and a sharpened pencil. On my stepladders outside Malcolm’s front door, I traced what was left of Ormiston and its border. With my tracing, measurements and following brief conversation, I drove home to Dundee.
Two days later, I began redrawing the lettering.
From the moment I first saw Malcolm’s photos of the existing Ormiston lettering, I thought the letters’ proportions and spacing could be improved. I couldn’t take my eyes off the squint left downward stroke of the ‘N’.
However, I would remain true to the original style and emulate the lettering with improved structure. The project brief was to reproduce Ormiston – not to rip the soul out of it.
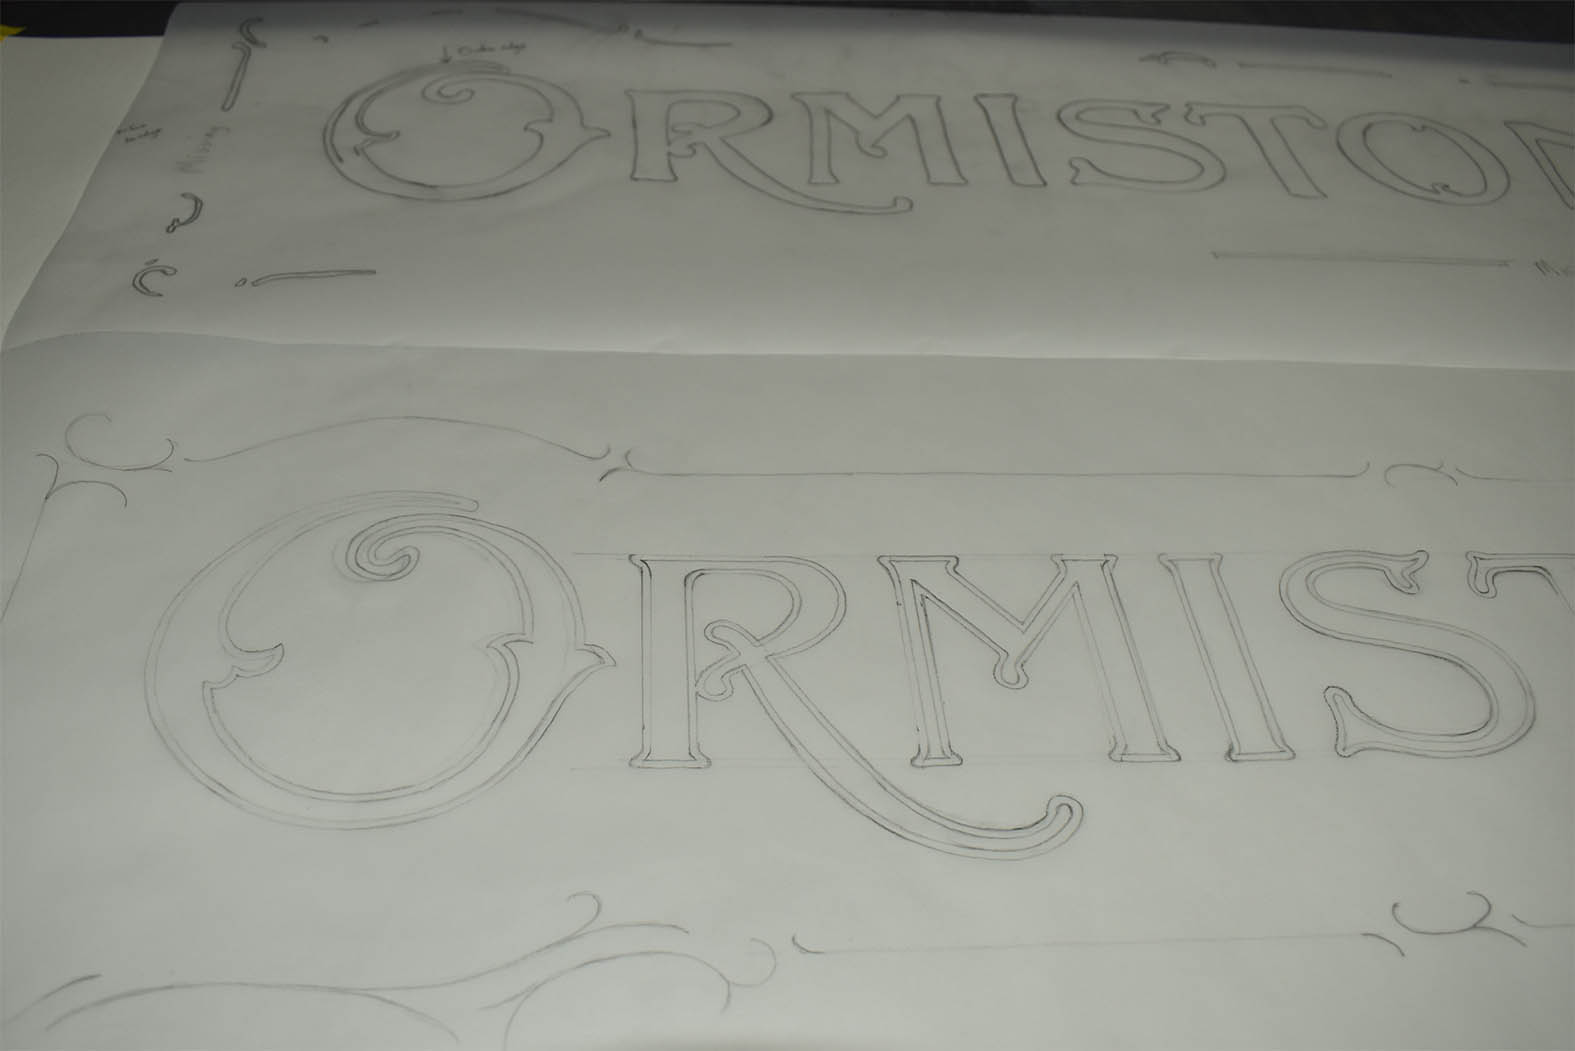
Redrawing the lettering was straightforward. I considered each letter’s relation to its neighbour and the overall shape of the letters, including their outlines. The diagonal stroke of the R and the curvature of the first O were revised several times before I was satisfied. I then moved on to drawing the border.
This stage was trickier. Much of the decorative border was lost. There were a few hints of how it may have originally looked, but deciding what to draw where had stumped me. I scanned through my library and selected books containing vintage type, ephemera, and ornamental borders. Soaking in all the images and old adverts throughout my books, I finally realised…
Ormiston was Art Nouveau. It made sense to focus my research on this era, which inspired my drawings of over-the-top curls, swirls, and corner decorations.
Malcolm was delighted with the drawing. He explained that the house was built in 1906. We think the pane was originally lettered not long after the house was built. The era’s influence was now obvious. Malcom trusted me to proceed with no amendments.
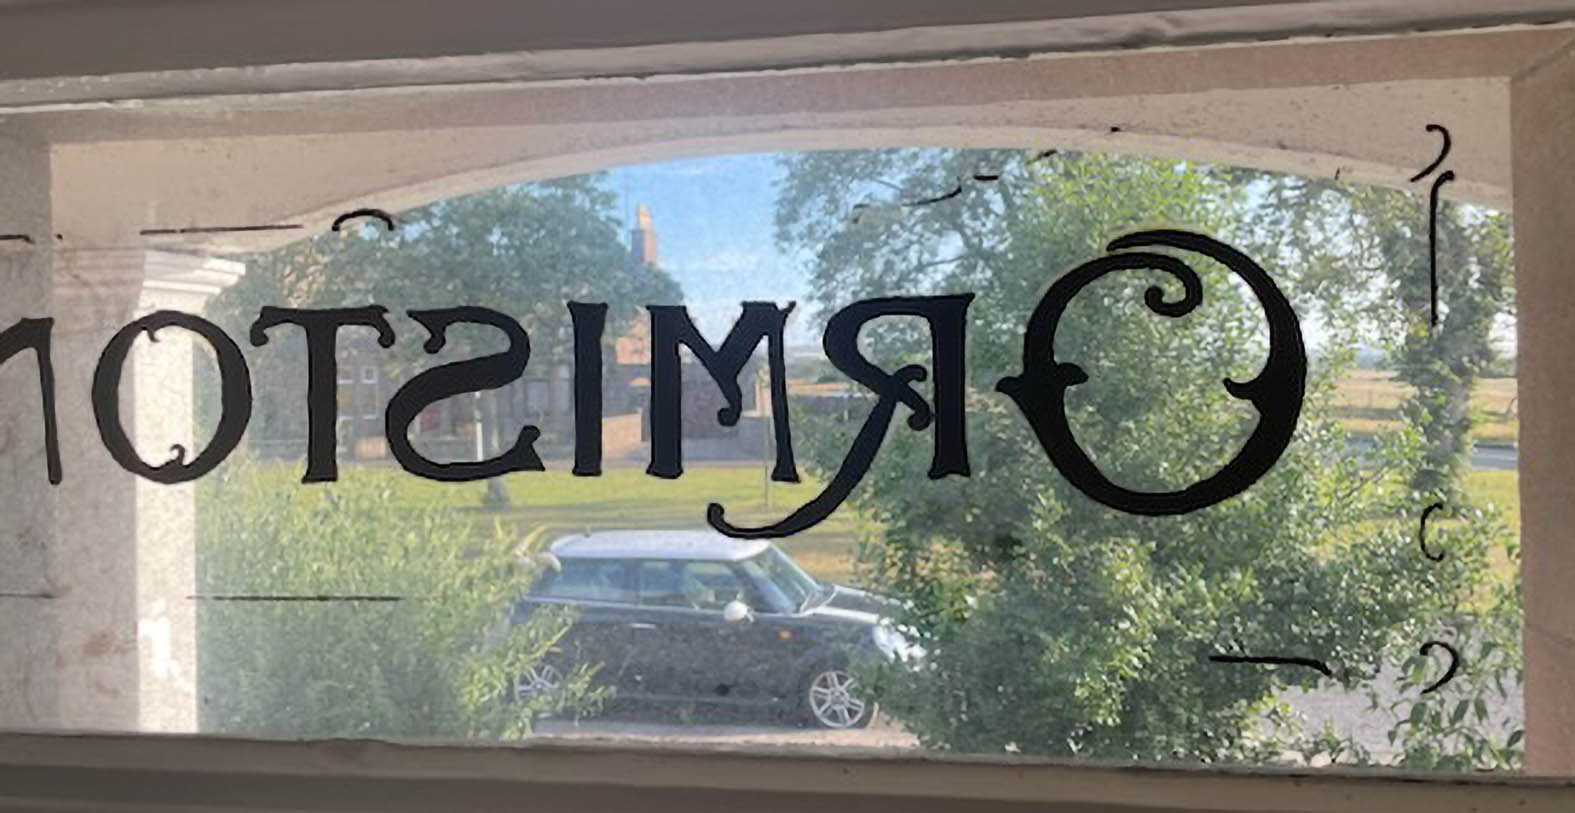
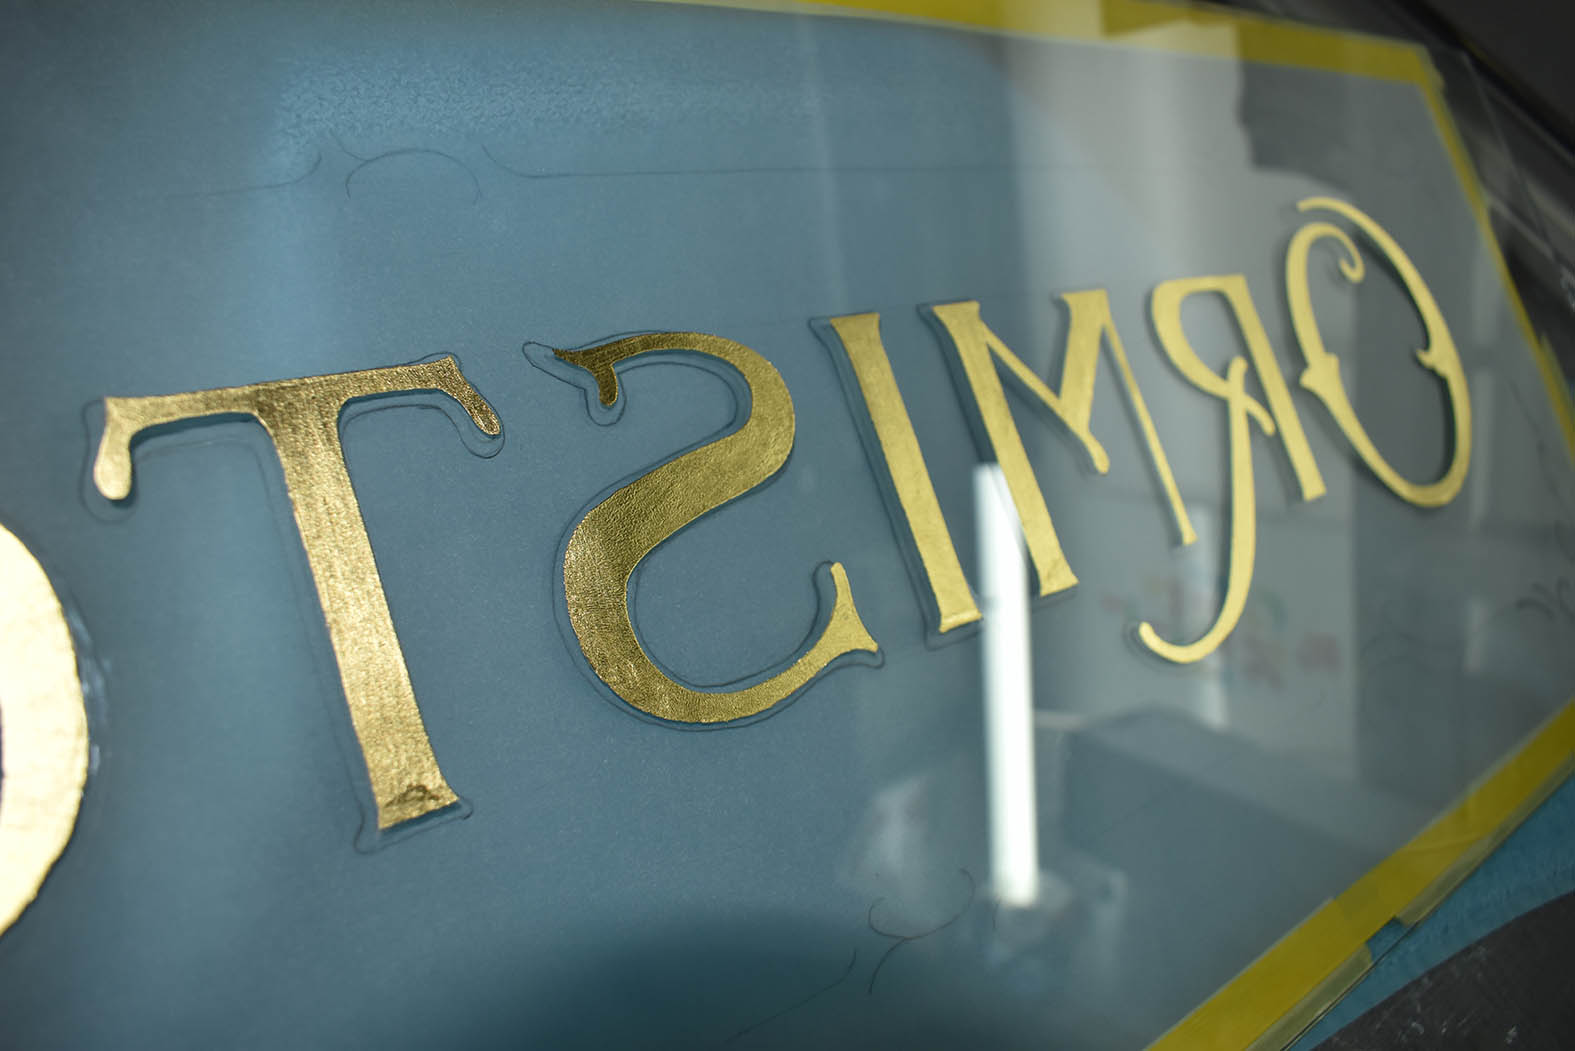
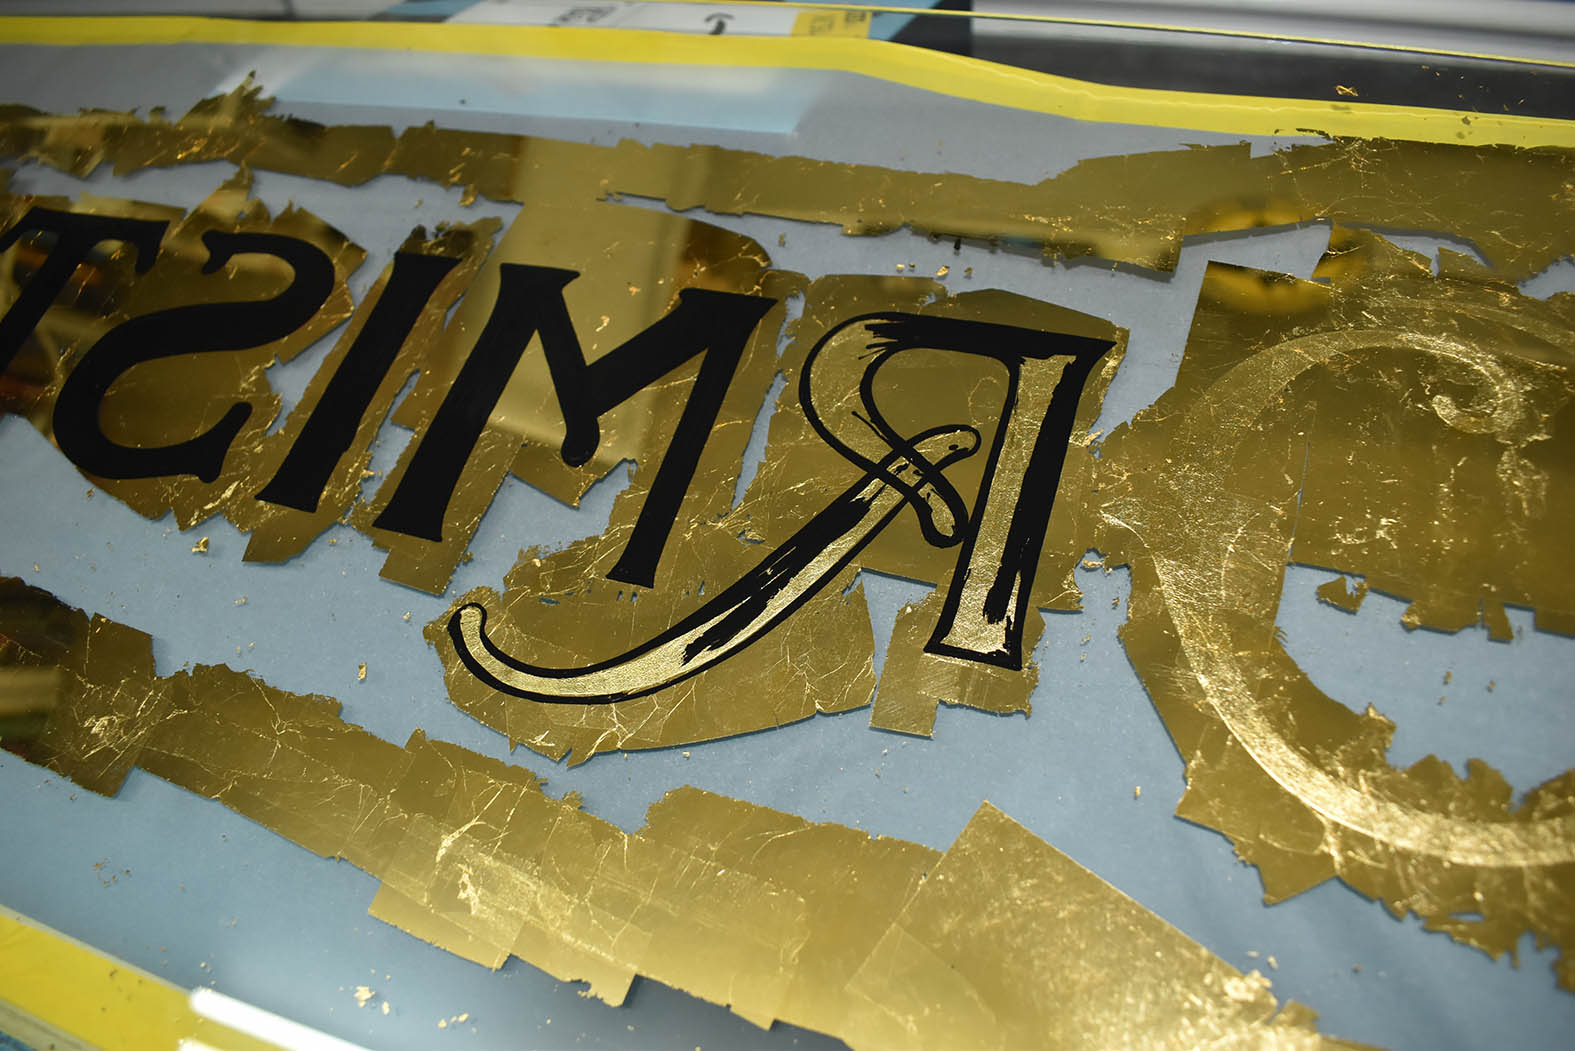
With my traced drawing faced down (backwards), the thoroughly cleaned pane was placed on top and exactly in position. As the name of the method explains, everything is applied back to front when reverse glass gilding. The gold is viewed from the opposite side it has been gilded.
An oil based clear coat is hand lettered first to achieve the matt gold finish. 23.5 carat gold leaf was then pressed on top of the semi dry clear coat. The clear coat dulls the gold leaf and increases legibility of gilded letters. Once the clear coat had set, excess gold was removed from around each letter.
Over the following days, the mirror gold outline and decorative border were water gilded. The process involved two passes of gold leaf on top of the clear coated gold letters, as well as around the perimeter of the pane. The letters created a debossed layer through the thin, delicate gold leaf on top.
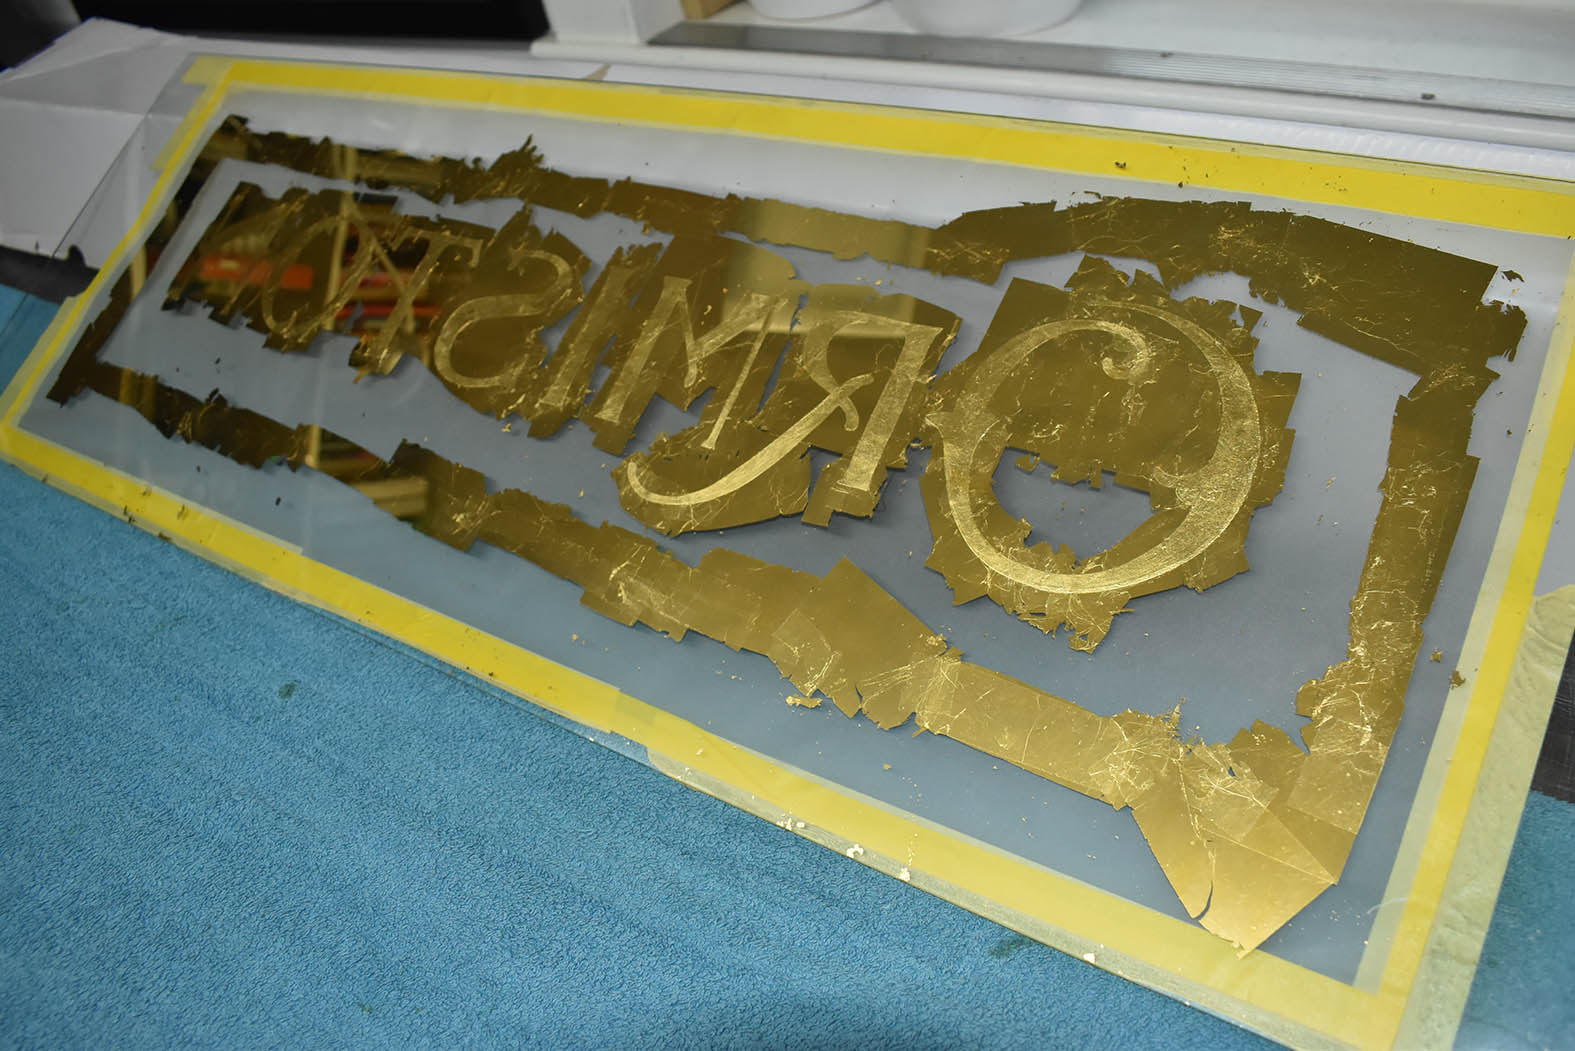
Once the water gilded gold had completely dried, the surface was gently burnished with velvet. An increased lustre appeared but also caused some holidays (cracks in the gilded layers) which were repaired. Eventually, it was time to paint the lettering outline and decorative border.
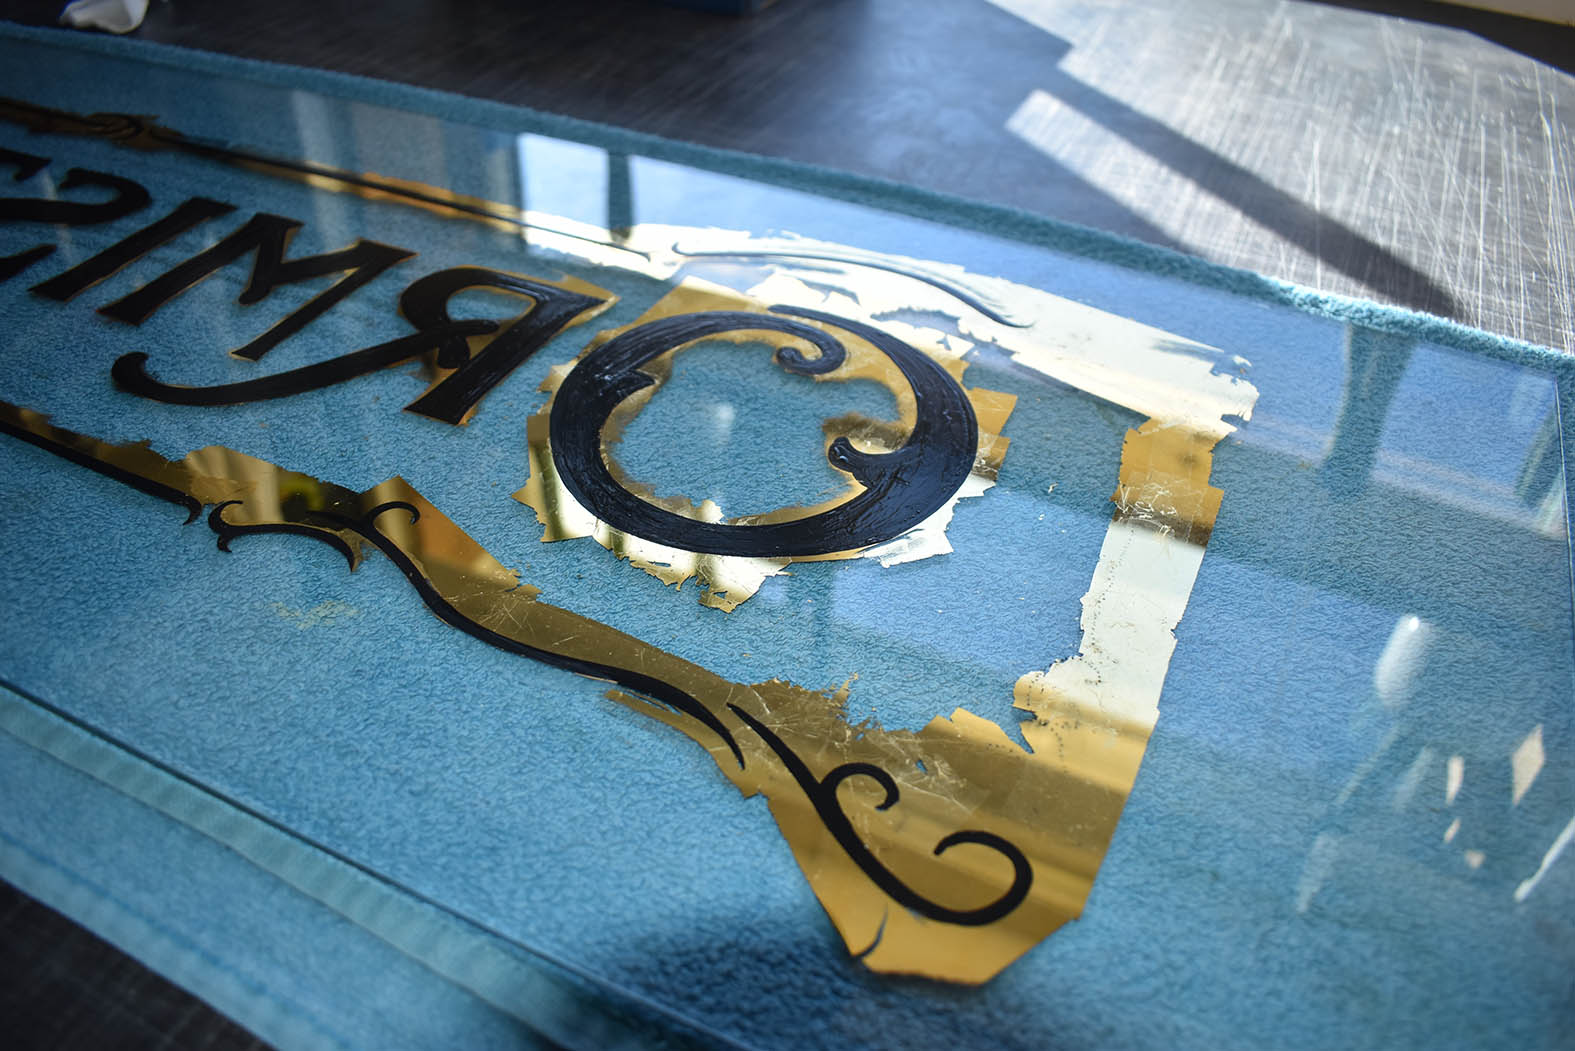
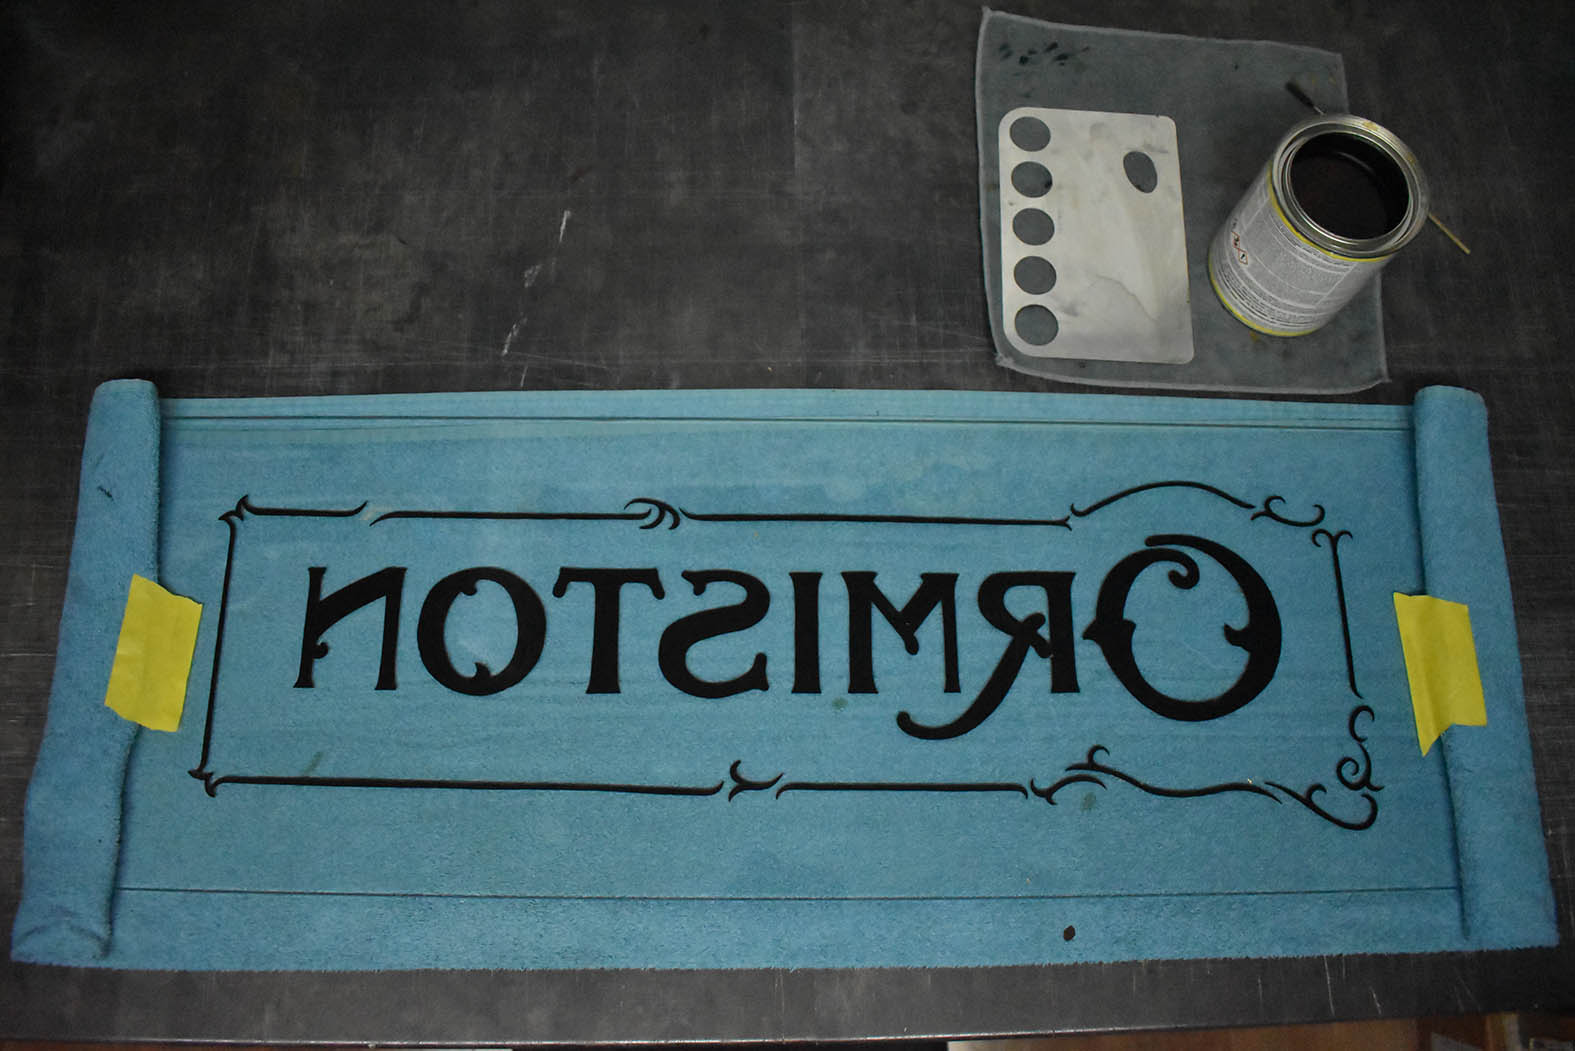
Slowly, I outlined each letter with oil based back up black enamel and filled in between. The back up black is a resist. It serves as a barrier when removing the excess water gilded gold leaf.
A pounce pattern was laid exactly into position once the backs of the letters were encased beneath the fully dried black enamel. The pattern would transfer the shapes of the decorative border through the paper, resulting in a chalk template for me to paint.
Swapping brushes and with bated breath, the border was carefully painted. Almost there.
The following day focused on cleaning the surface of gold not encased in back up black. Edges were carefully swabbed, wetted, soaped, then swabbed again. I was meticulous in removing every speck of excess gold to avoid a shining miniature galaxy. Gradually, the lettering and border presented themselves through evaporating clouds of mirror gold.
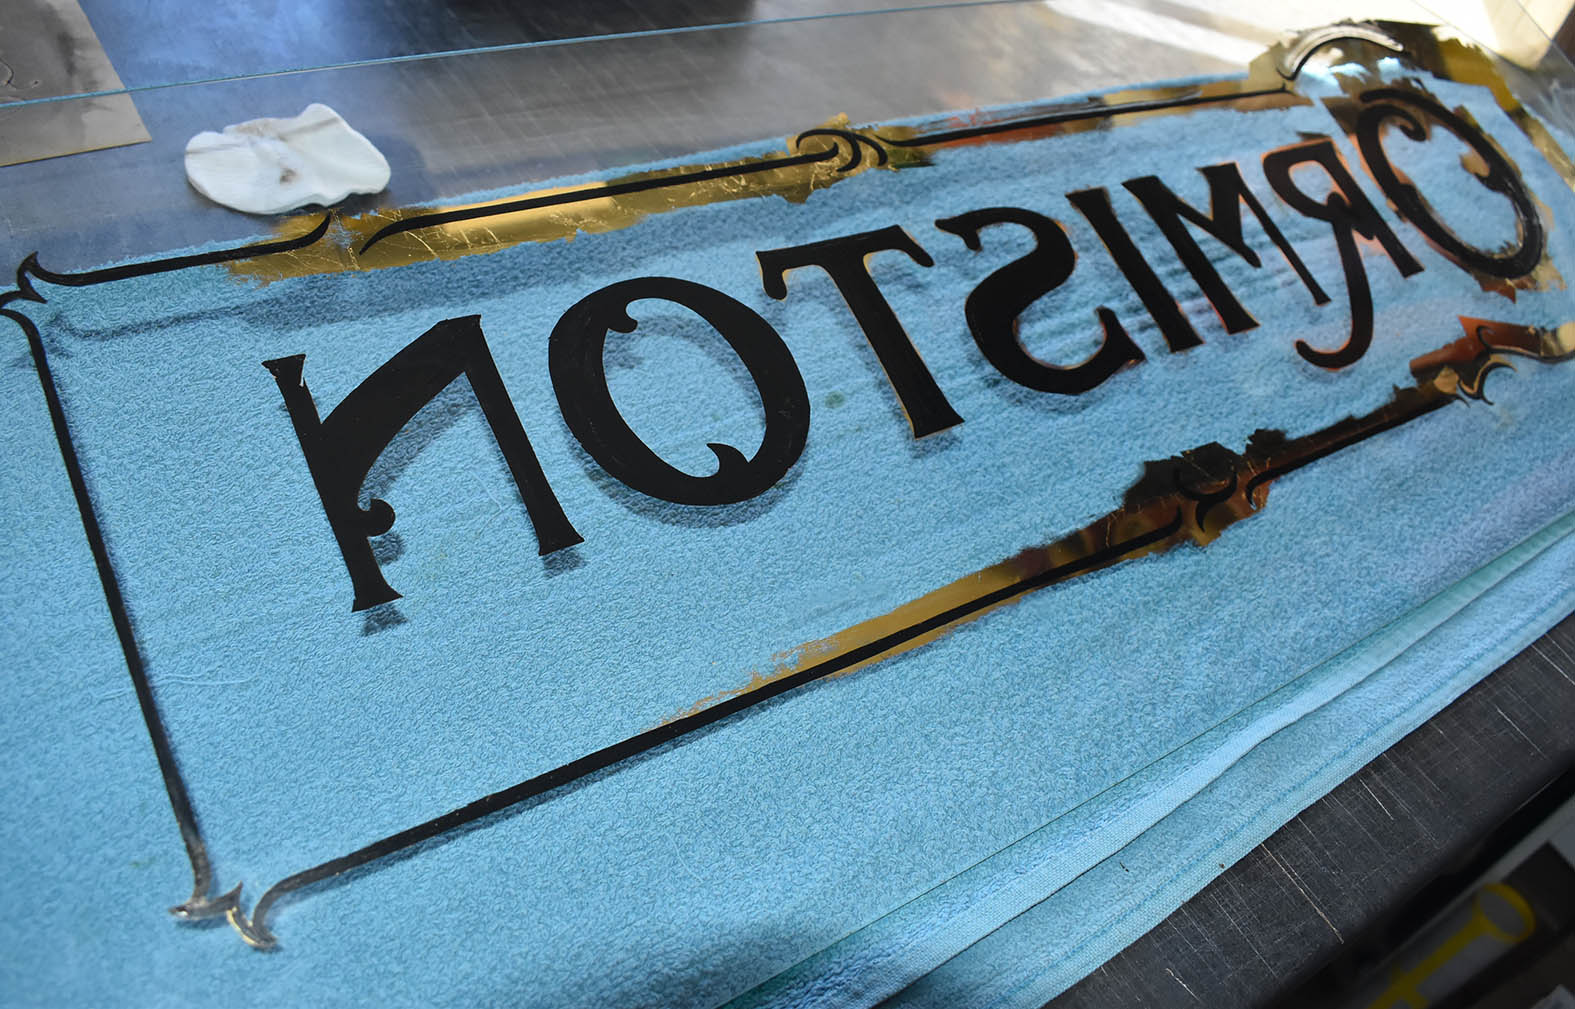
Early the next morning, I clear coated the back up black and brushed slightly over the edges. The final coat will protect the sealed gold beneath, enabling the glass to be gently wiped clean. I was looking forward to meeting Malcolm again.

The double gilt process takes time. It’s unforgiving but rewarding. Nothing matches the radiance of real gold through glass, especially when the sun is shining.
Malcolm was happy. ‘You’ve followed the brief – it looks marvellous’, he said. We were both looking forward to seeing the pane above Malcolm’s front door shine for another one hundred years.
Get in touch to to discuss your gold leaf project.