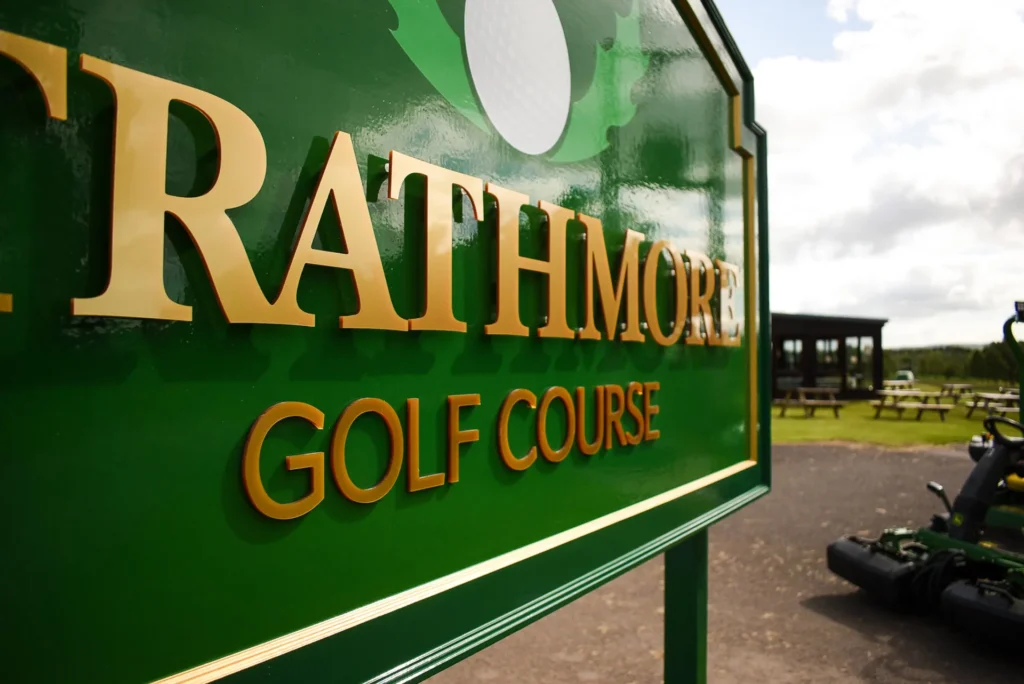
Signage systems are a sensible method for welcoming and directing visitors through golf courses. They’re a hierarchy of related signs in all shapes and sizes.
Implementing visual consistency throughout a batch of signs over a large area reduces readers’ confusion, as well as increasing familiarity of the brand.
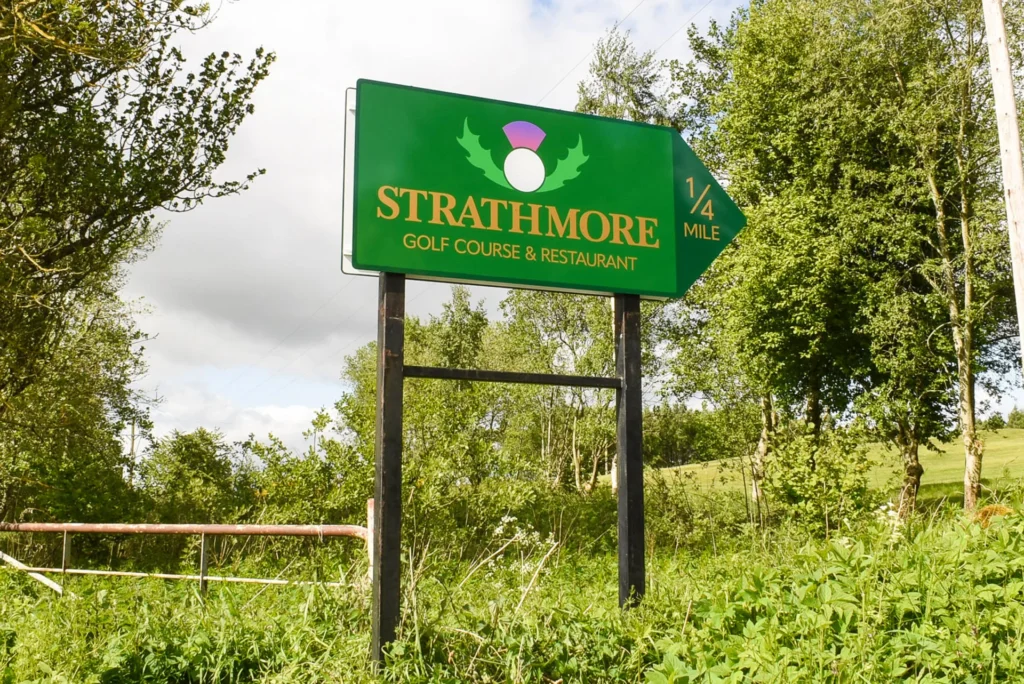
In January 2022, I drove to Strathmore Golf Course in Alyth, Perthshire. I met my longstanding customer and Strathmore Golf Centre manager, David Norman, to survey the course for new signs.
Two painted wooden signs attached to steel posts in front of the clubhouse needed replacement. David and I discussed the condition of the wooden signs and why new signage was vital for the golf centre’s future.
We also discussed the purpose and condition of existing signage at the course’s road entrances. Two days later, I emailed a detailed report and my indicative quote.
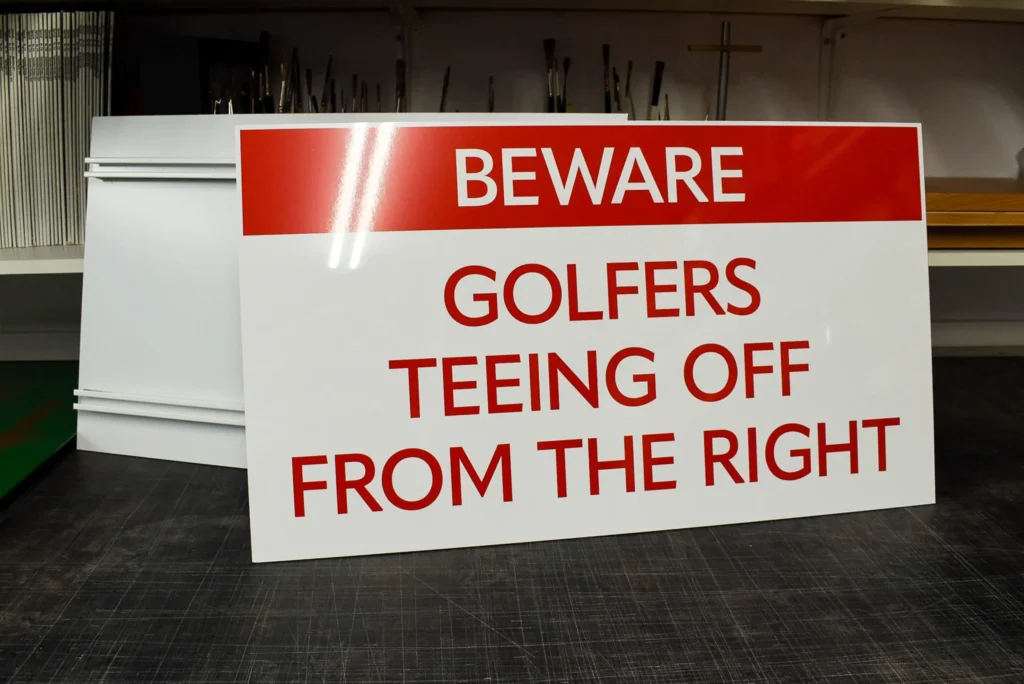
In Spring 2022, Strathmore Golf Centre owner, Peter Howell phoned me. Along with replacing the painted wooden signs, Peter wanted to add a large batch of new wayfinding and warning signs. The golf centre had recently won a national award and the course signage deserved an upgrade.
I drove to Alyth again and met Peter. We had already spoken about the possibility of refurbishing the wooden signs in front of the clubhouse. They’d deteriorated beyond repair. Peter asked if alternative materials could replicate the look of the painted wooden signs. I agreed to research options and send details along with the signage artwork.
We drove around the course and decided on the wording, approximate sizes, materials and installation method for each of the new signs. I realised that a cohesive system was necessary to ensure the signage would serve it’s purpose.
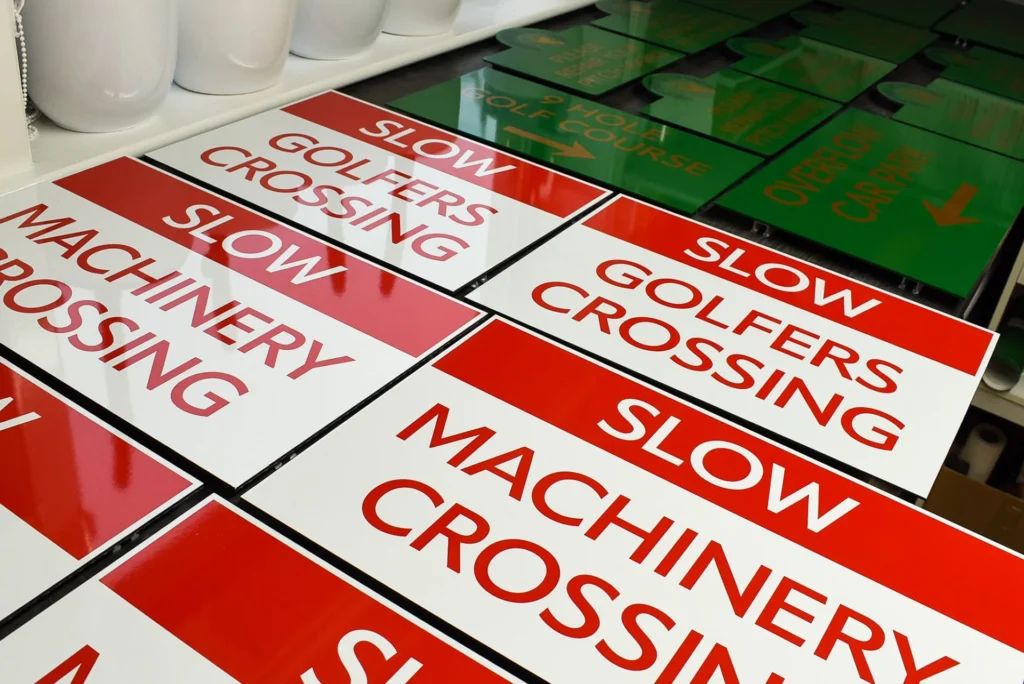
A signage system sounds like a grand affair but it’s a common sight surrounding all of us. Road traffic signs are systems. As well as throughout airports, train stations, and events venues, all displaying consistent signage to guide, prohibit and keep us safe. A signage system is most effective when the information displayed is quickly and easily interpreted.
I’d noticed inconsistencies throughout Strathmore Golf Course’s visual identity. Some signs I’d supplied over the years were dissimilar from other signs on and around the course. In addition, Strathmore Golf Course’s website, printed materials and garments included different versions of the logo, as well as conflicting colours and typography.
This phase presented an ideal opportunity to harmonise the business’ visual identity. To begin, I chose a typeface for the new wayfinding and warning signs. The typeface is paired with a primary font customised for the Strathmore lettering. With foresight, I chose brand colours influenced by signmaking vinyl. The thistle logomark was simplified too.
With a streamlined visual identity, I also reduced the content on the painted wooden signs. The artwork was emailed to Peter for feedback then I adjusted some sizes and quantities. The design of the signage system was revised twice before Peter made final checks then approved the artwork and my quote.
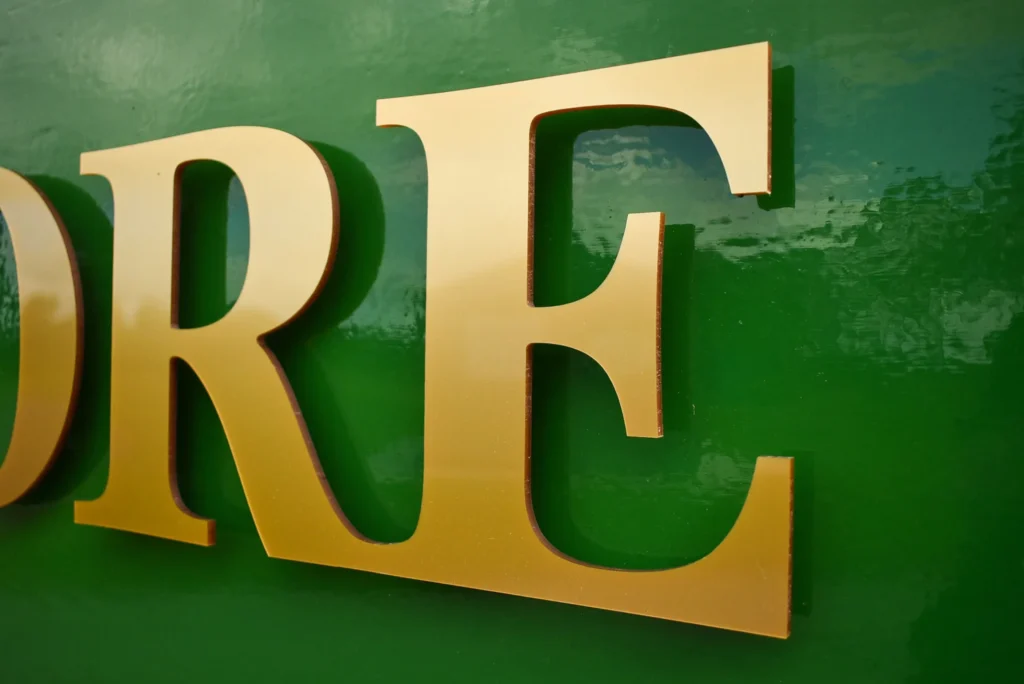
Over ten years, water slowly seeped into the painted wooden signs in Perthshire’s damp climate. I researched alternative materials for fabricating replacement entrance signs.
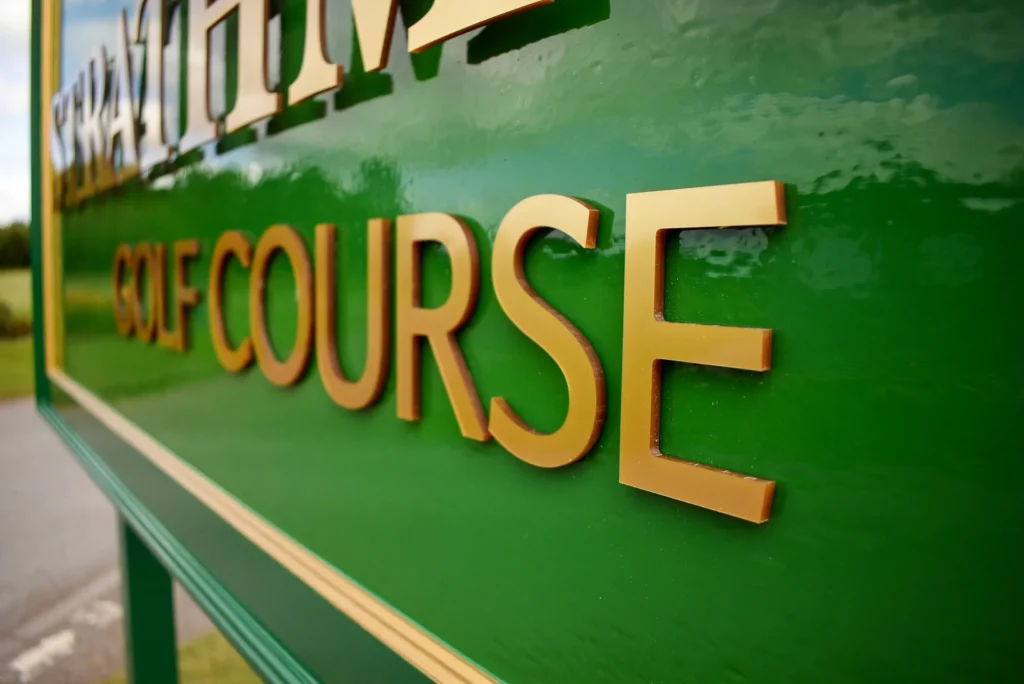
Peter wanted the replacements to be the same size, shape and structure as the freestanding signs I designed over ten years previously. Peter also liked the flat cut acrylic letters attached to the sign faces. The flat cuts protrude from the faces with screwed stand-off fixings. Along with the routered mouldings, Peter felt that the main signs made a statement in front of the clubhouse.
These specifications limited the choice of suitable materials for fabricating the replacement signs. The signs’ substrate had to be thick enough to screw into for attaching the flat cut letters, in addition to the routered mouldings and split batons required for installing onto the steel posts.
I spoke with John Rennie, who makes and installs the majority of the structural signs I supply. John described an exterior MDF sheet material with superior durability over marine plywood. I contacted the timber merchant and asked for the product’s technical data in addition to their quote.
After discussing the options of UPVC, aluminium and exterior MDF sheet materials, Peter chose plywood and hardwood for the replacement signs. I was happy with Peter’s decision and agreed that timber was a viable option.
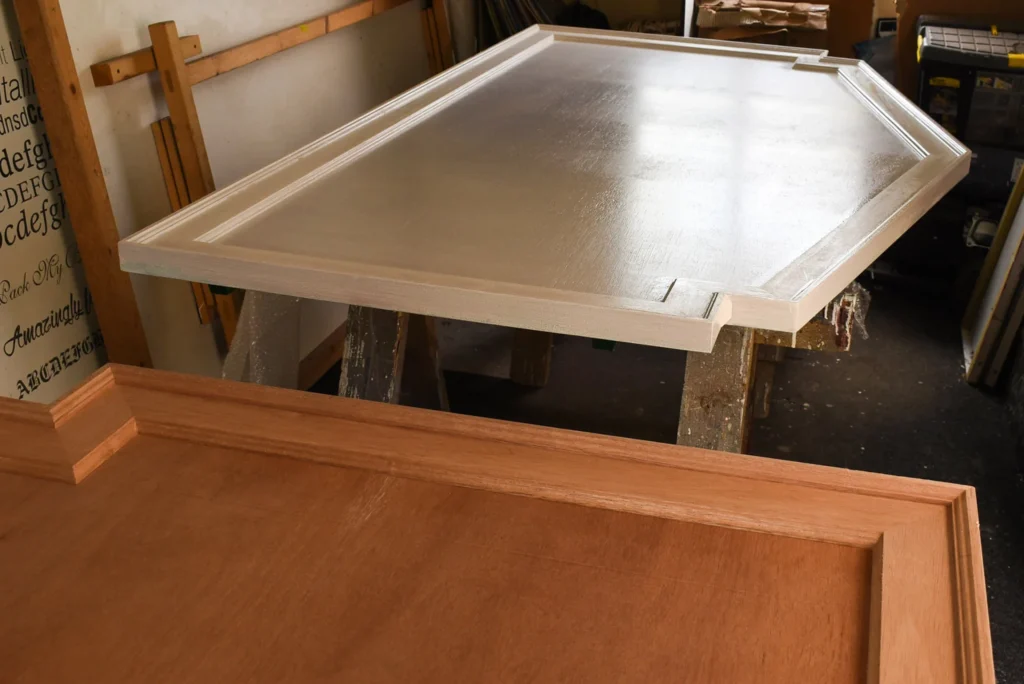
After Peter confirmed the specifications, I sent scaled drawings and photos of the previous wooden signs to John. John understood the signs’ environment would challenge the durability of the wood. He decided to alter the shape of the mouldings and simplify the split batons to prevent water ingress. John’s method would lengthen durability for the painted wooden signs.
Along with redesigning the shape and assembly of the timber mouldings, John chamfered the edges of the split batons, enabling water to run off. Split batons on the backs of signs ensure no visible fixings on the faces. Both replacement signs would then be attached to horizontal metal angles spanning the steel posts.
Using marine plywood for the faces and redwood for the mouldings, John shaped and joint each part to create the freestanding signs. John delivered the robust wooden signs ready for me to begin painting.
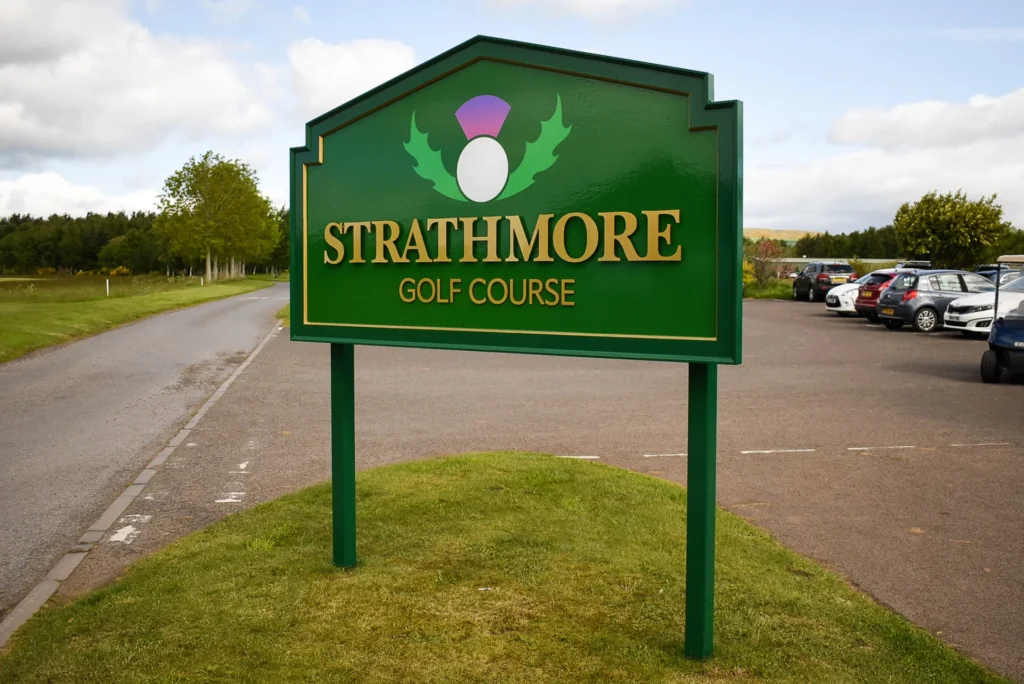
A thick coat of oil based wood primer was brushed and roller applied first on the back of each sign. Four more coats were painted into a dark green gloss finish. With the backs painted, the heavy signs were turned and placed onto trestles for painting the faces.
Layers of paint were built up and sanding between some coats. The painting process was slow due to the curing time of each coat of paint. I wasn’t happy with the drying times. I visited the paint merchant for advice after the first topcoat was applied.
The colours on the painted wooden signs had to match the colours of vinyl I was using for the broader signage system. I’d planned for matching the paint to the vinyl when designing the artwork. This approach is more accurate than matching vinyl to paint.
With a RAL reference, the paint merchant mixed a close colour match of new paint for the final topcoats. I applied the second topcoat to the faces and was very happy with the result. A final topcoat was painted two days later and the signs’ faces were evenly finished.
The mouldings were painted in a darker green finish before detailing the routered segment with metallic gold enamel. The gold edges complemented the gold flat cut letters.
Components in the signage system included timber, aluminium composite panels, aluminium poles and channels, pole clips and caps, PVC pipes, acrylic letters, four colours of high performance vinyl as well as matching coloured paints.
The additional batch of signs are cut out of aluminium composite and most are fixed to powder coated poles with track channels. Some of the signs on poles are permanently cemented into the ground around the course. However, Peter wanted other poles to be removable for when the grass cutters mowed around the signs.
After searching for compatible diameters, I eventually sourced plastic pipes which would be cut to different lengths and planted into the ground. The lightweight aluminium poles are inserted into the hollow pipes underground for quick removability.
Each new sign around the golf course had different installation methods. In addition to the plastic pipes, I sourced router shaped panels with spikes. These were designed for pushing into soft grass.
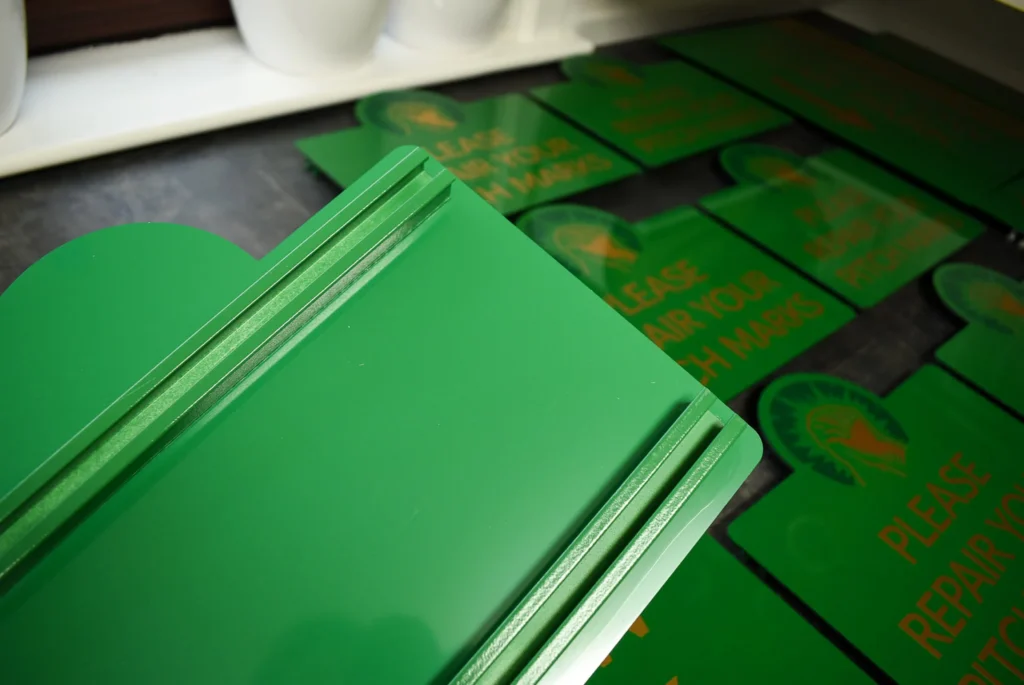
Over several days and in between other projects, I gradually assembled the wayfinding and warning signs.
Two large aluminium composite panels were shaped and flooded with vinyl, as well as the faces of the smaller green signs. I wanted the poles to appear as part of the sign attached to them and patiently covered each of the fifteen pole lengths in green vinyl.
Pairs of track channels were sawed for the back of each sign and sixteen were spray painted green. Once all of the signs were lettered, the channels were bonded to the backs and packaged, ready for delivery.
The greenkeeping team at Strathmore Golf Course installed the batch of new signs, just in time for the arrival of the main signs.
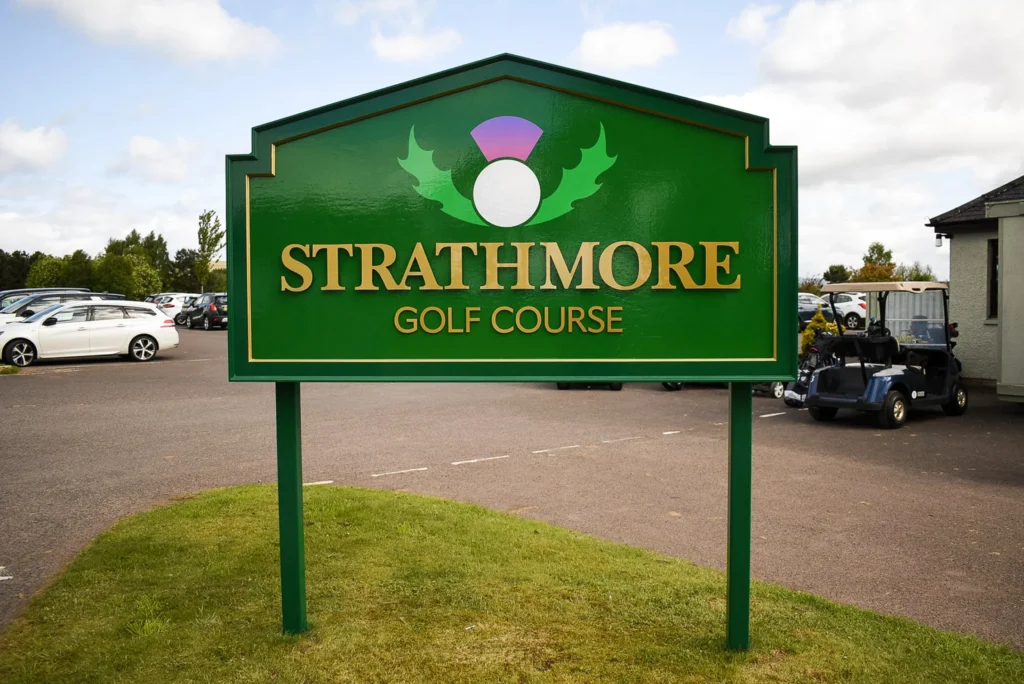
John and I met early on a Monday morning in May 2022. I’d already applied the logomark to the sign faces, as well as screwed the fixings for the flat cut letters. The flat cuts would be pushed on last once the signs were attached to the posts. With the heavy wooden signs loaded into John’s van, we set off for Perthshire.
A national competition was being held at the course that weekend. The replacement signs in front of the clubhouse would welcome new visitors and attract their photo opportunities.
With clouds looming overhead, we removed the remaining old wooden sign. I sanded the steel posts whilst John drilled pilot holes in the split batons. The first sign was lifted into place and fit snugly between the horizontal angles. Once John started fixing the split batons, I unwrapped the flat cuts.
I started attaching the flat cuts to the fixings before realising dismay. On removing the protective film from the acrylic letters, I noticed two different shades of gold. The manufacturer mistakenly used two different products which I failed to notice previously.
A quick phone call and rearrangement followed just as it started raining. After installing the second painted wooden sign, we persevered with one of the large aluminium composite panels. But the rain halted installation around midday.
On the drive home to Dundee, I was hoping for quick delivery of replacement flat cuts and a dry day before the competition.
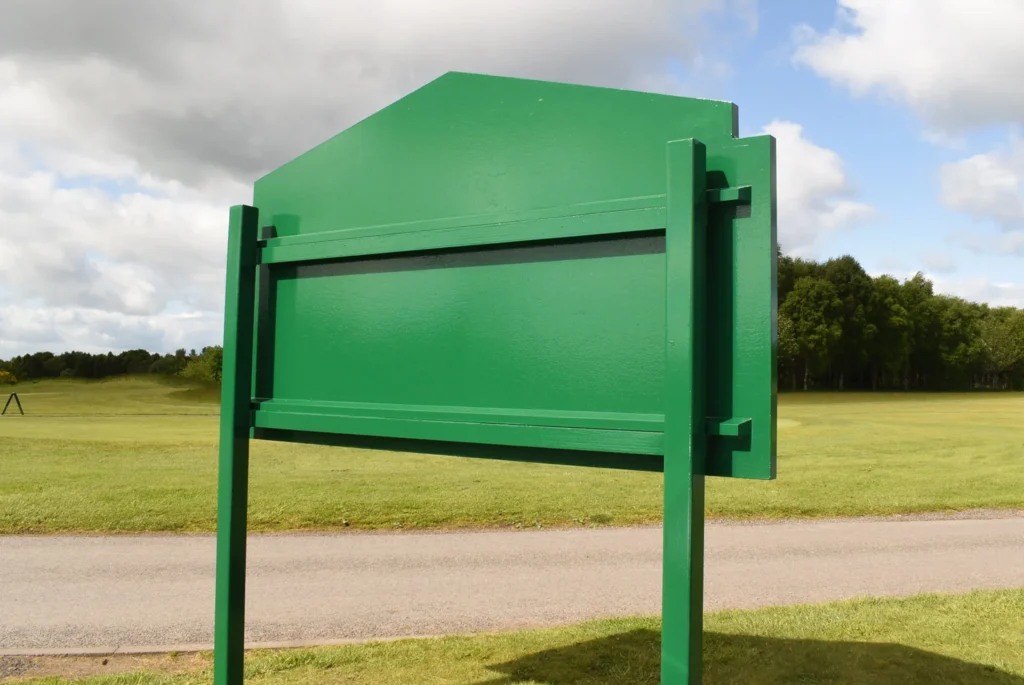
Replacement gold flat cuts arrived the next day and John kindly rescheduled his diary.
On the first morning of the competition, I travelled to Alyth early to begin attaching the flat cut letters. The fixings had to be replaced, letters installed and steel posts painted before installing the other two road entrance signs.
Arriving around 5:30 am, I felt the chilly, damp altitude outside of the clubhouse. The replacement signs were covered in a fine mist of condensation and I was glad to know the multiple coats of paint would protect the new entrance signs.
Once the flat cut letters were attached to the faces, I painted a final coat on the back of each sign. I finished painting the steel posts, just as John arrived. We admired the new signs before setting our ladders in place for the aluminium composite panels.
The pair of panels attached tight to the posts and our long project was completed. Visitors were already arriving for the competition and Peter was delighted.
Thinking of a signage system for your golf course? Contact me for a consultation.